TECHNICAL GUIDE
DEVICE SETTINGS AND
OPERATIONAL GUIDELINES
NAILING THE SHOT
The goal of this guide is to quickly and efficiently outline the required camera settings, framing, lighting, and operational execution for clean footage capture. While each recording scenario requires its own unique approach we hope these baseline tips will ensure a strong foundation for your collection objectives.

CAMERA SETTINGS
INTERVIEW / DIALOGUE CAPTURE
-
Interview footage and other scenes requiring sound capture should be recorded in 23.98 FPS unless otherwise specified. This frame rate provides the most natural looking motion blur in these scenarios.
-
The rule of thumb for shutter speed and angle settings is that you should maintain the 180 degree rule. Simply put, this means that your shutter speed should roughly “double” your frame rate.
So for 23.98 (24 FPS) you would use a shutter speed of 1/50. For 59.94 (60 FPS) use 1/125, and so on, and so on…
While select cameras allow for an exact match such as 1/48 or actual shutter angle adjustments, your decision will depend on the system you’re using and the flexibility of that system’s settings.
Lighting, diffusion, and filtration may all be required to properly expose your scene while maintaining this 180 degree rule.
B-ROLL / SUPPLEMENTARY CAPTURE
-
In this scenario the real answer is… “IT DEPENDS”. For narrative or feature work it may be that you’ll have to capture a variety of frame rates to properly tell the story.
However, for most marketing content or other video assets we want to capture the footage and other scenes in a way that gives us the ability to slow down the footage in post-production
Generally this means we should be recording in 59.94 (60 FPS) or 120 FPS unless otherwise specified.
This frame rate gives us the most flexibility to creatively re-purpose the footage in post production.
-
The rule of thumb for shutter speed and angle settings is that you should maintain the 180 degree rule. Simply put, this means that your shutter speed should roughly “double” your frame rate.
So for 59.94 (60 FPS) use 1/125, for 120 FPS use 1/240 and so on, and so on…
While select cameras allow for an exact shutter speed match or actual shutter angle adjustments, your decision will depend on the system you’re using and the flexibility of that system’s settings.
Lighting, diffusion, and filtration may all be required to properly expose your scene while maintaining this 180 degree rule.
MEDIA CAPTURE REQUIRMENTS
-
This answer will completely depend on the camera ecosystem that you’re using.
When dual card recording is available it is requested that media be written to both card simultaneously. This acts as a safeguard against card failure and ensures that data is preserved in more than one place before footage handoff / delivery.
-
Once again this will all be dependent on the camera ecosystem you’re using.
Generally speaking the preference is for recording to be executed in the highest available bit-rate / codec available that will not result in any recording limitations set by your media cards.
Always double check these settings before beginning your footage capture requirements and cross-reference the settings with the project brief or director / client.
Higher bit-rates / more data-heavy codecs require much more storage space and this should be considered carefully when determining what settings will be used.

FRAMING YOUR SCENE
INTERVIEW / B-ROLL FRAMING SAMPLE

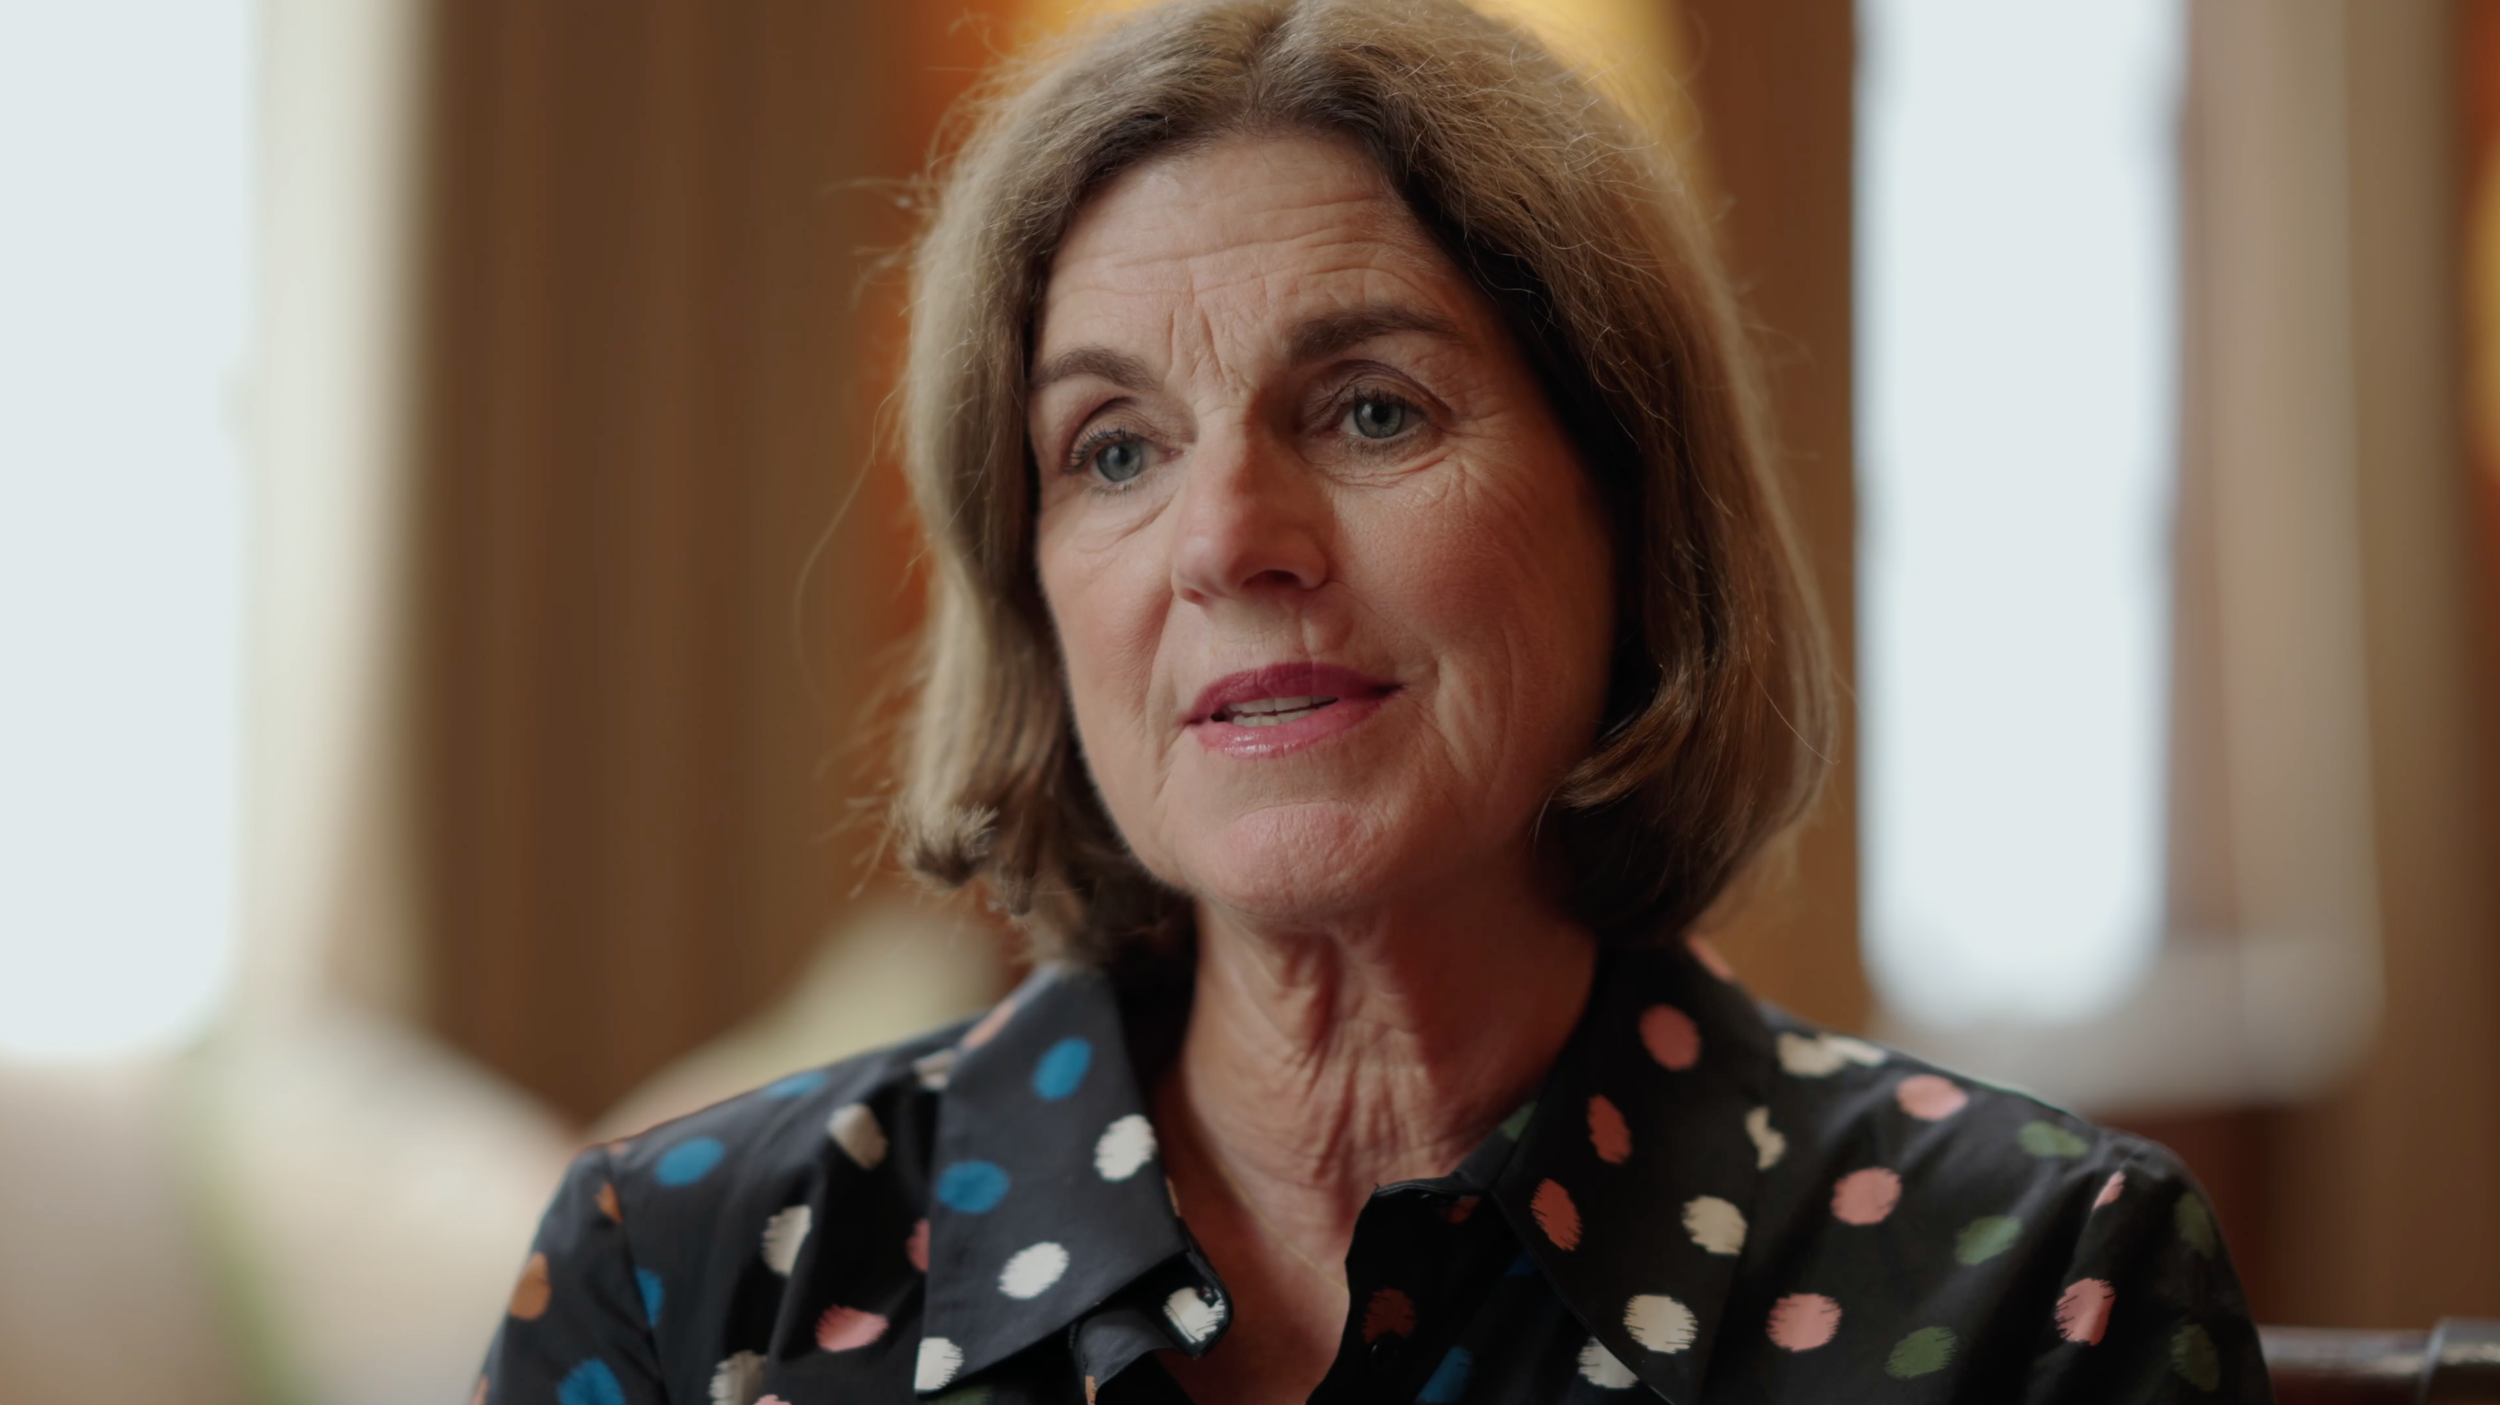
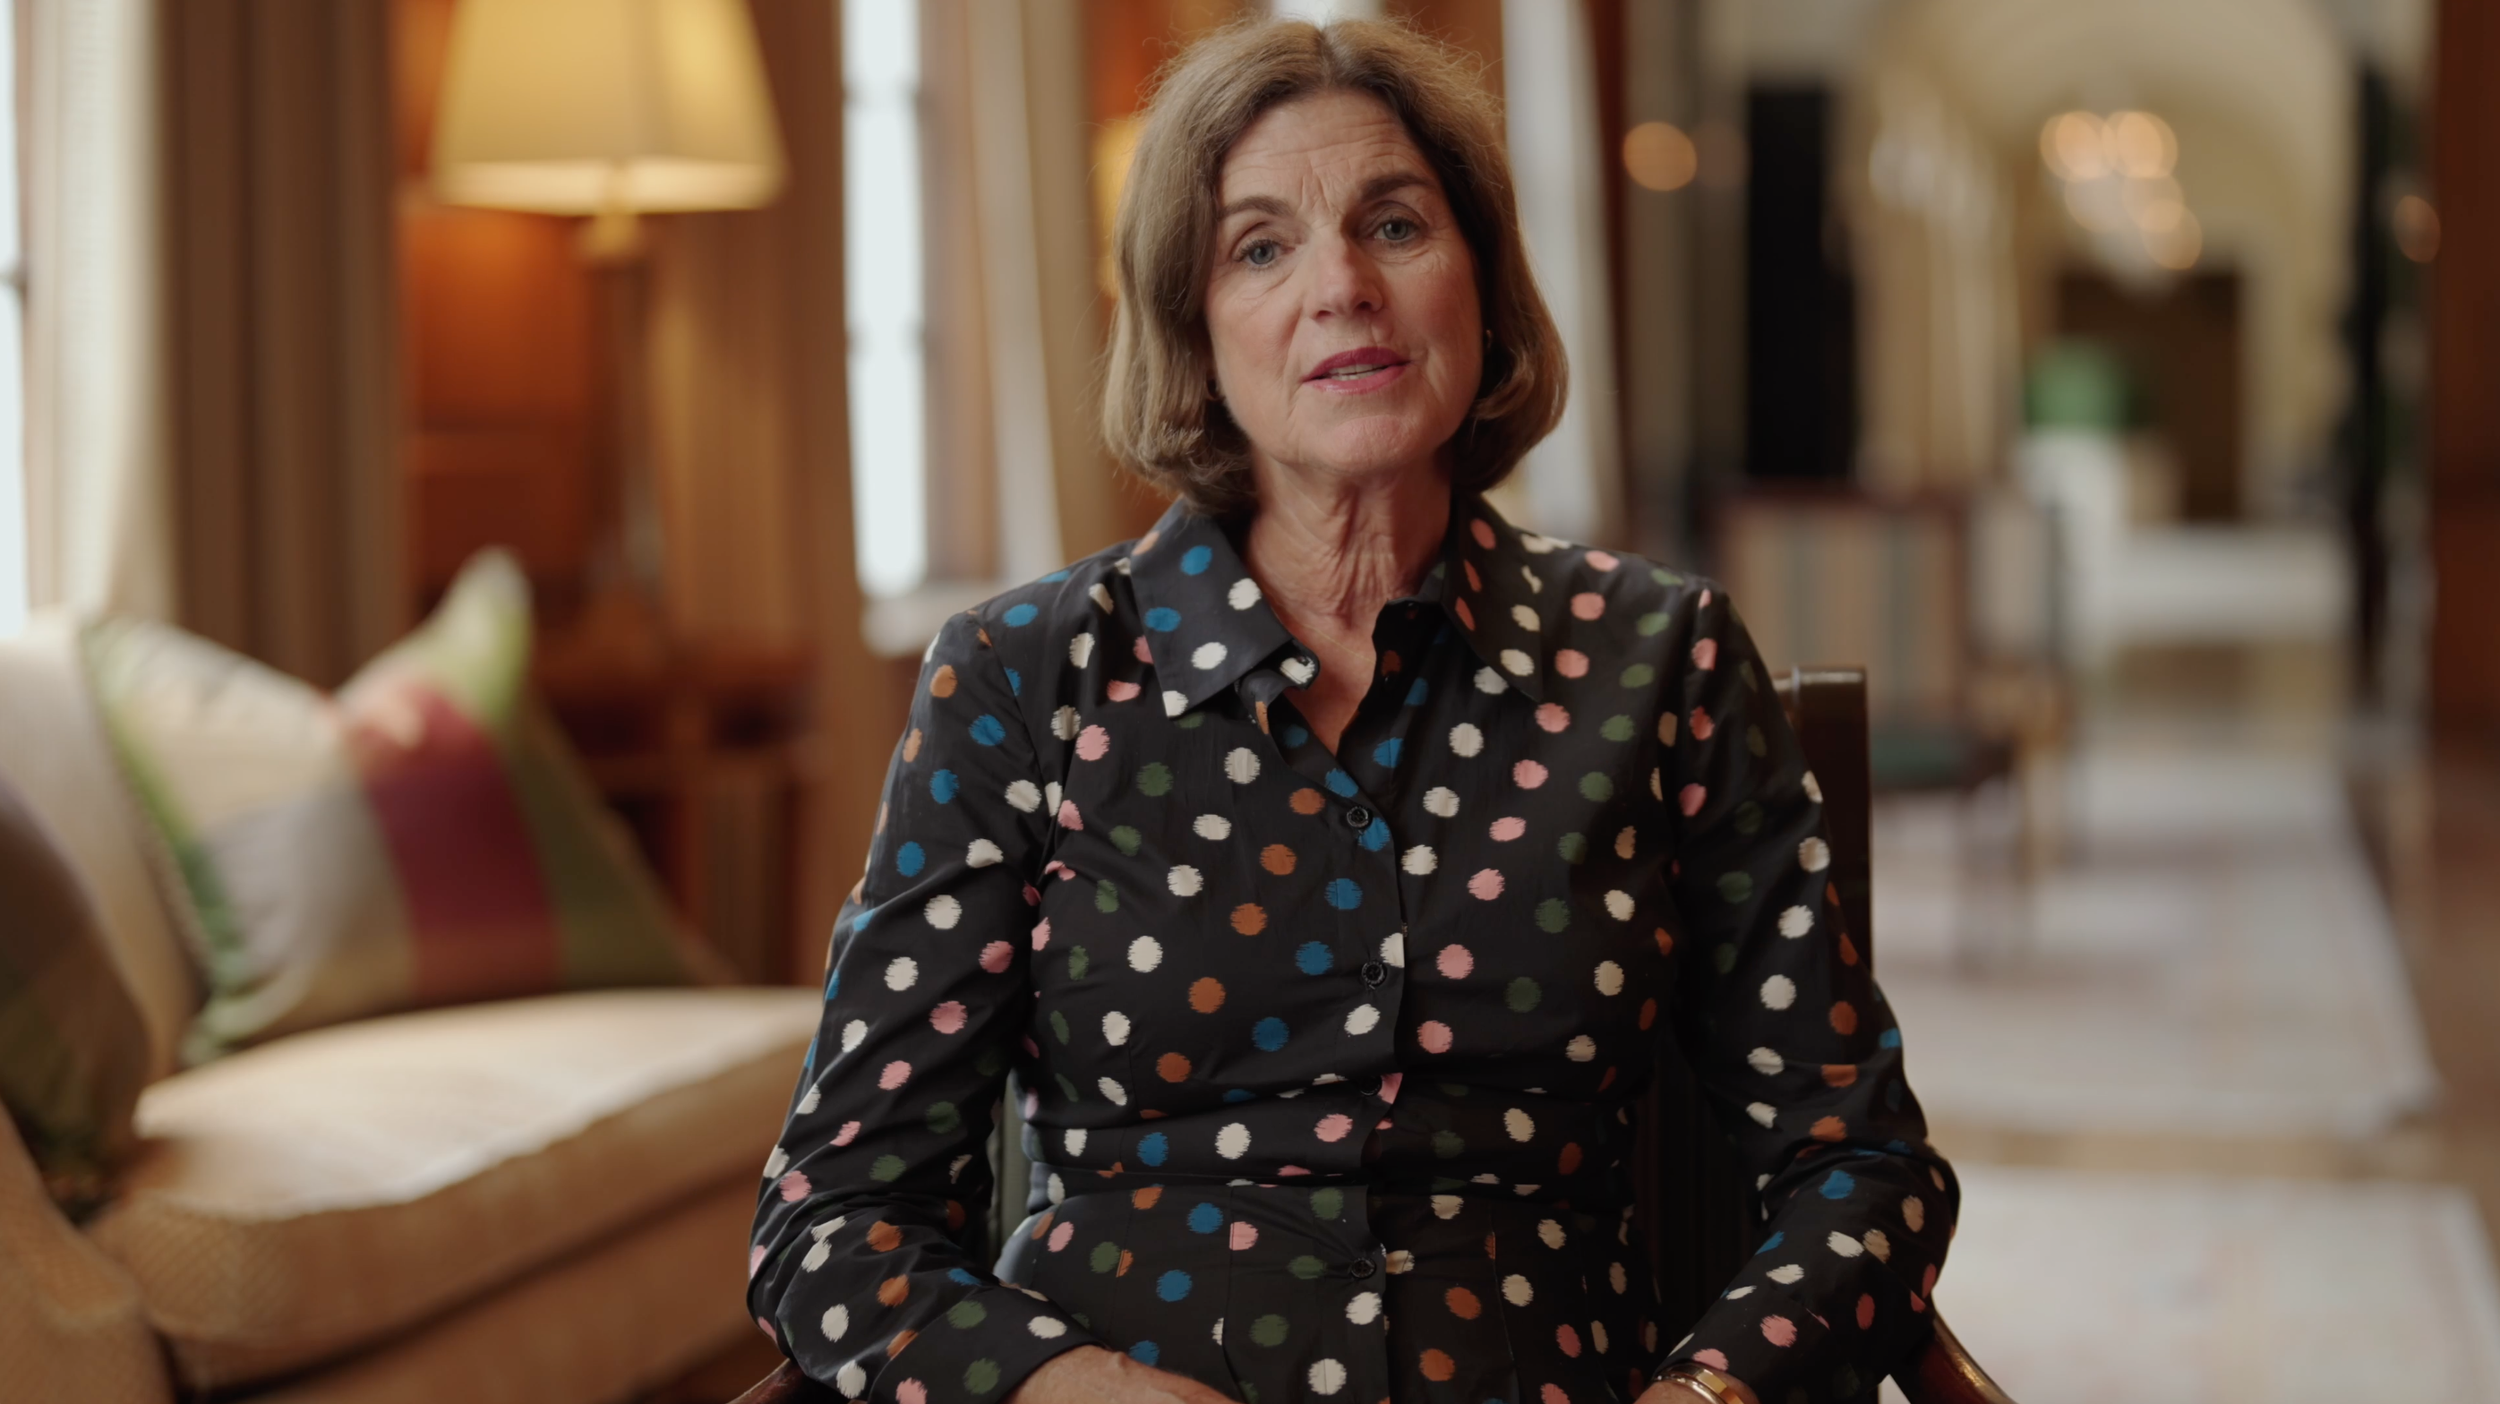
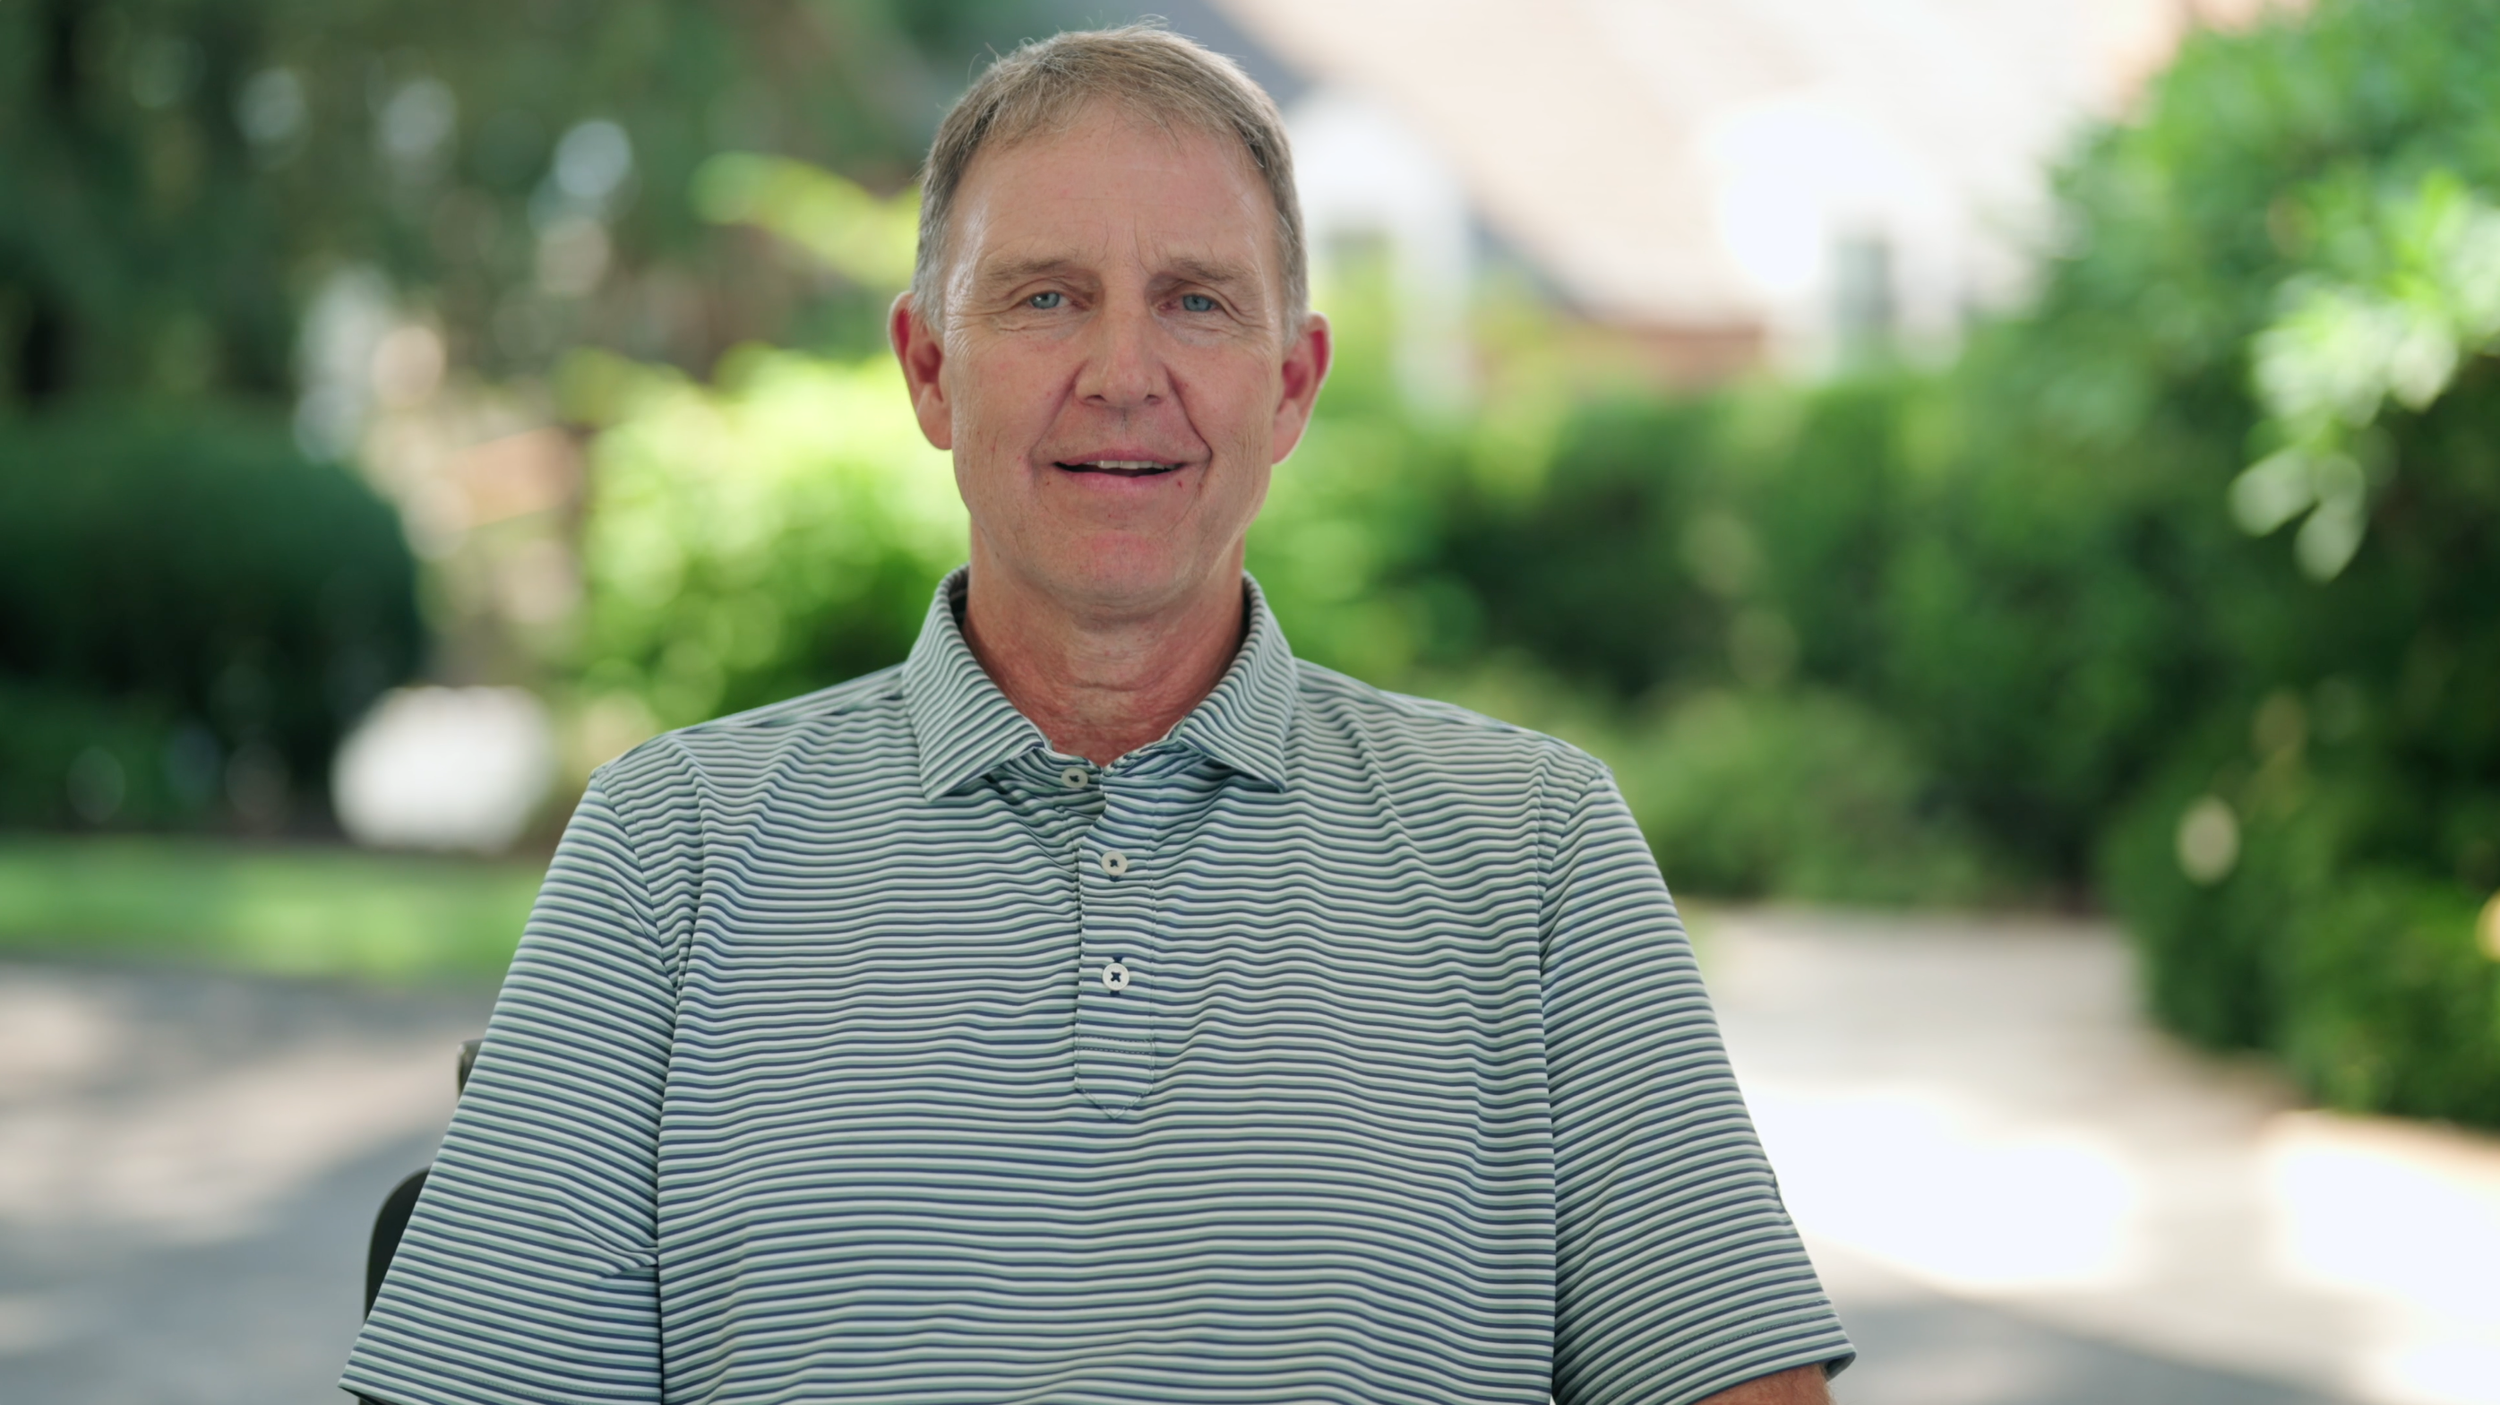
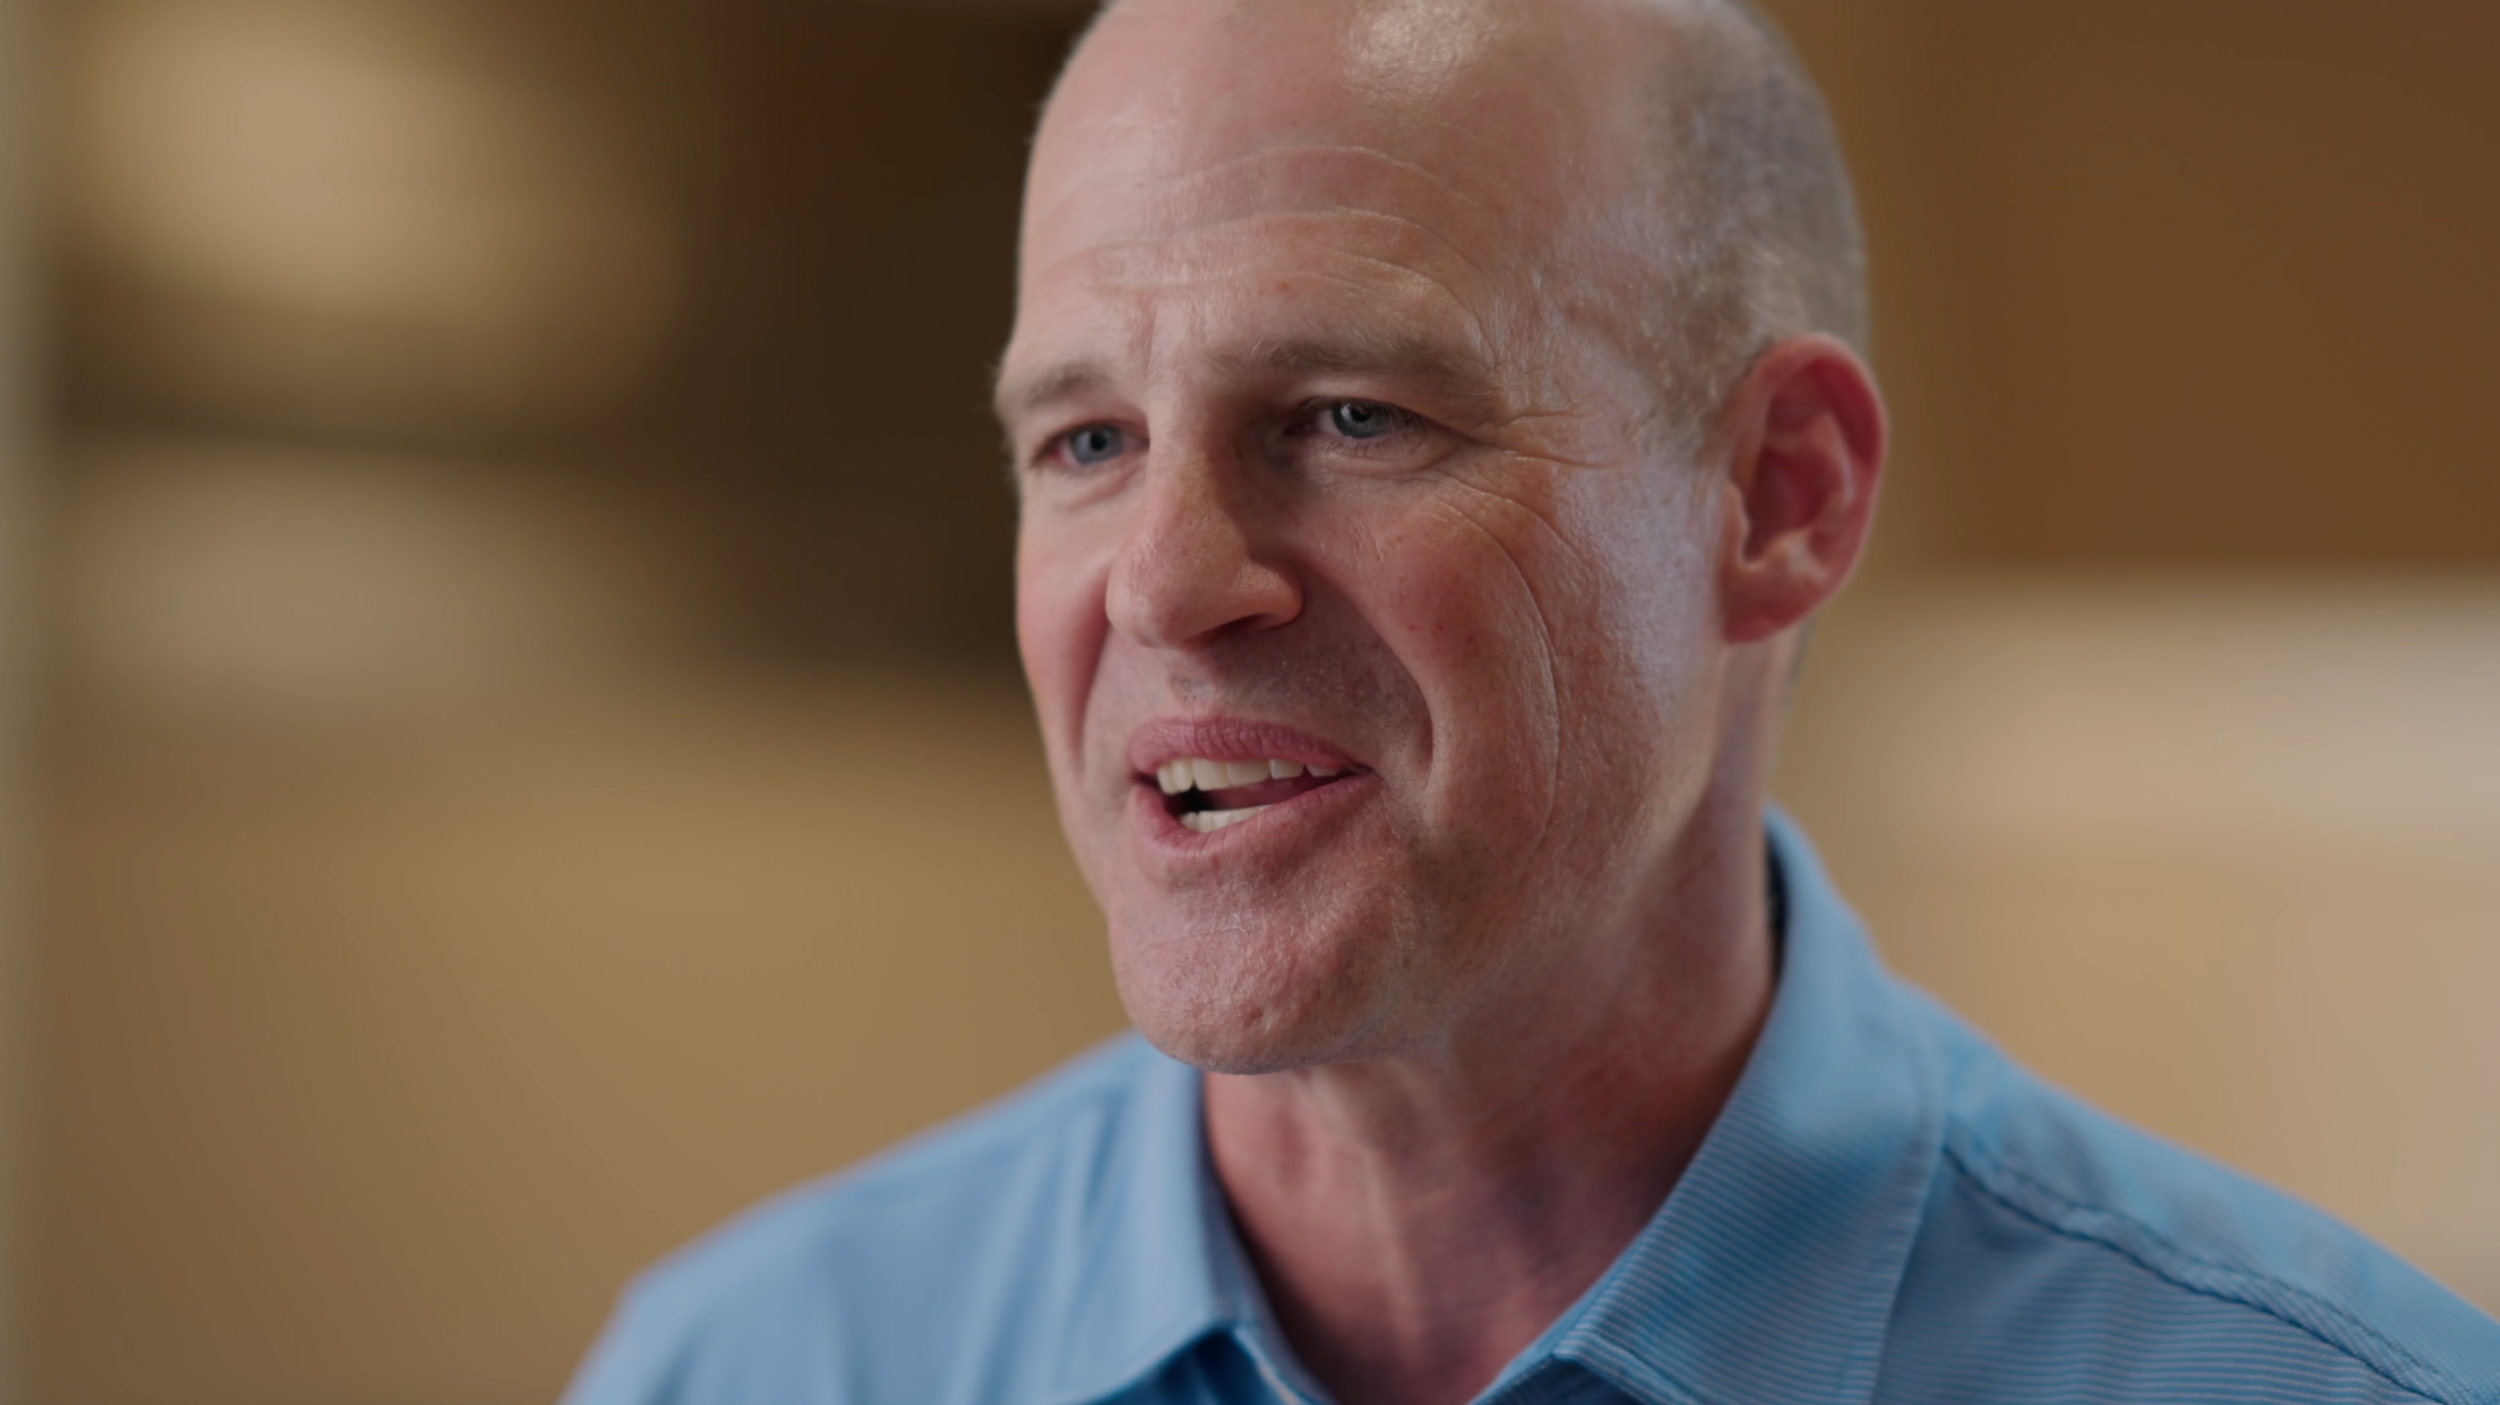
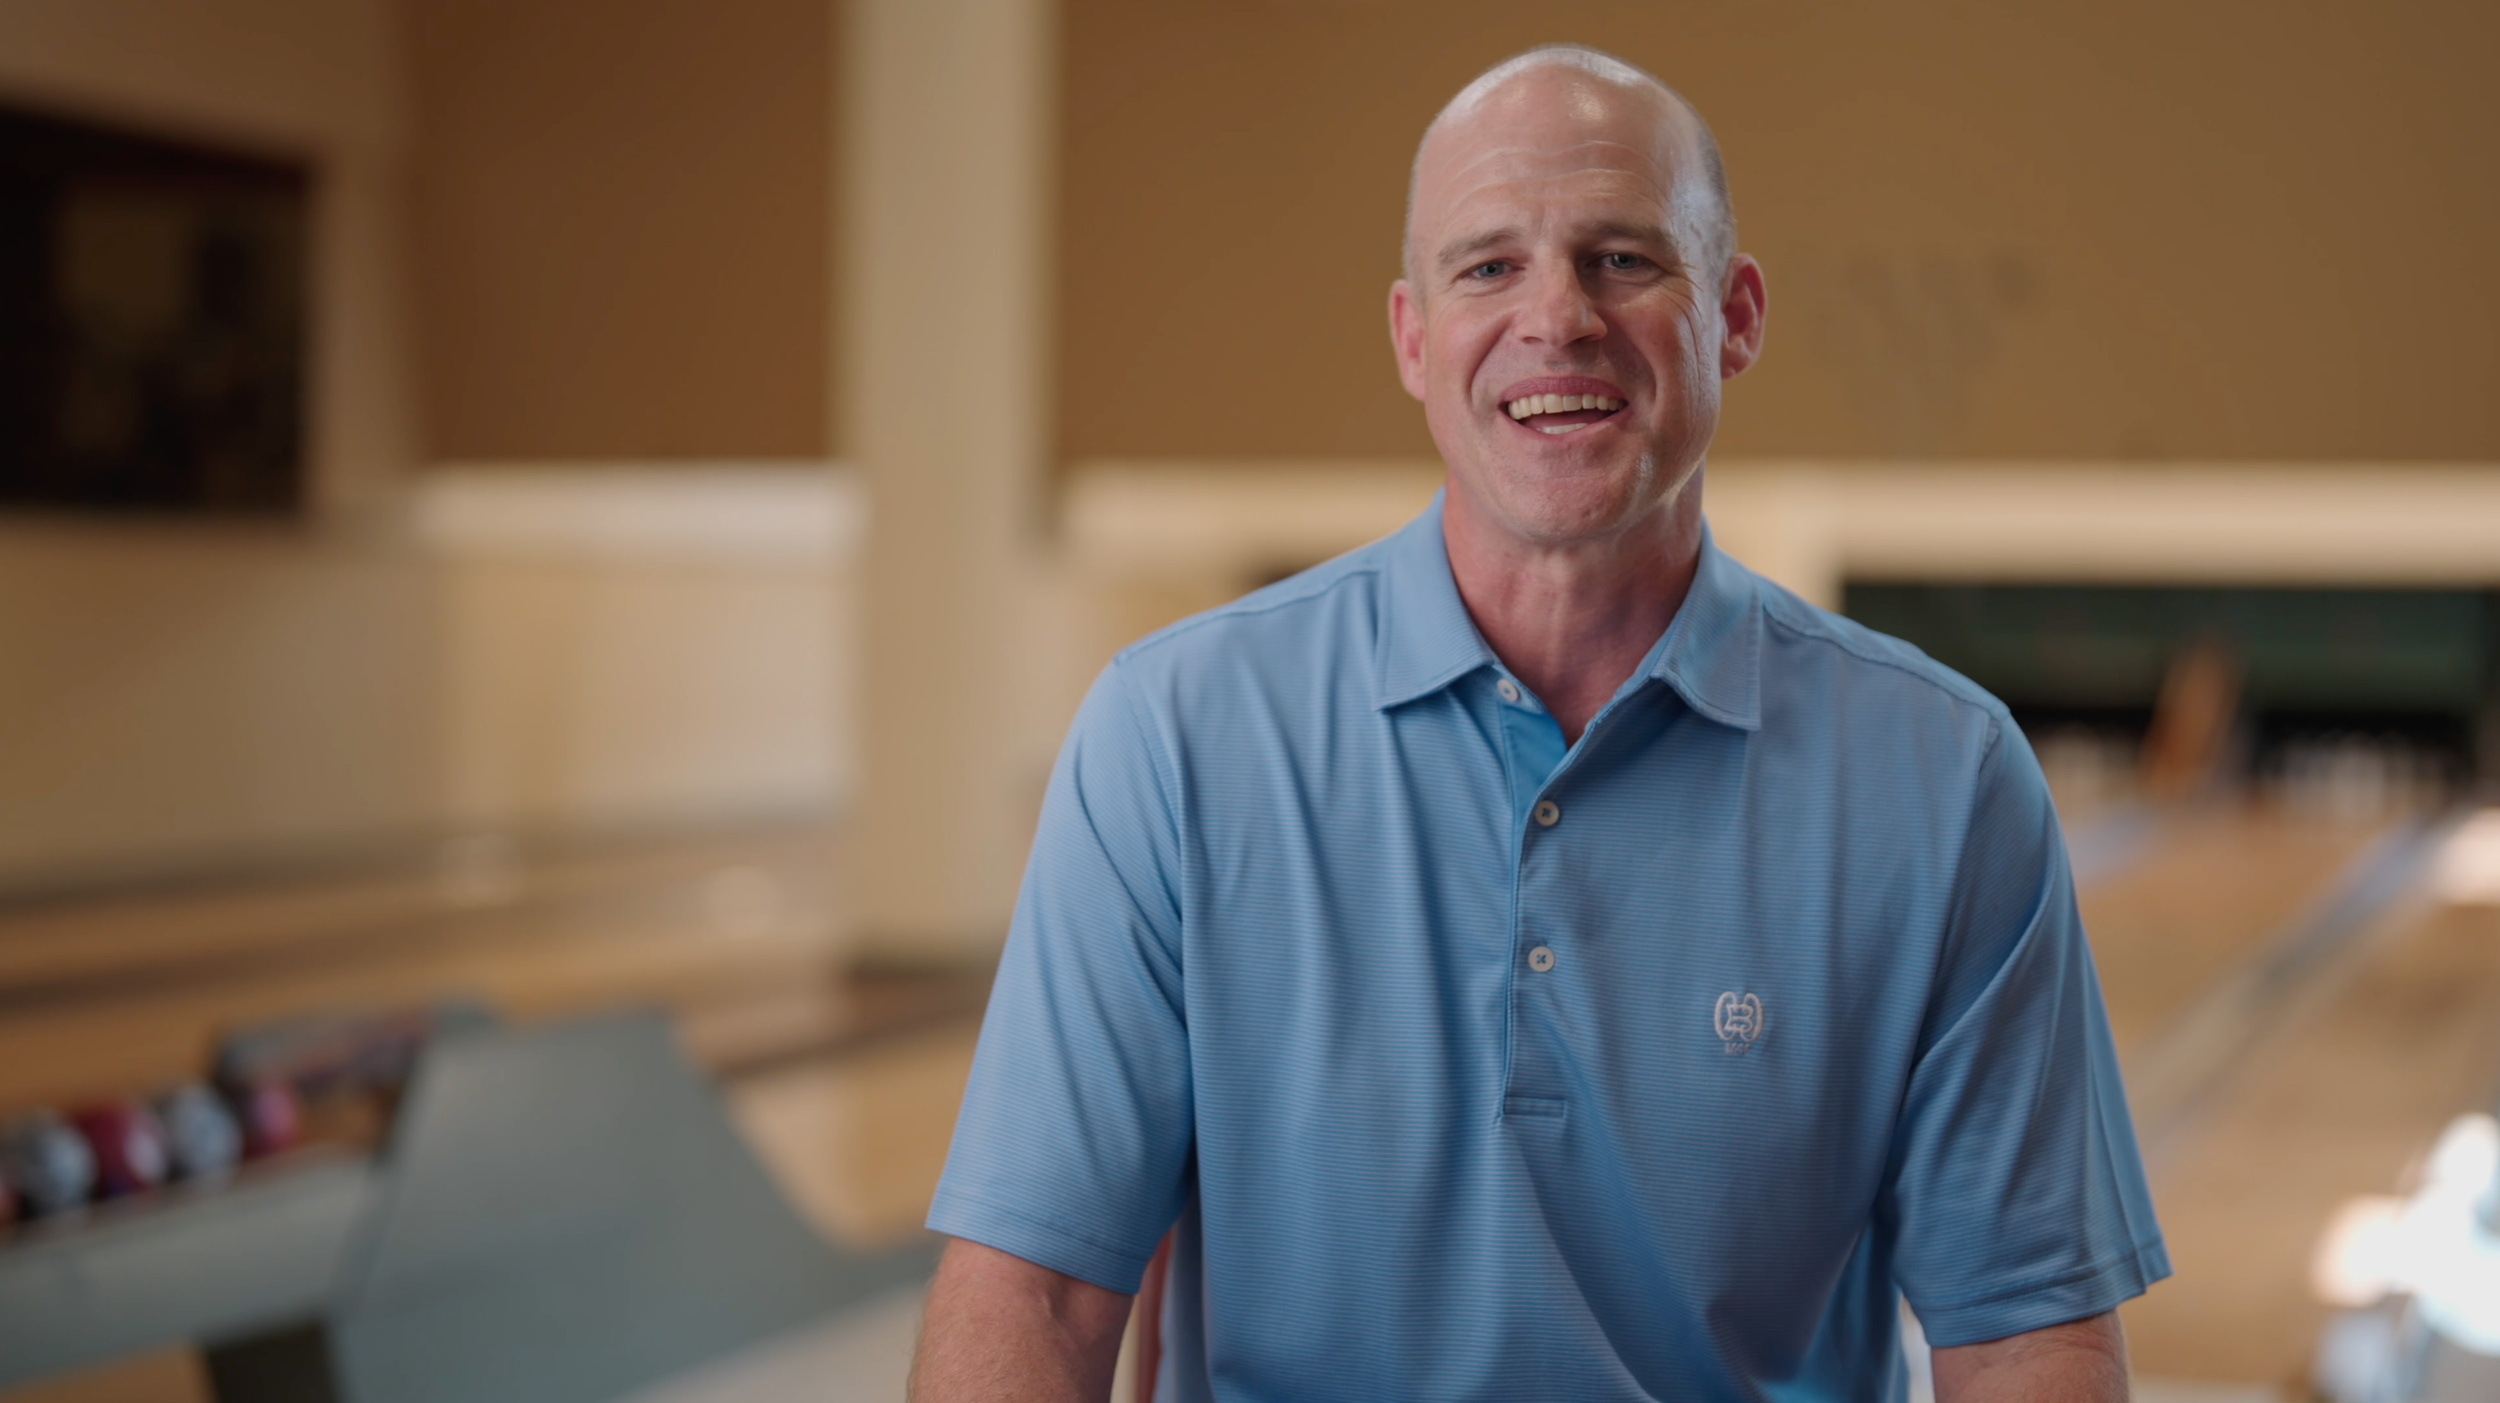
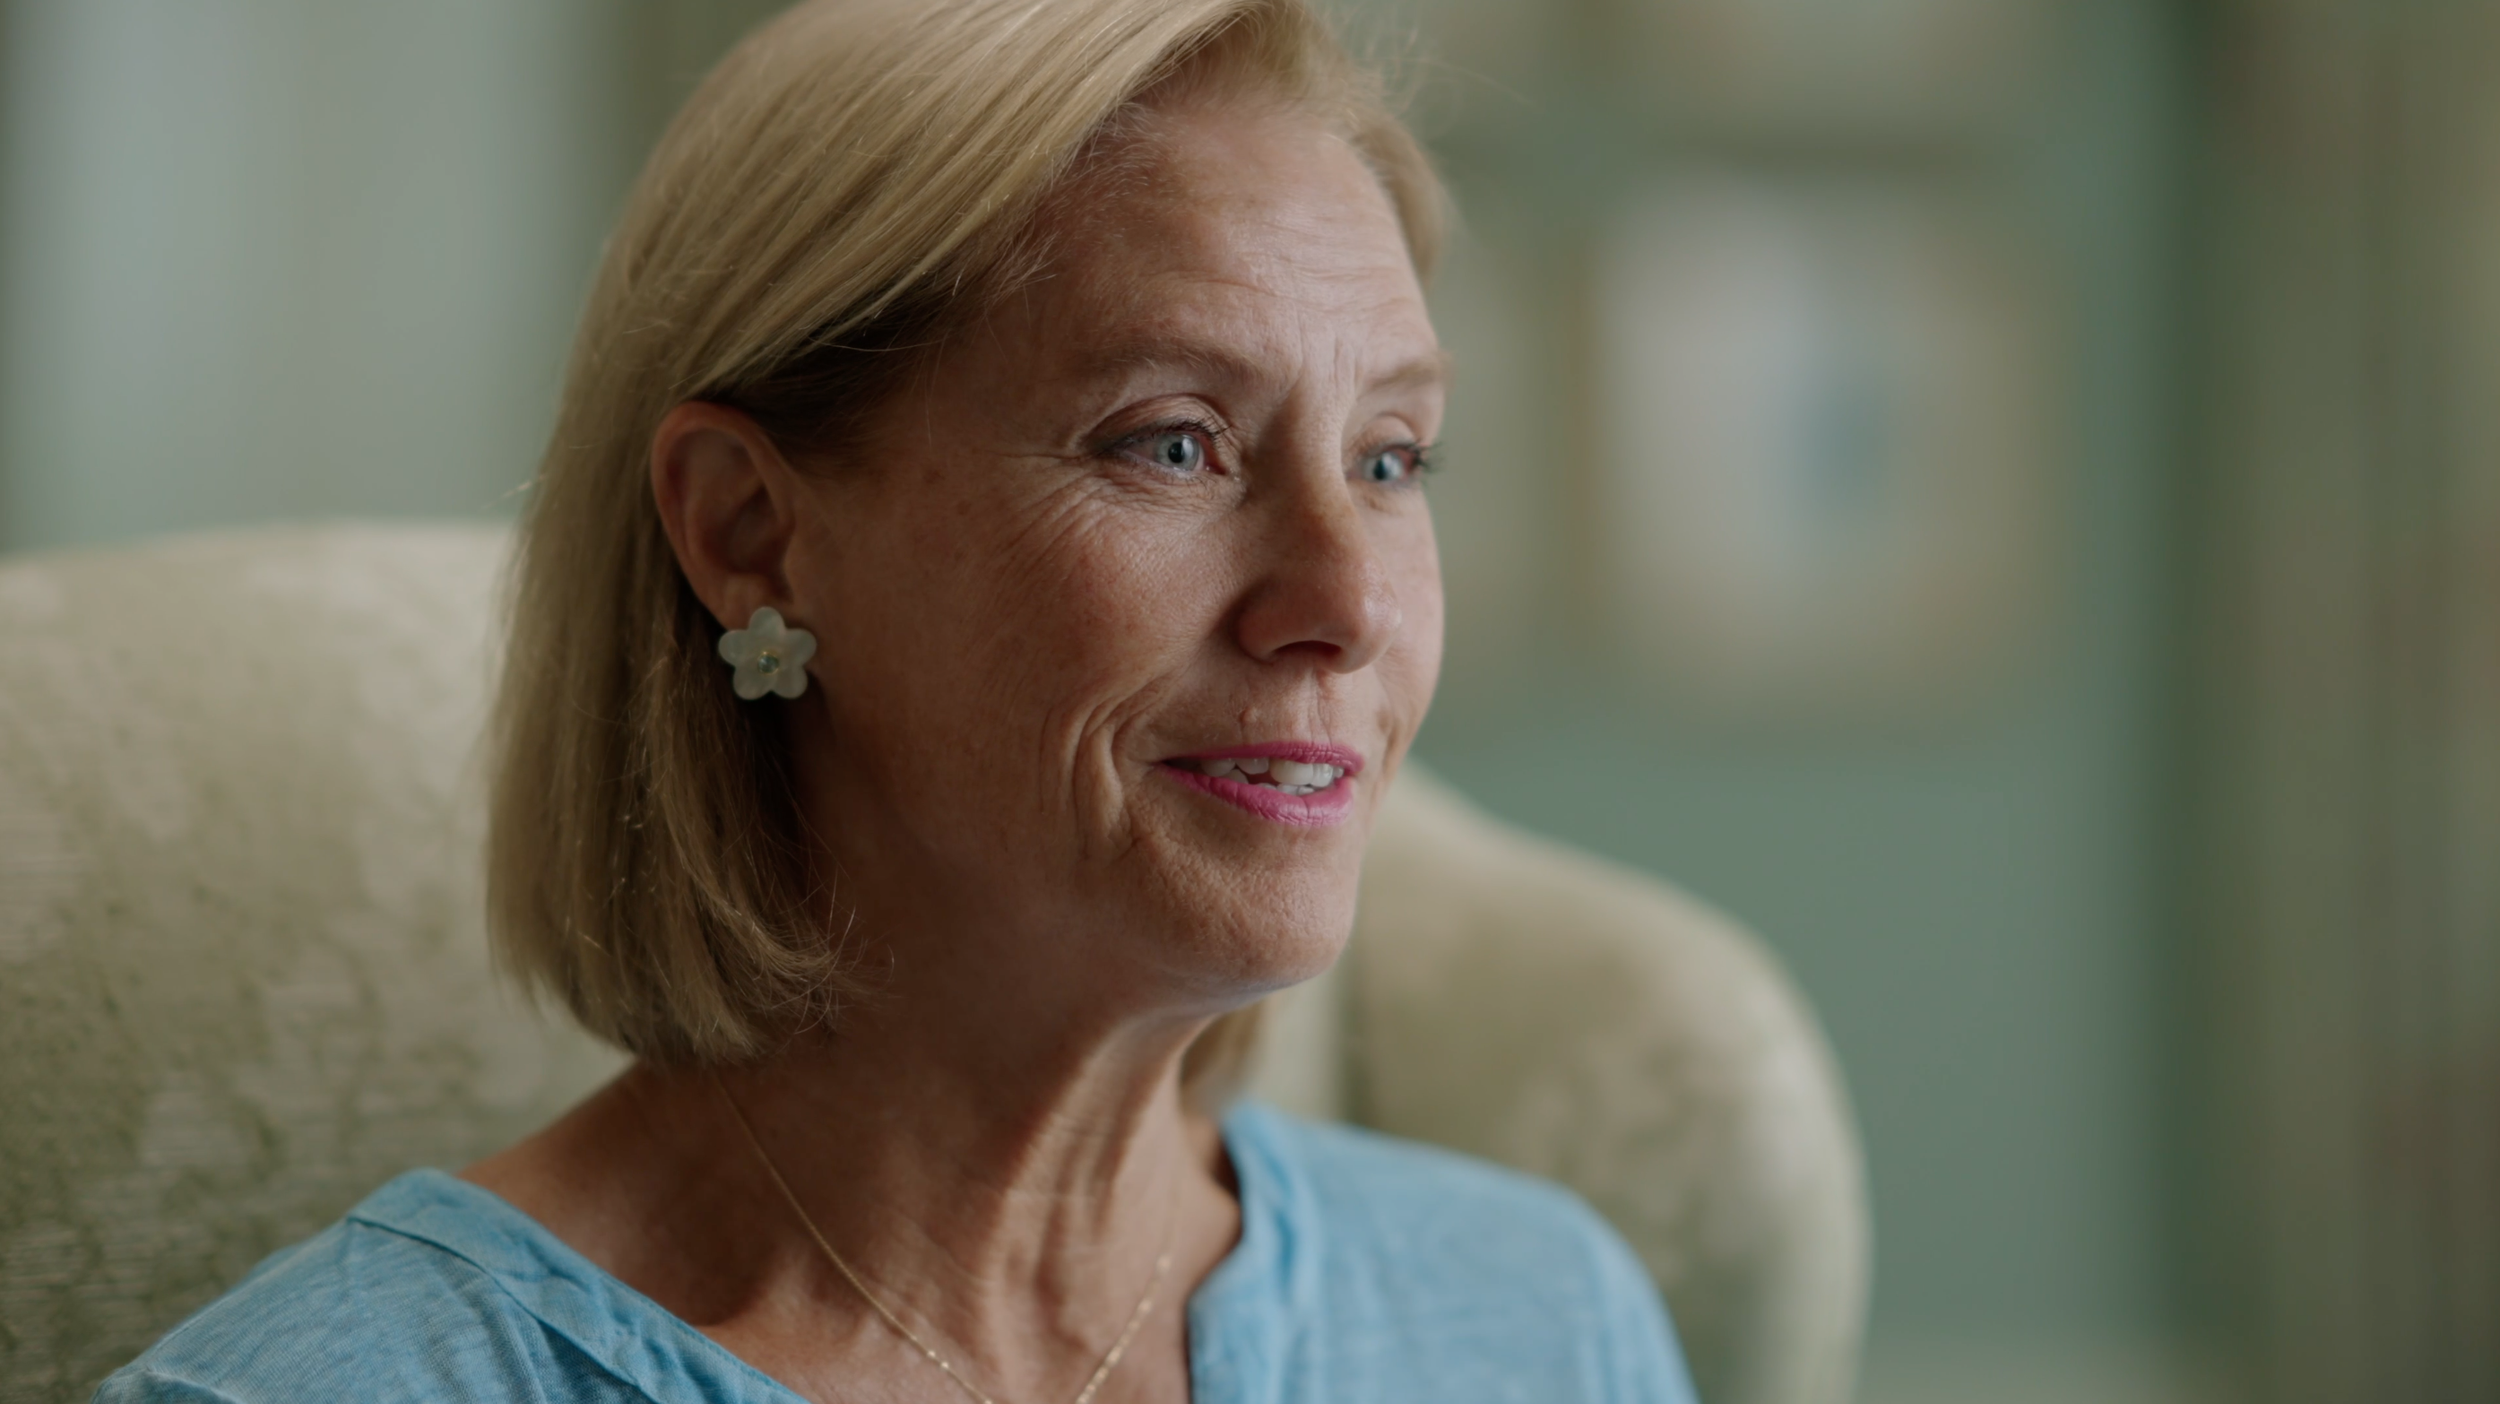
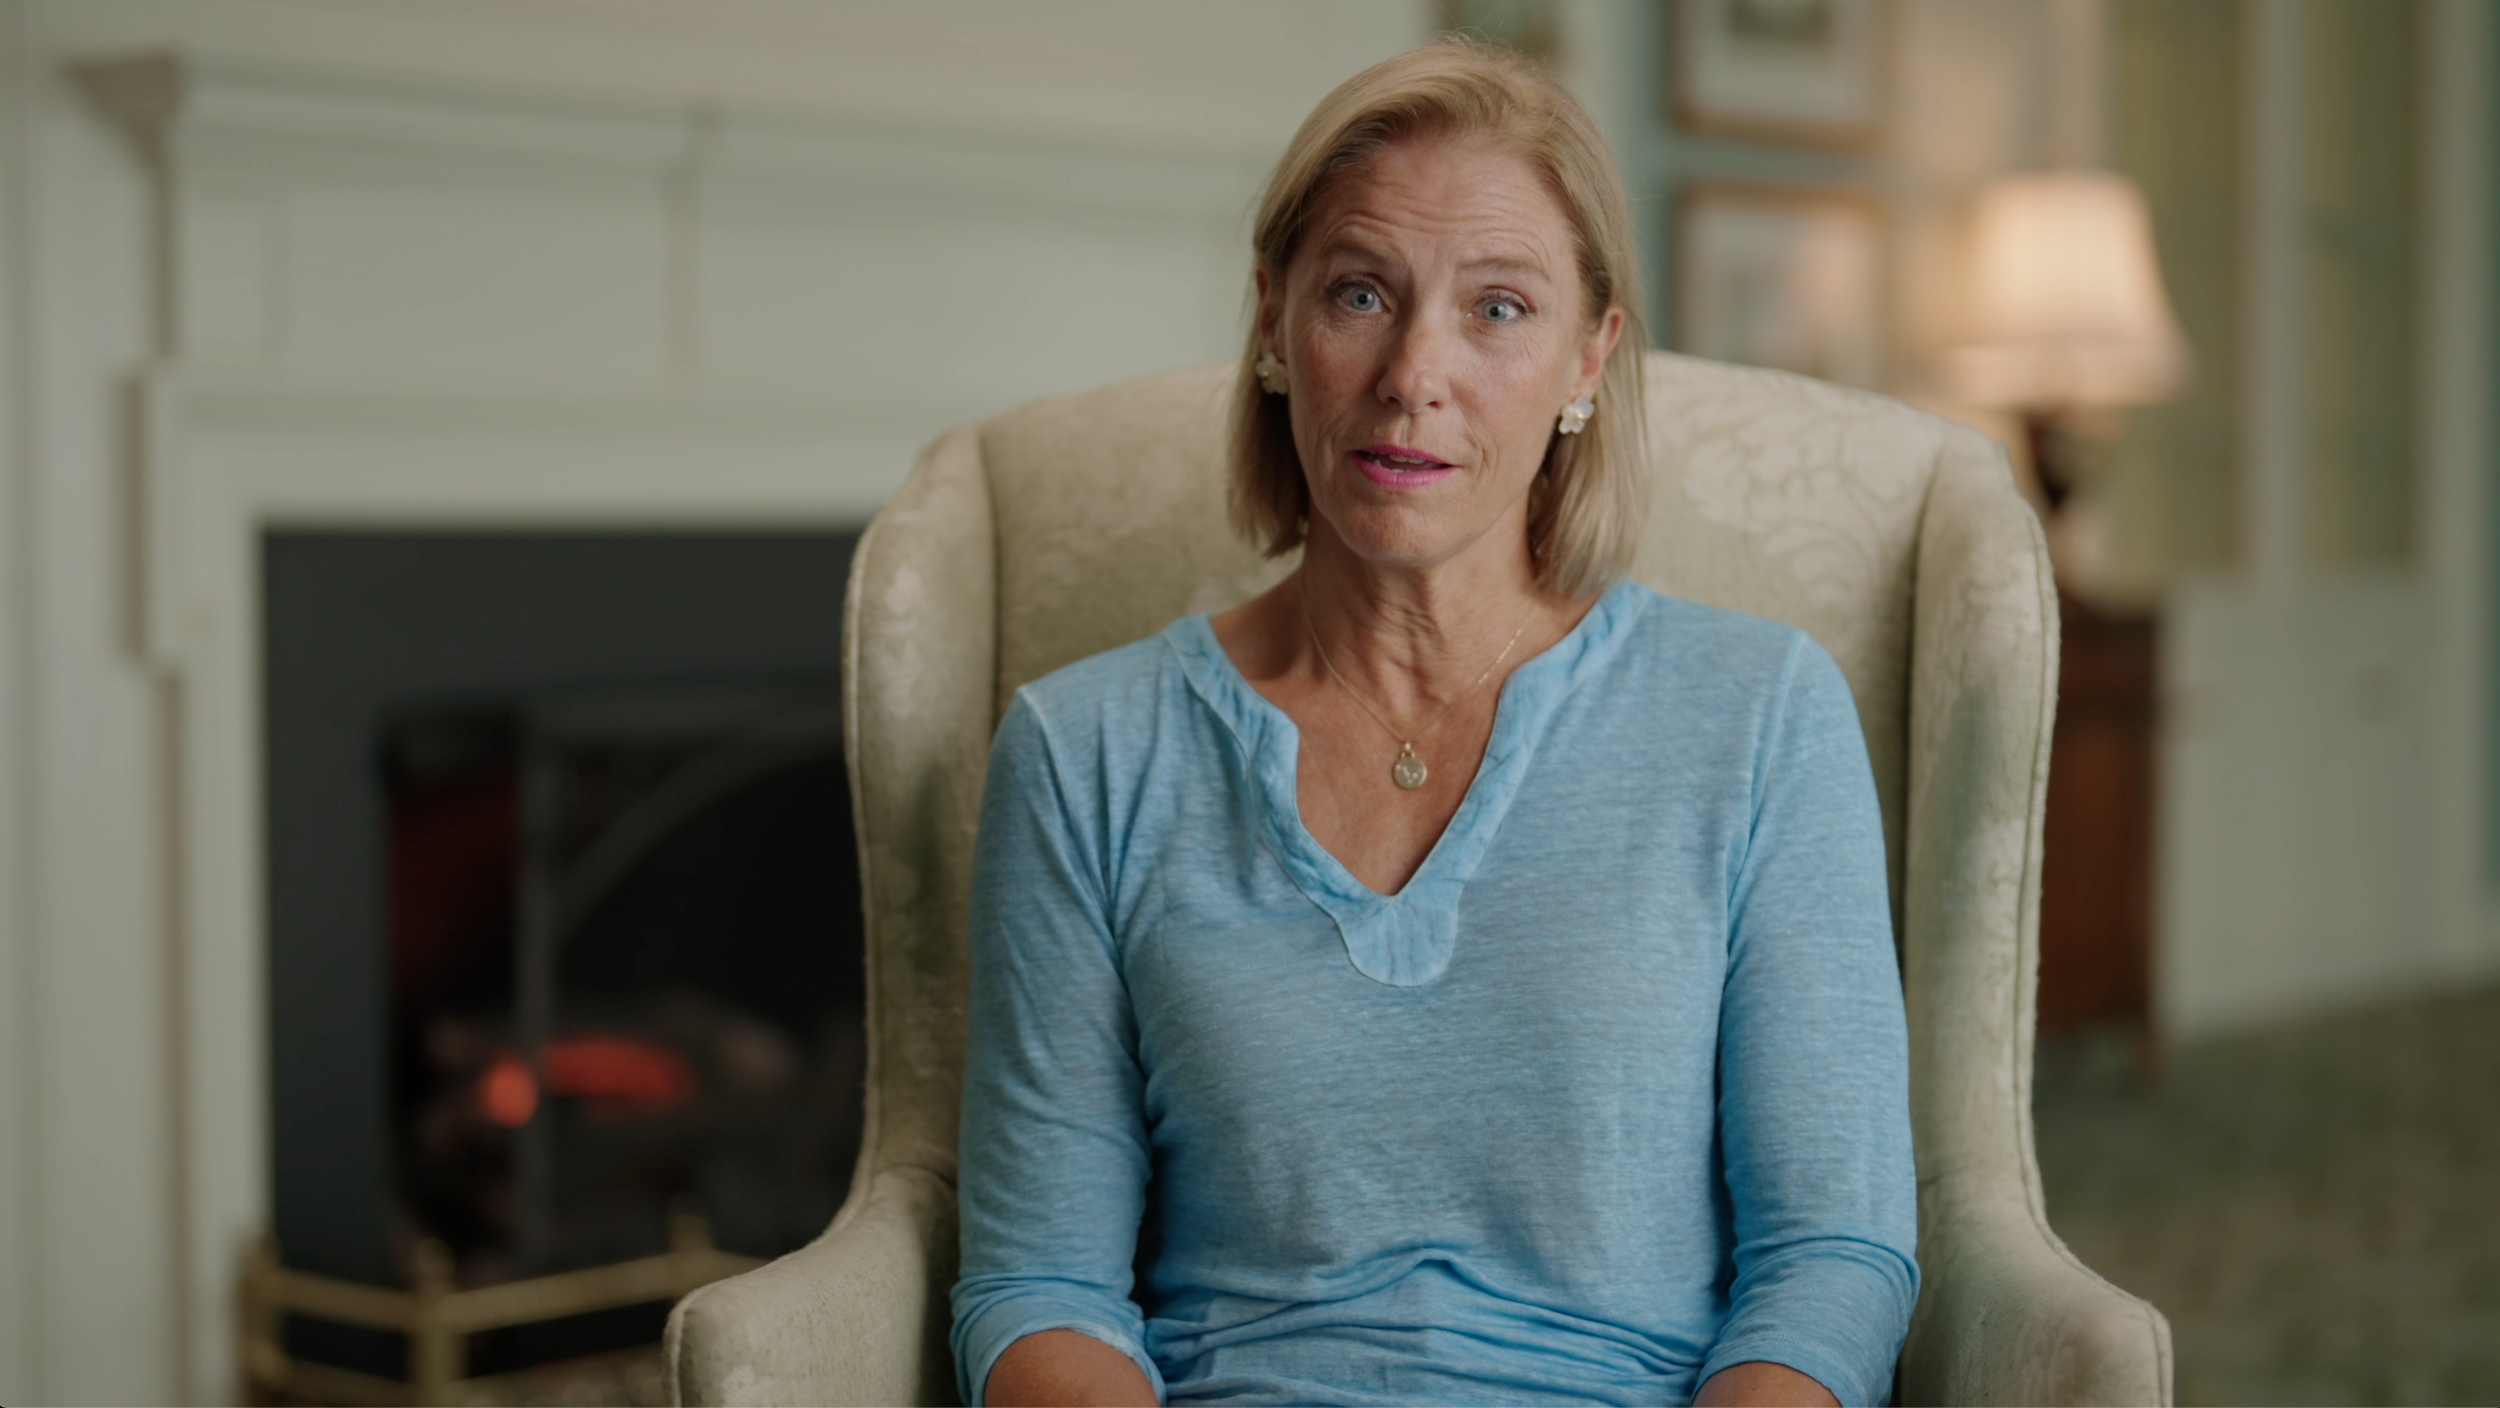
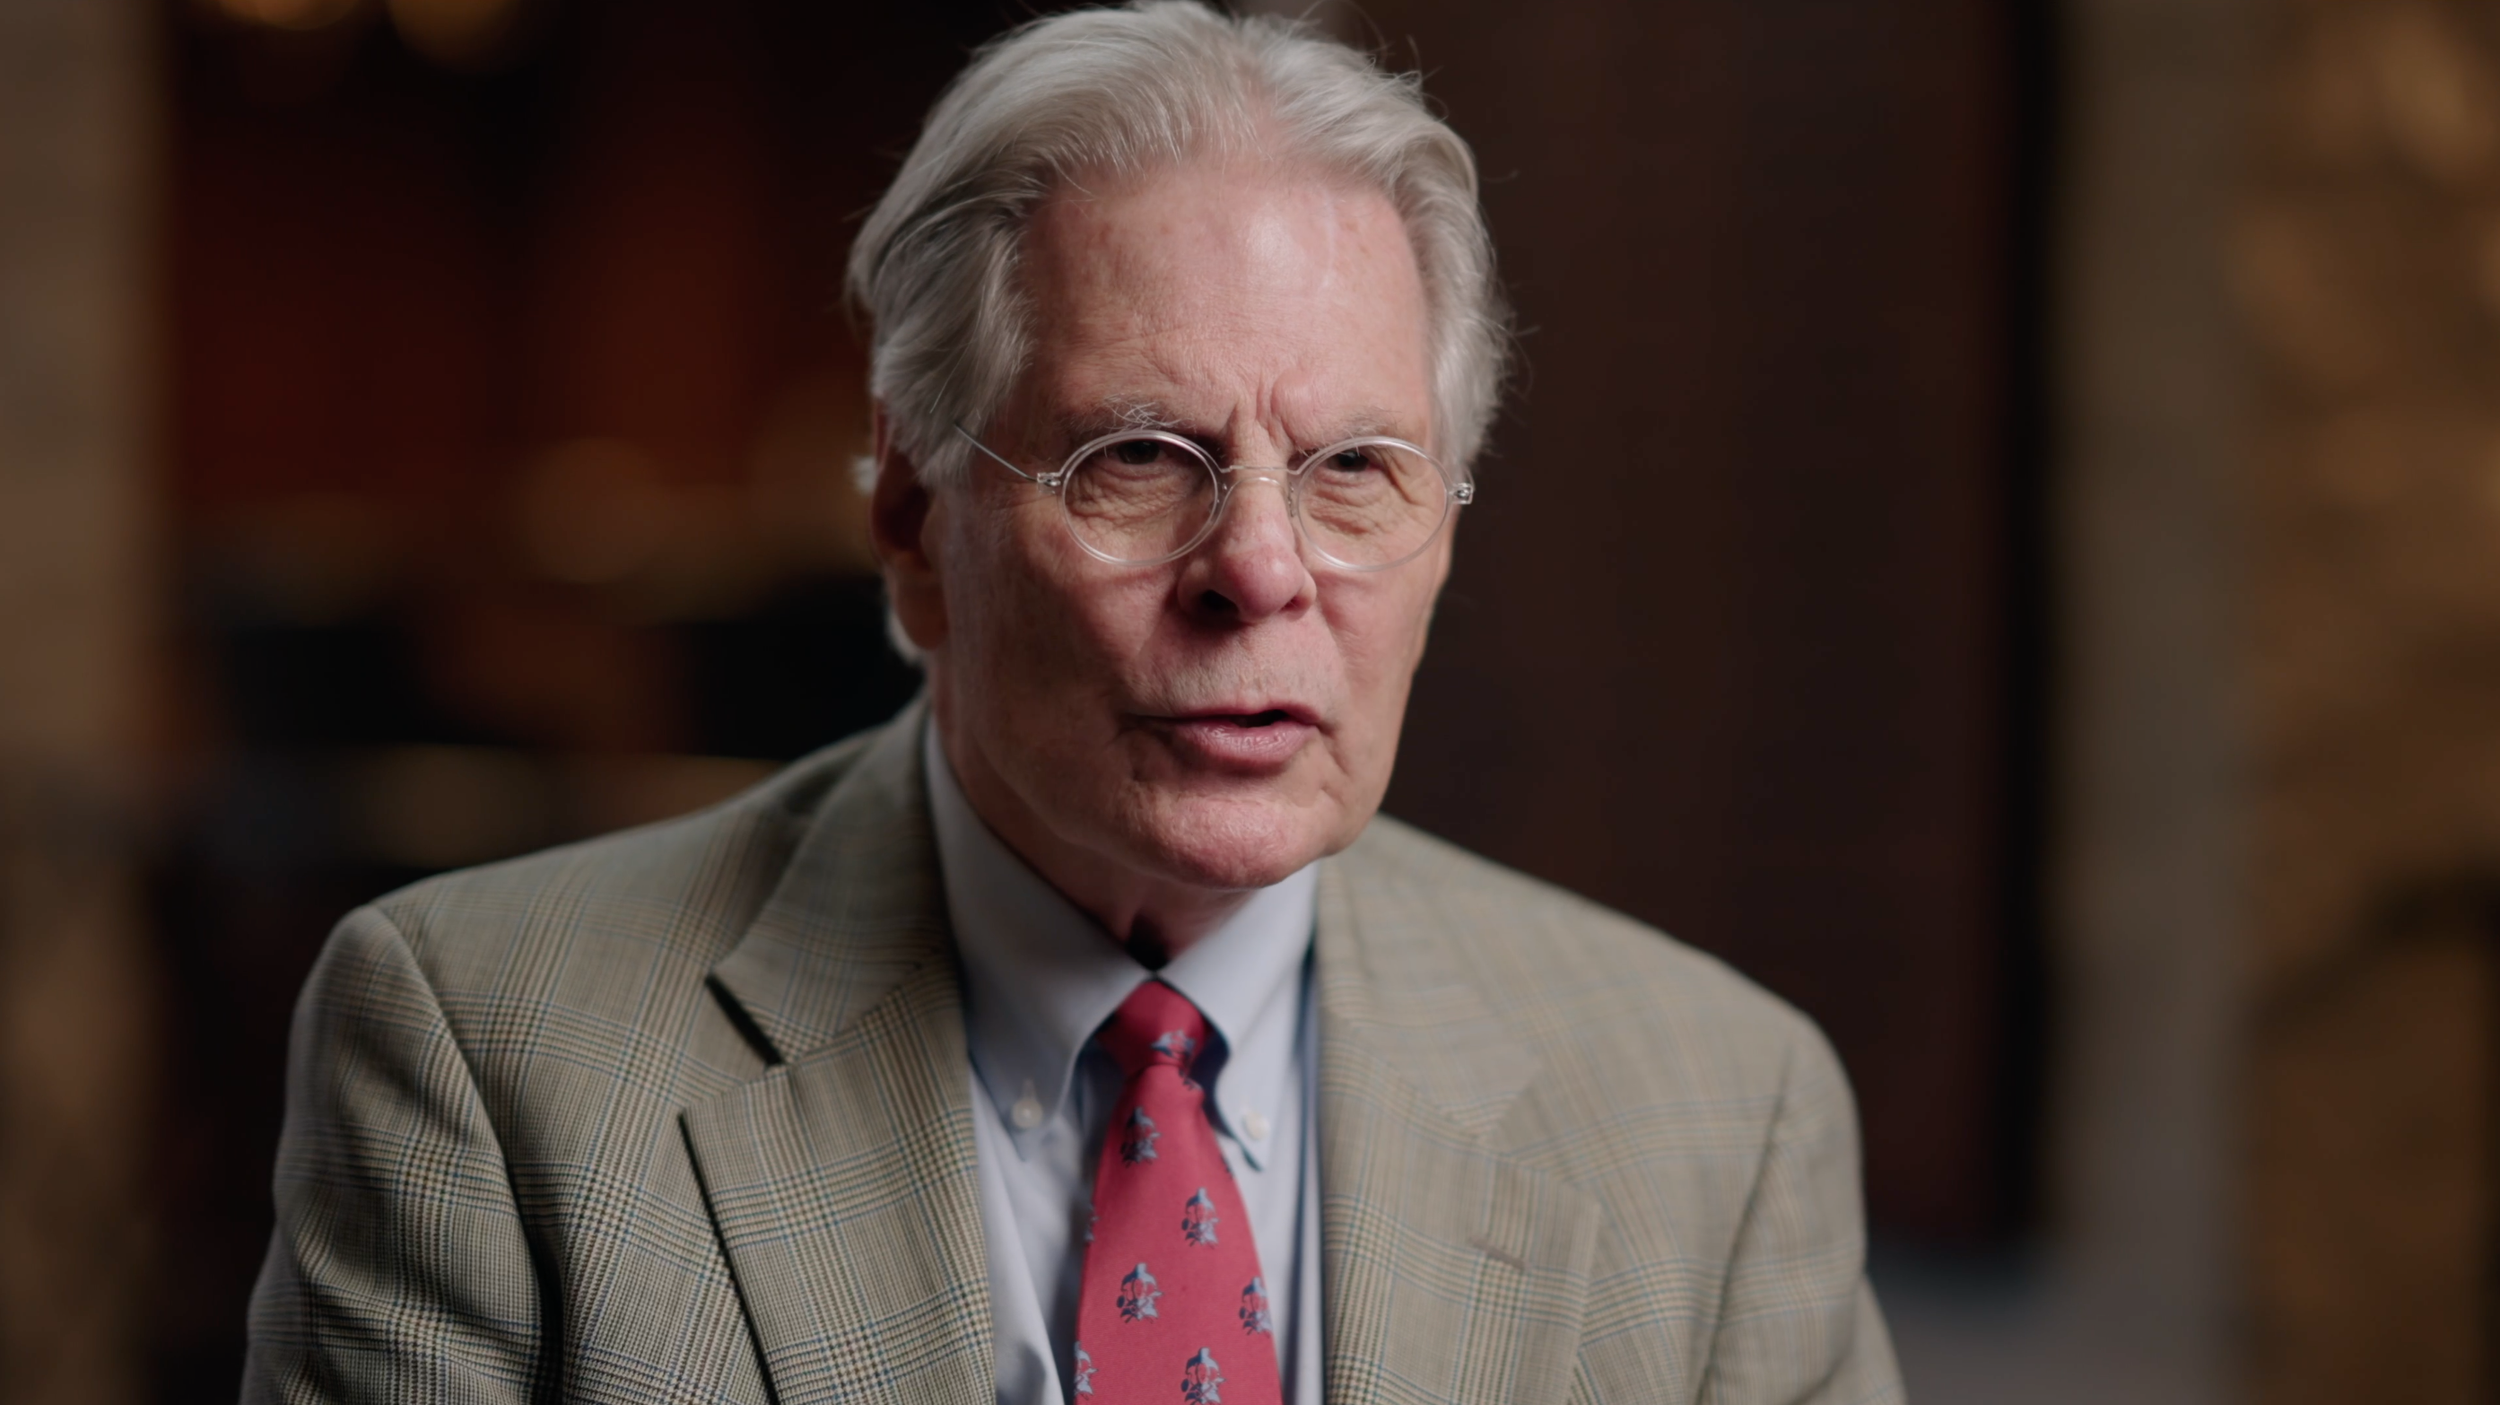
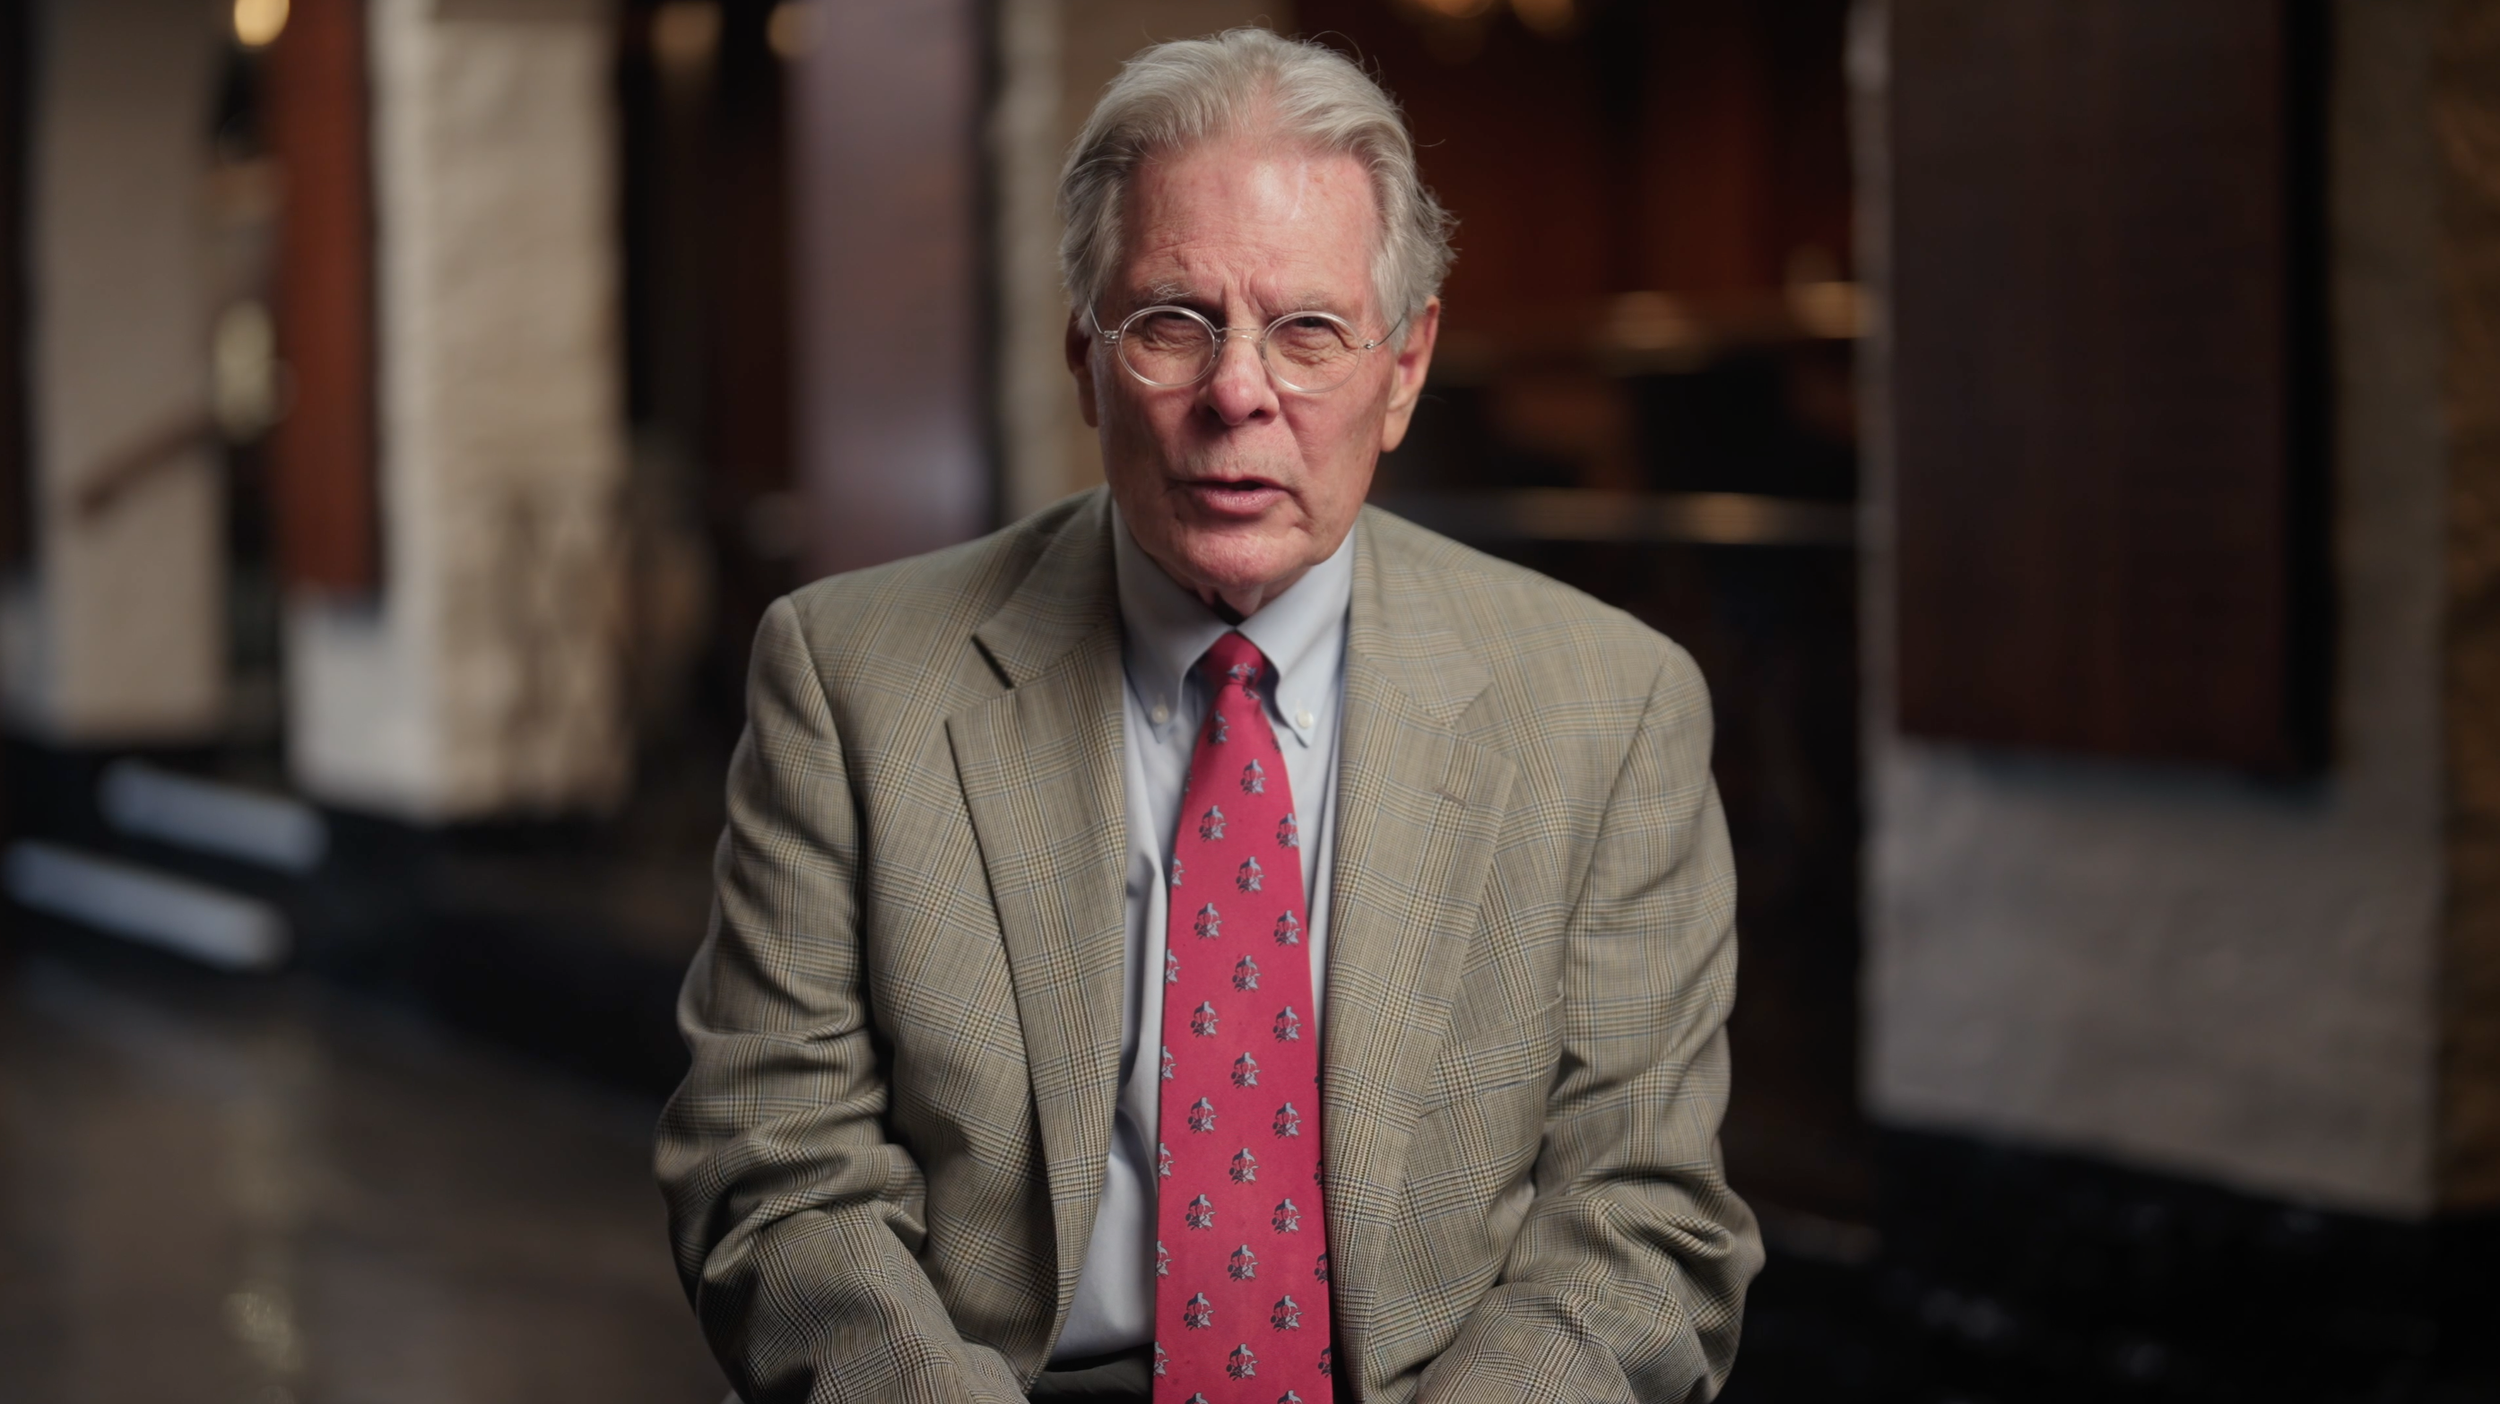
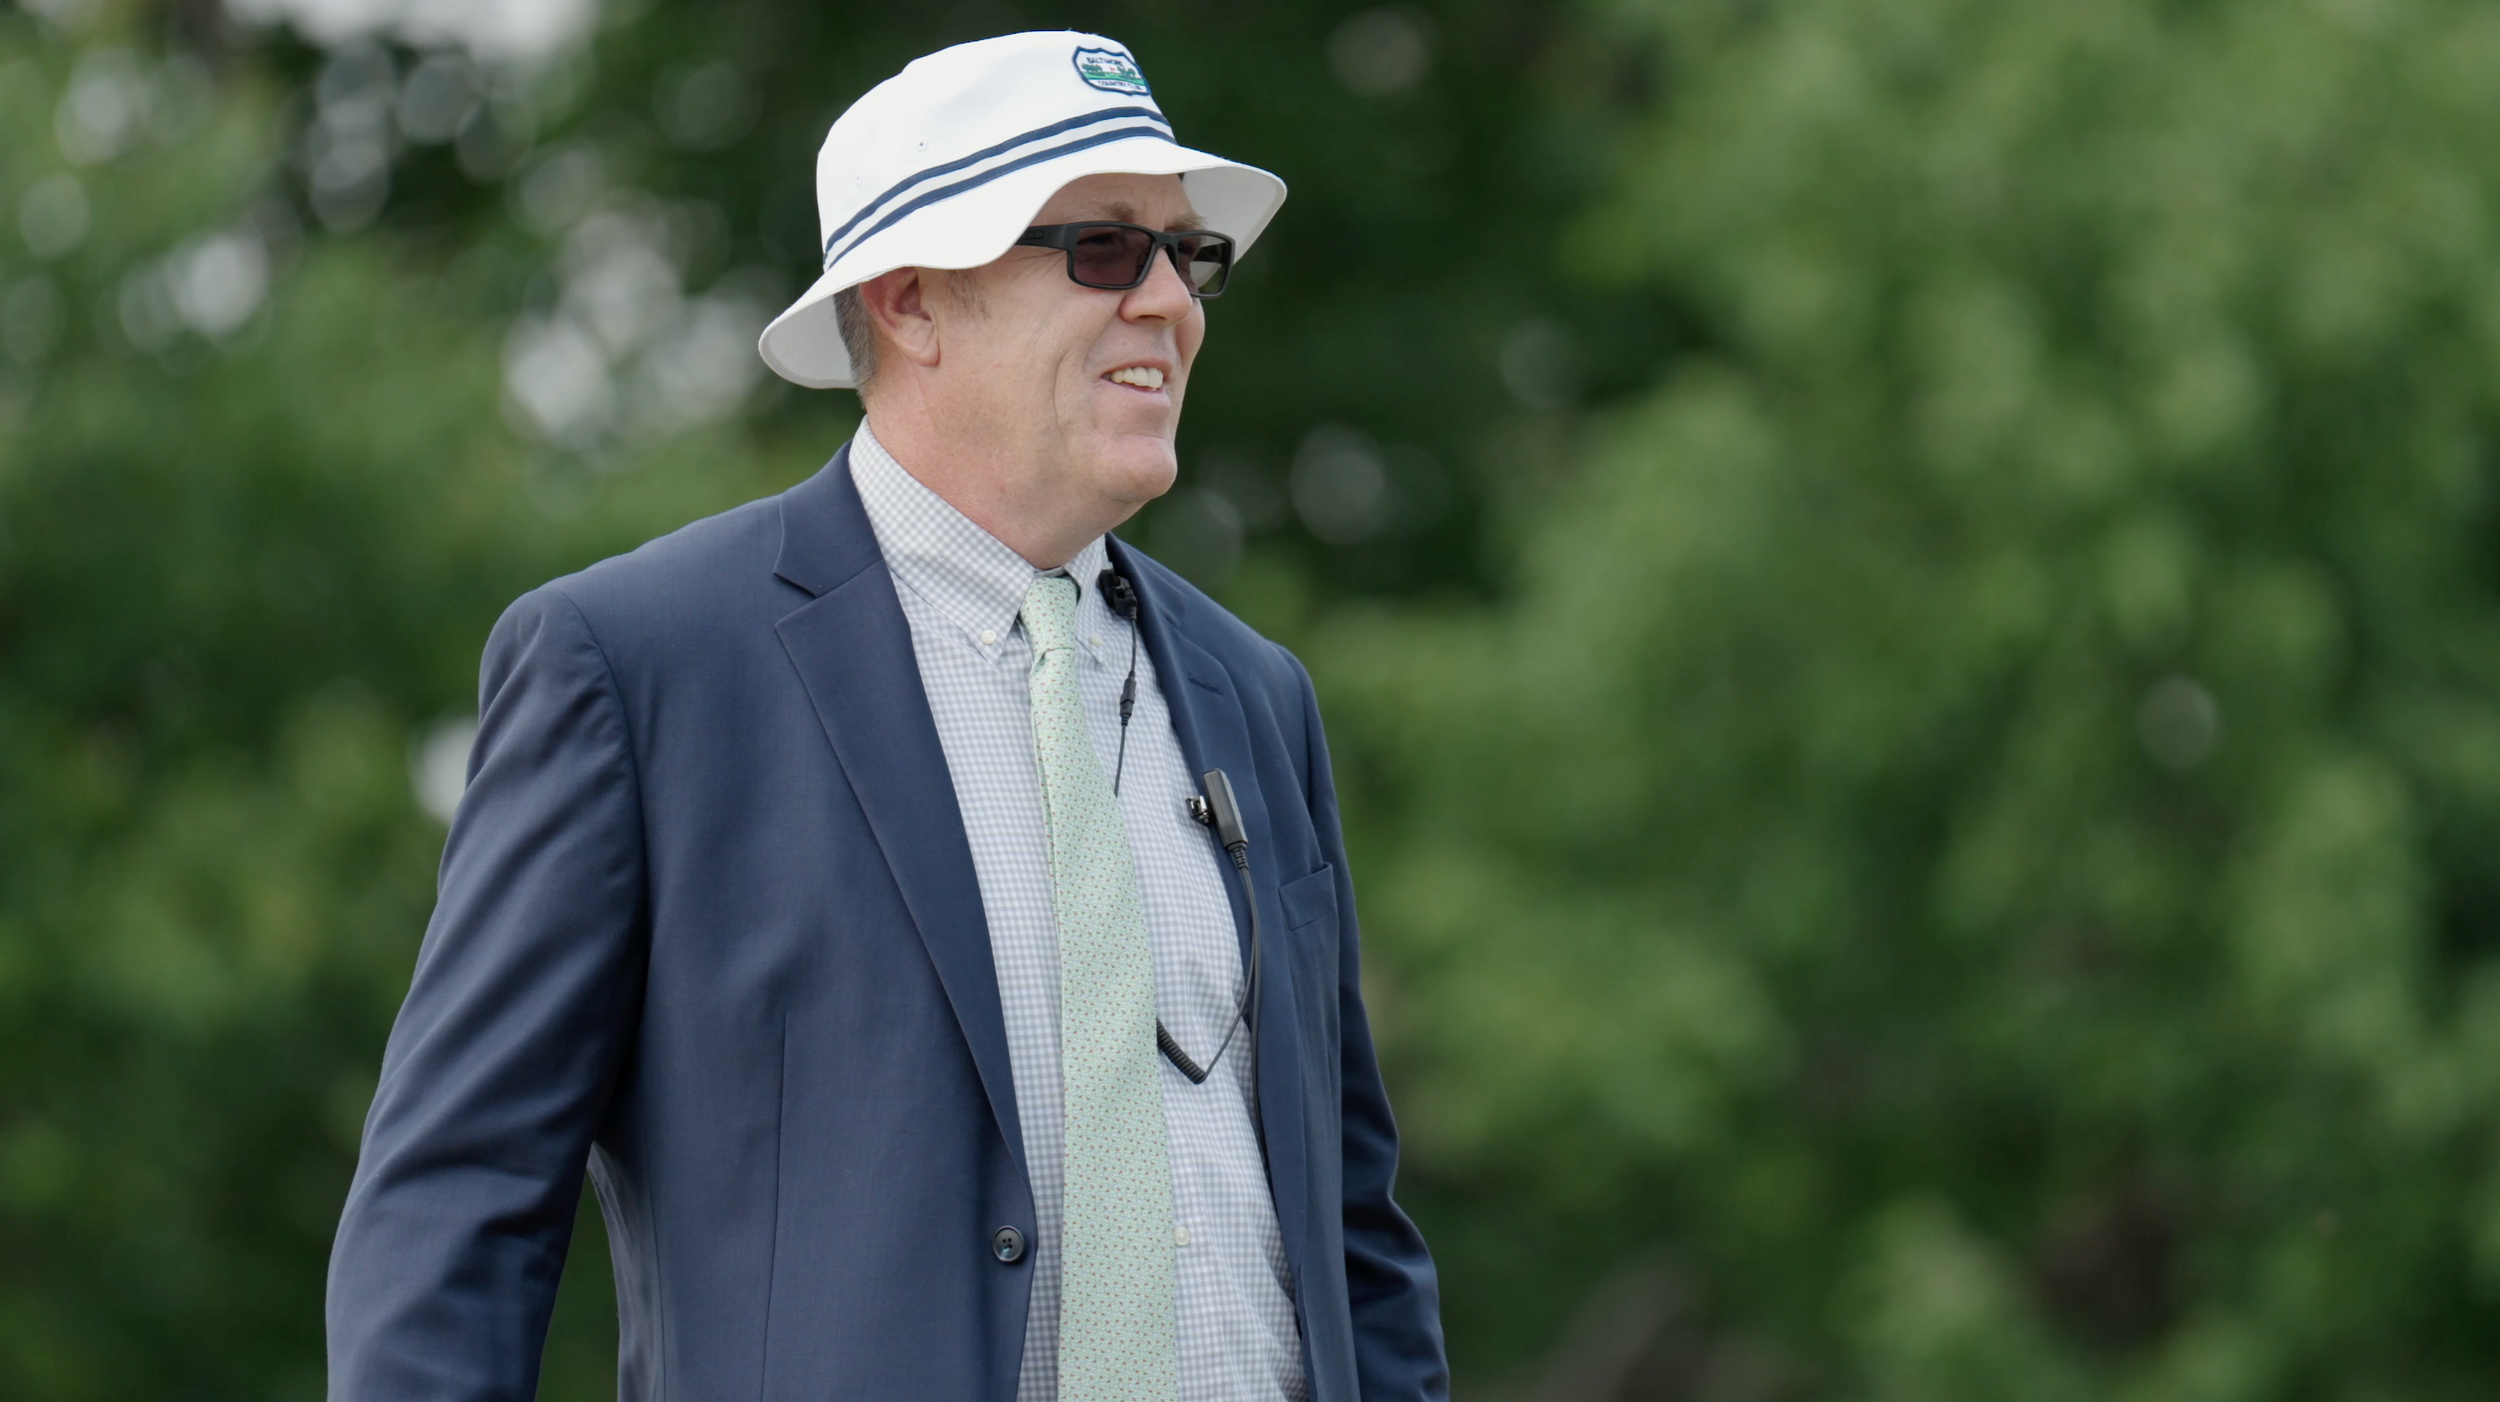
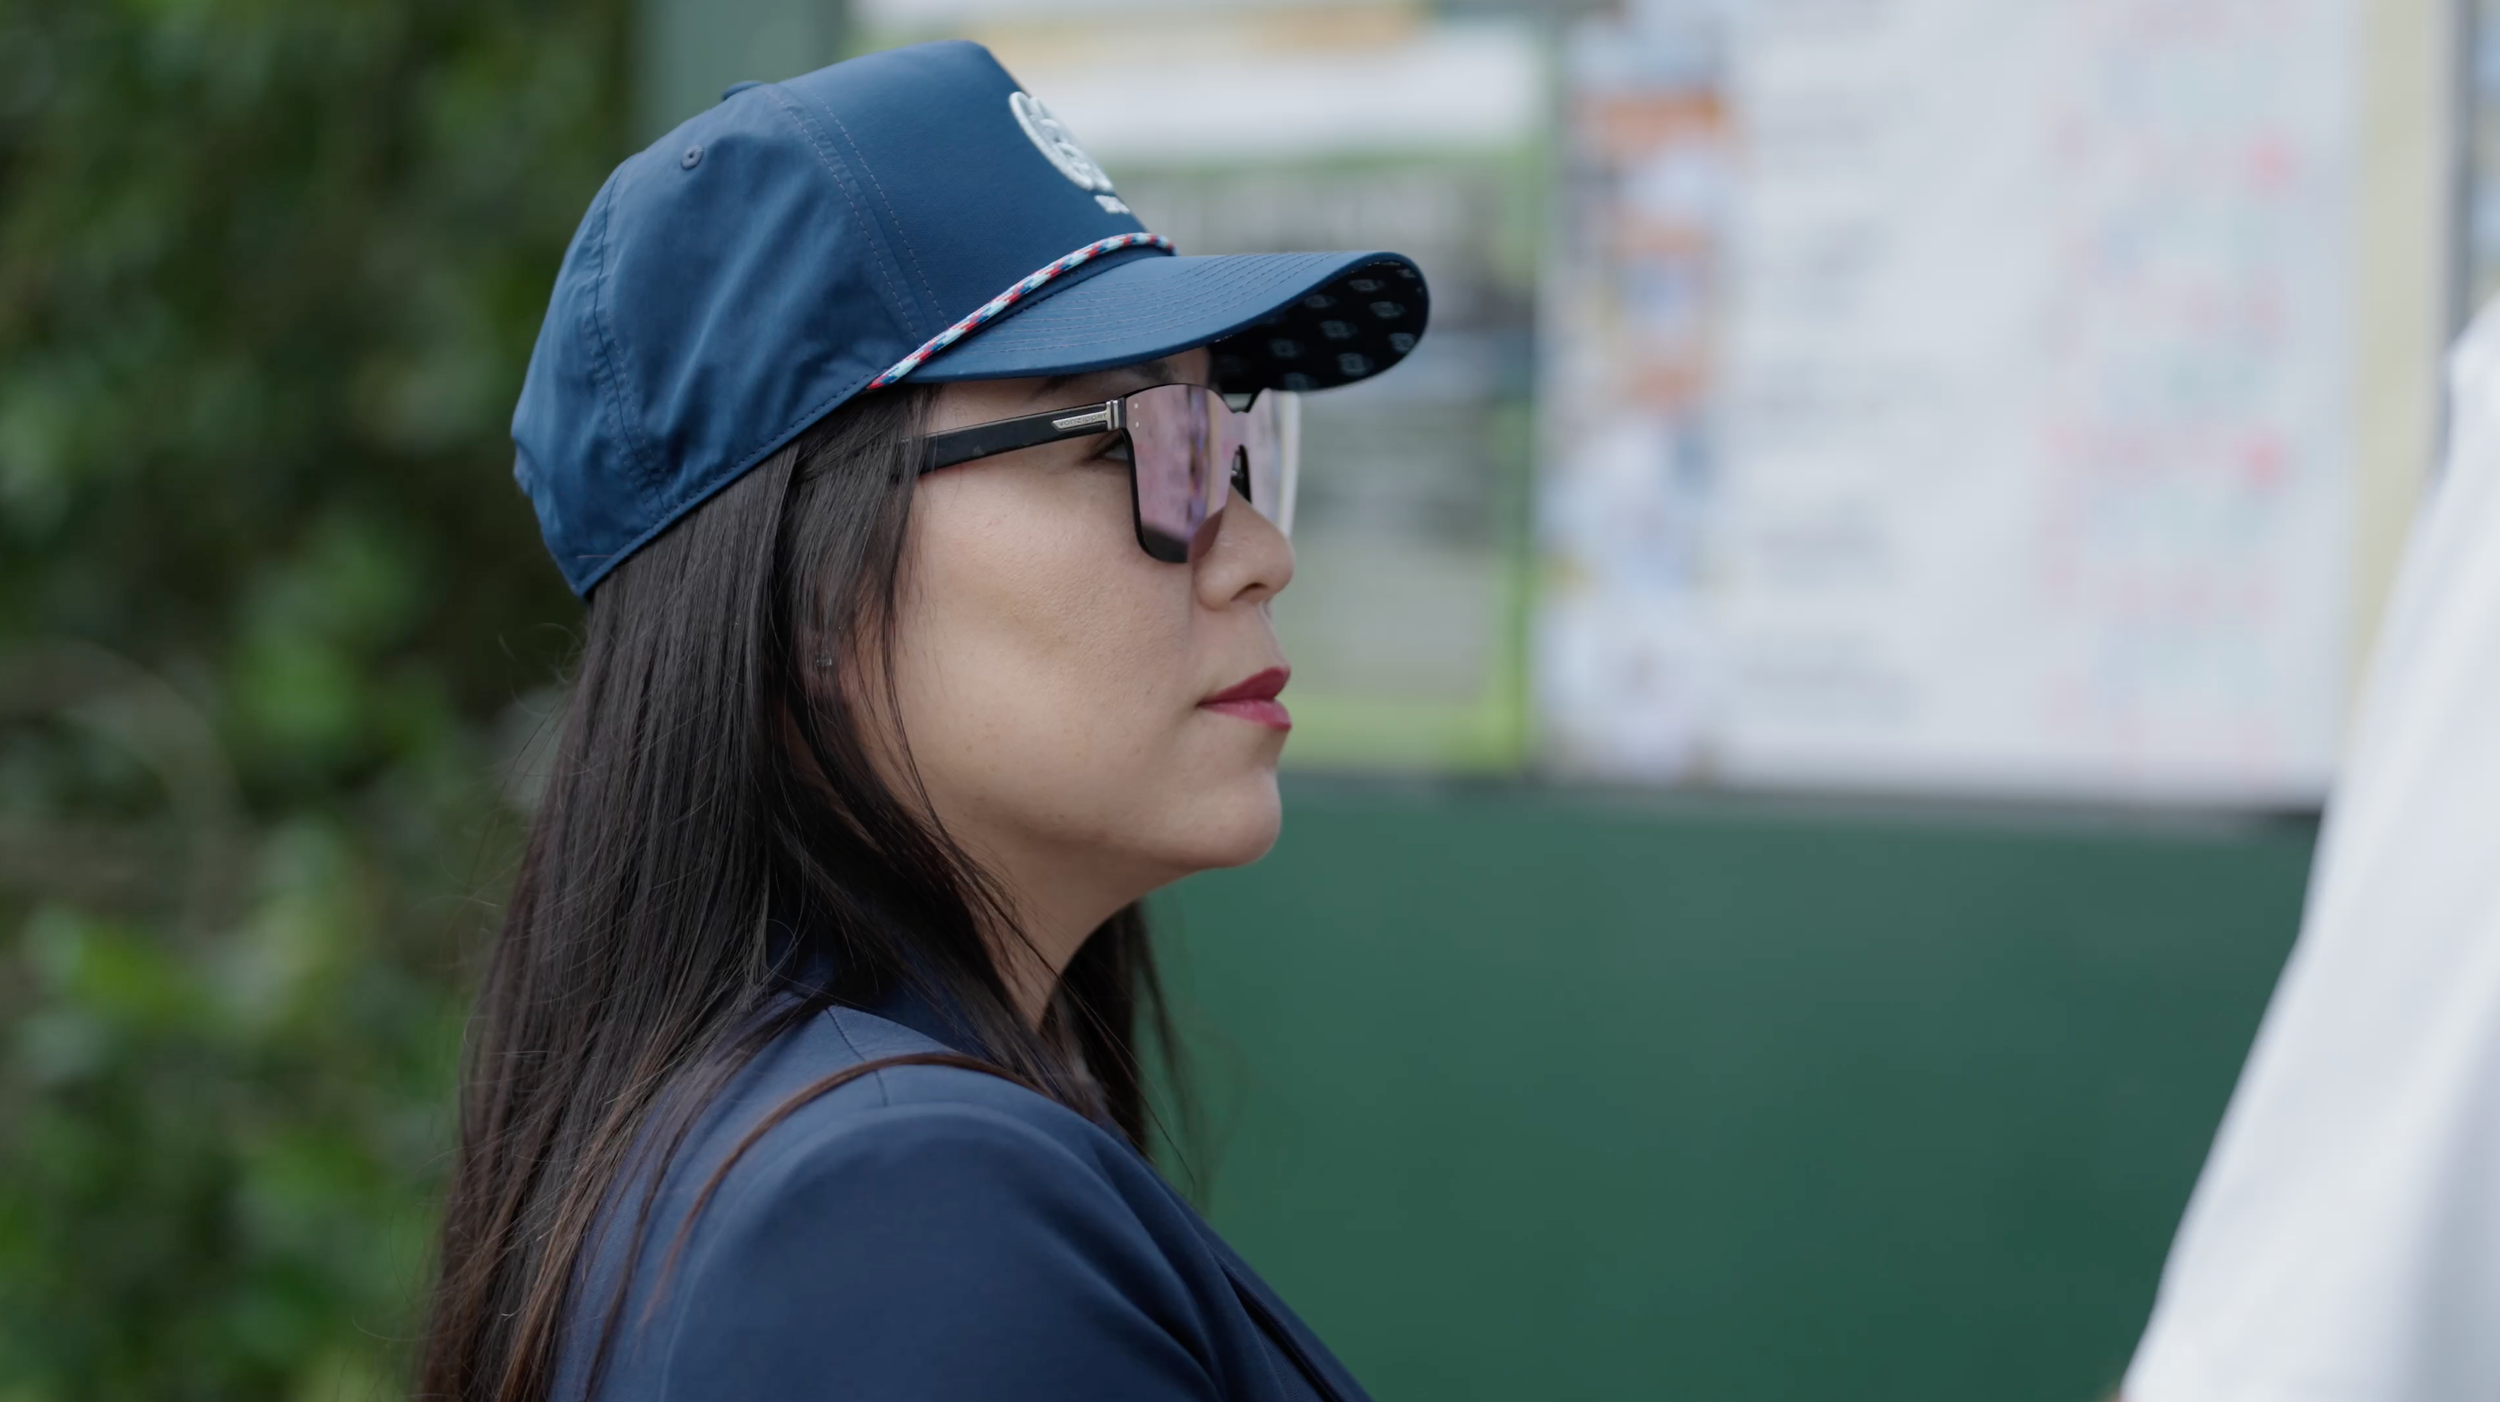
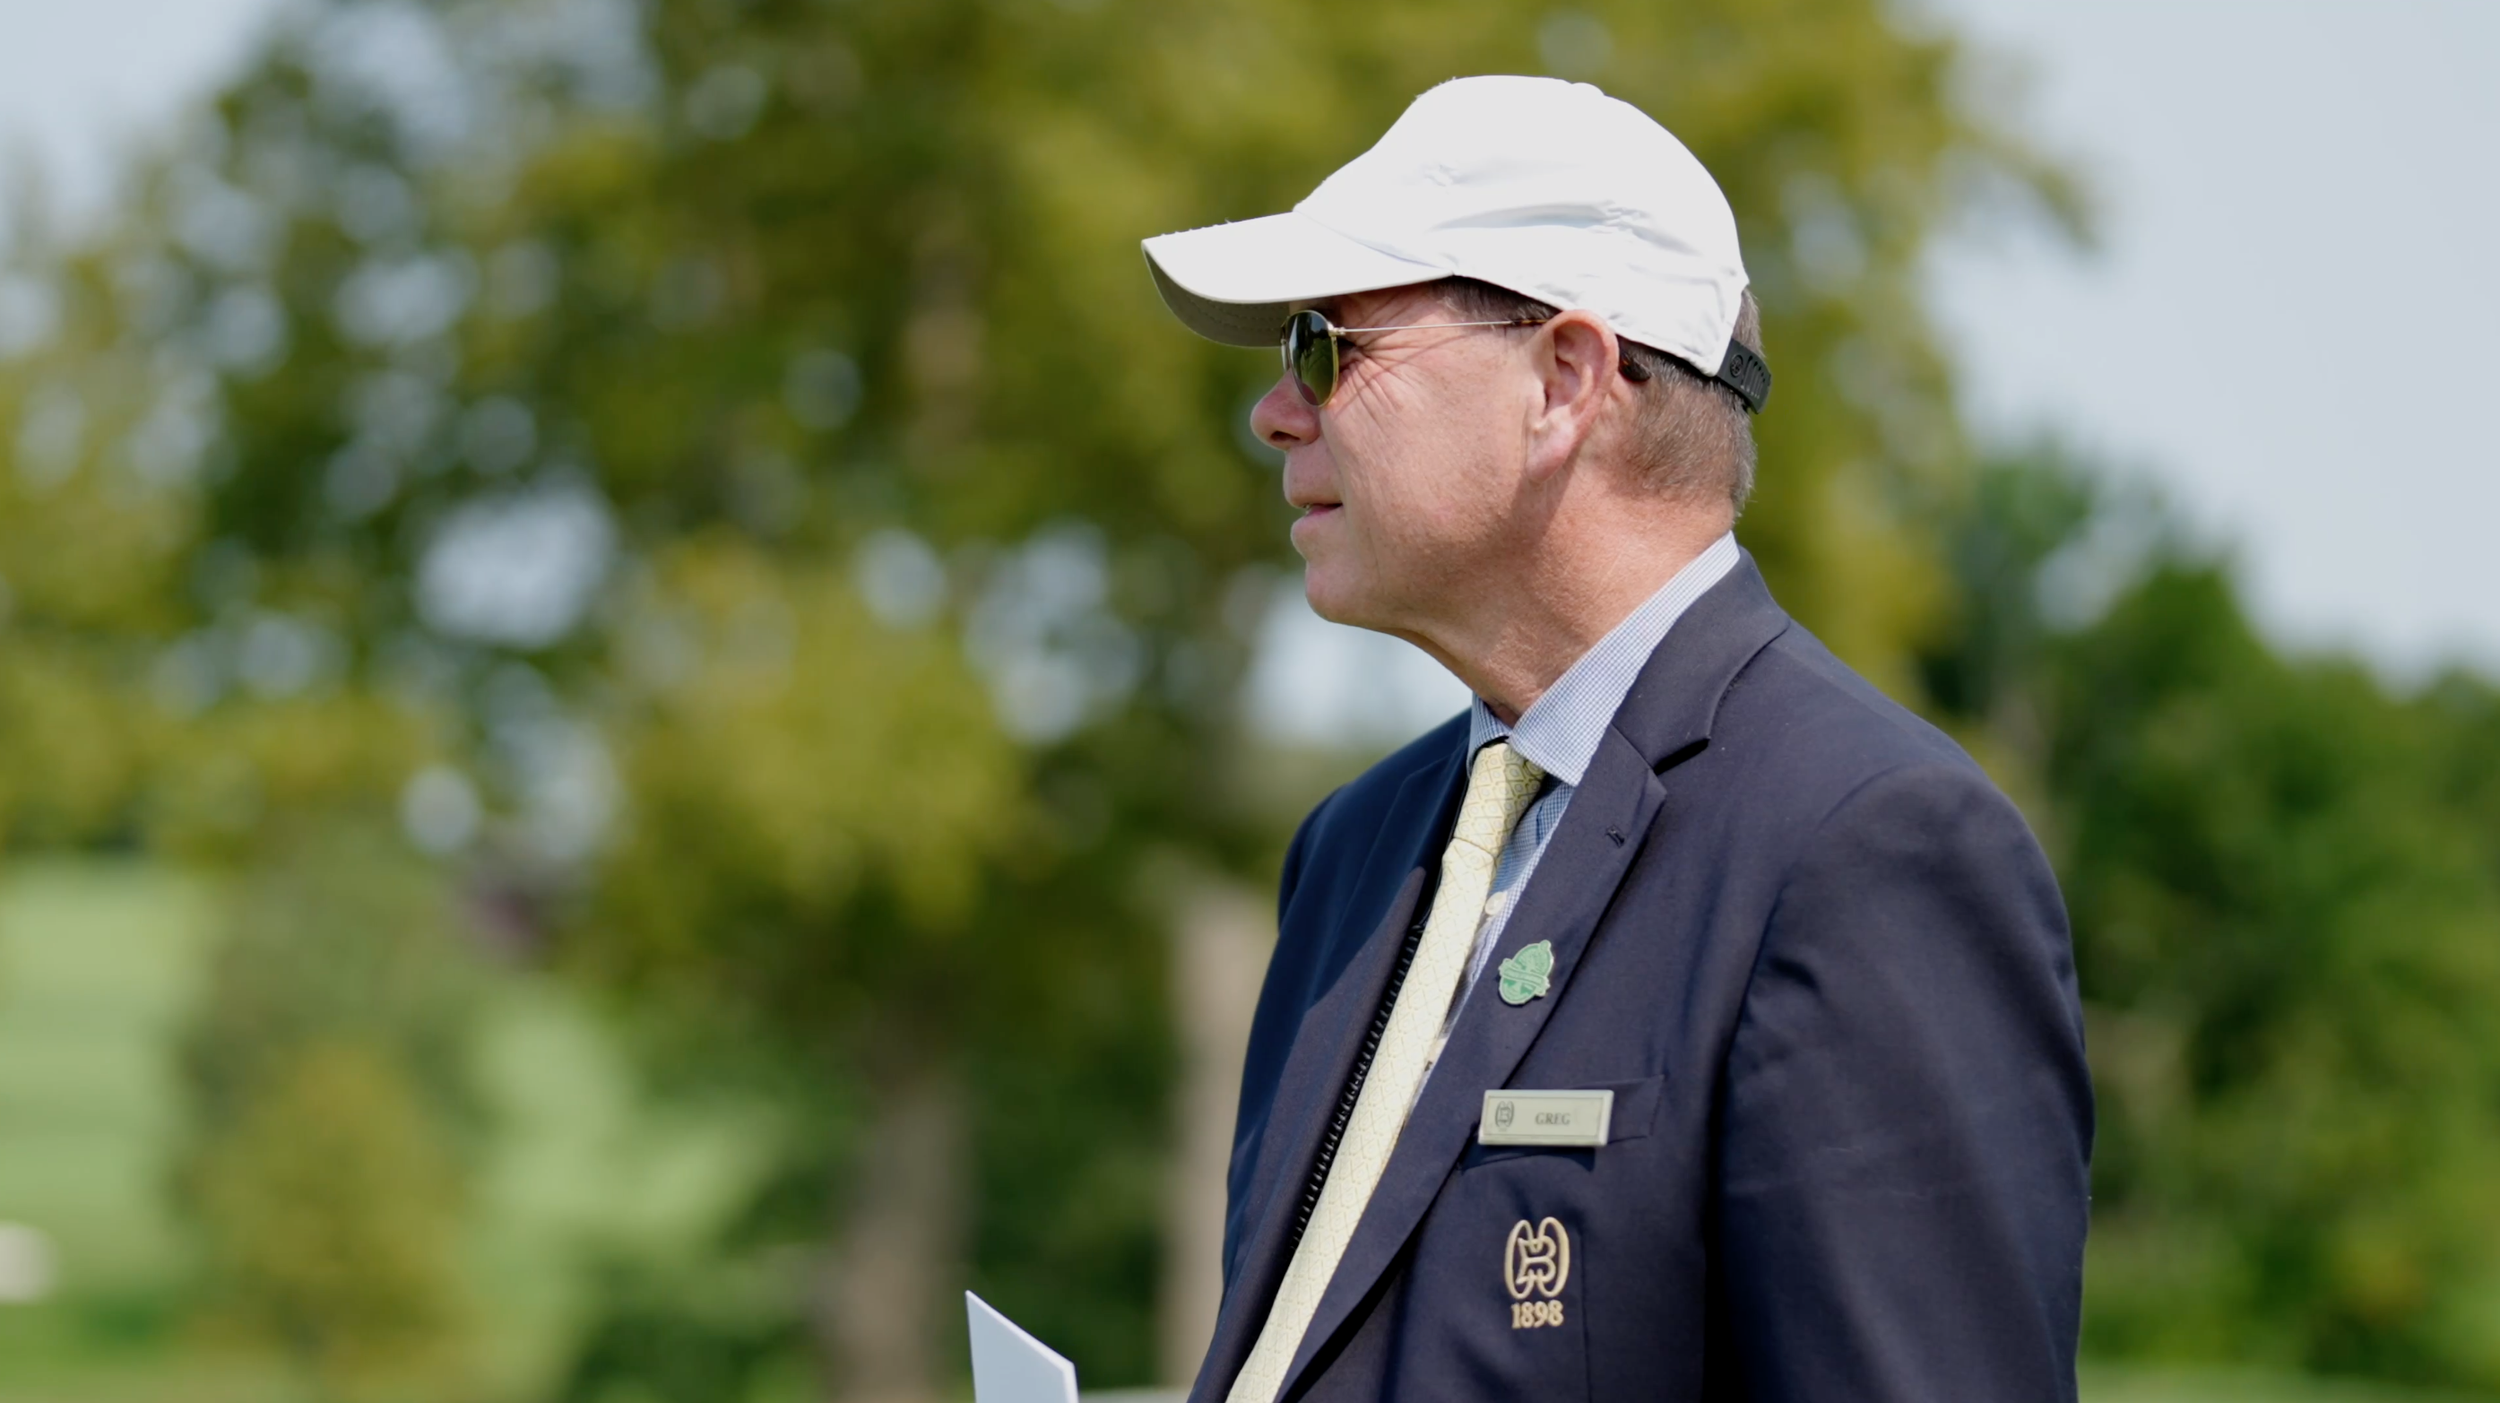
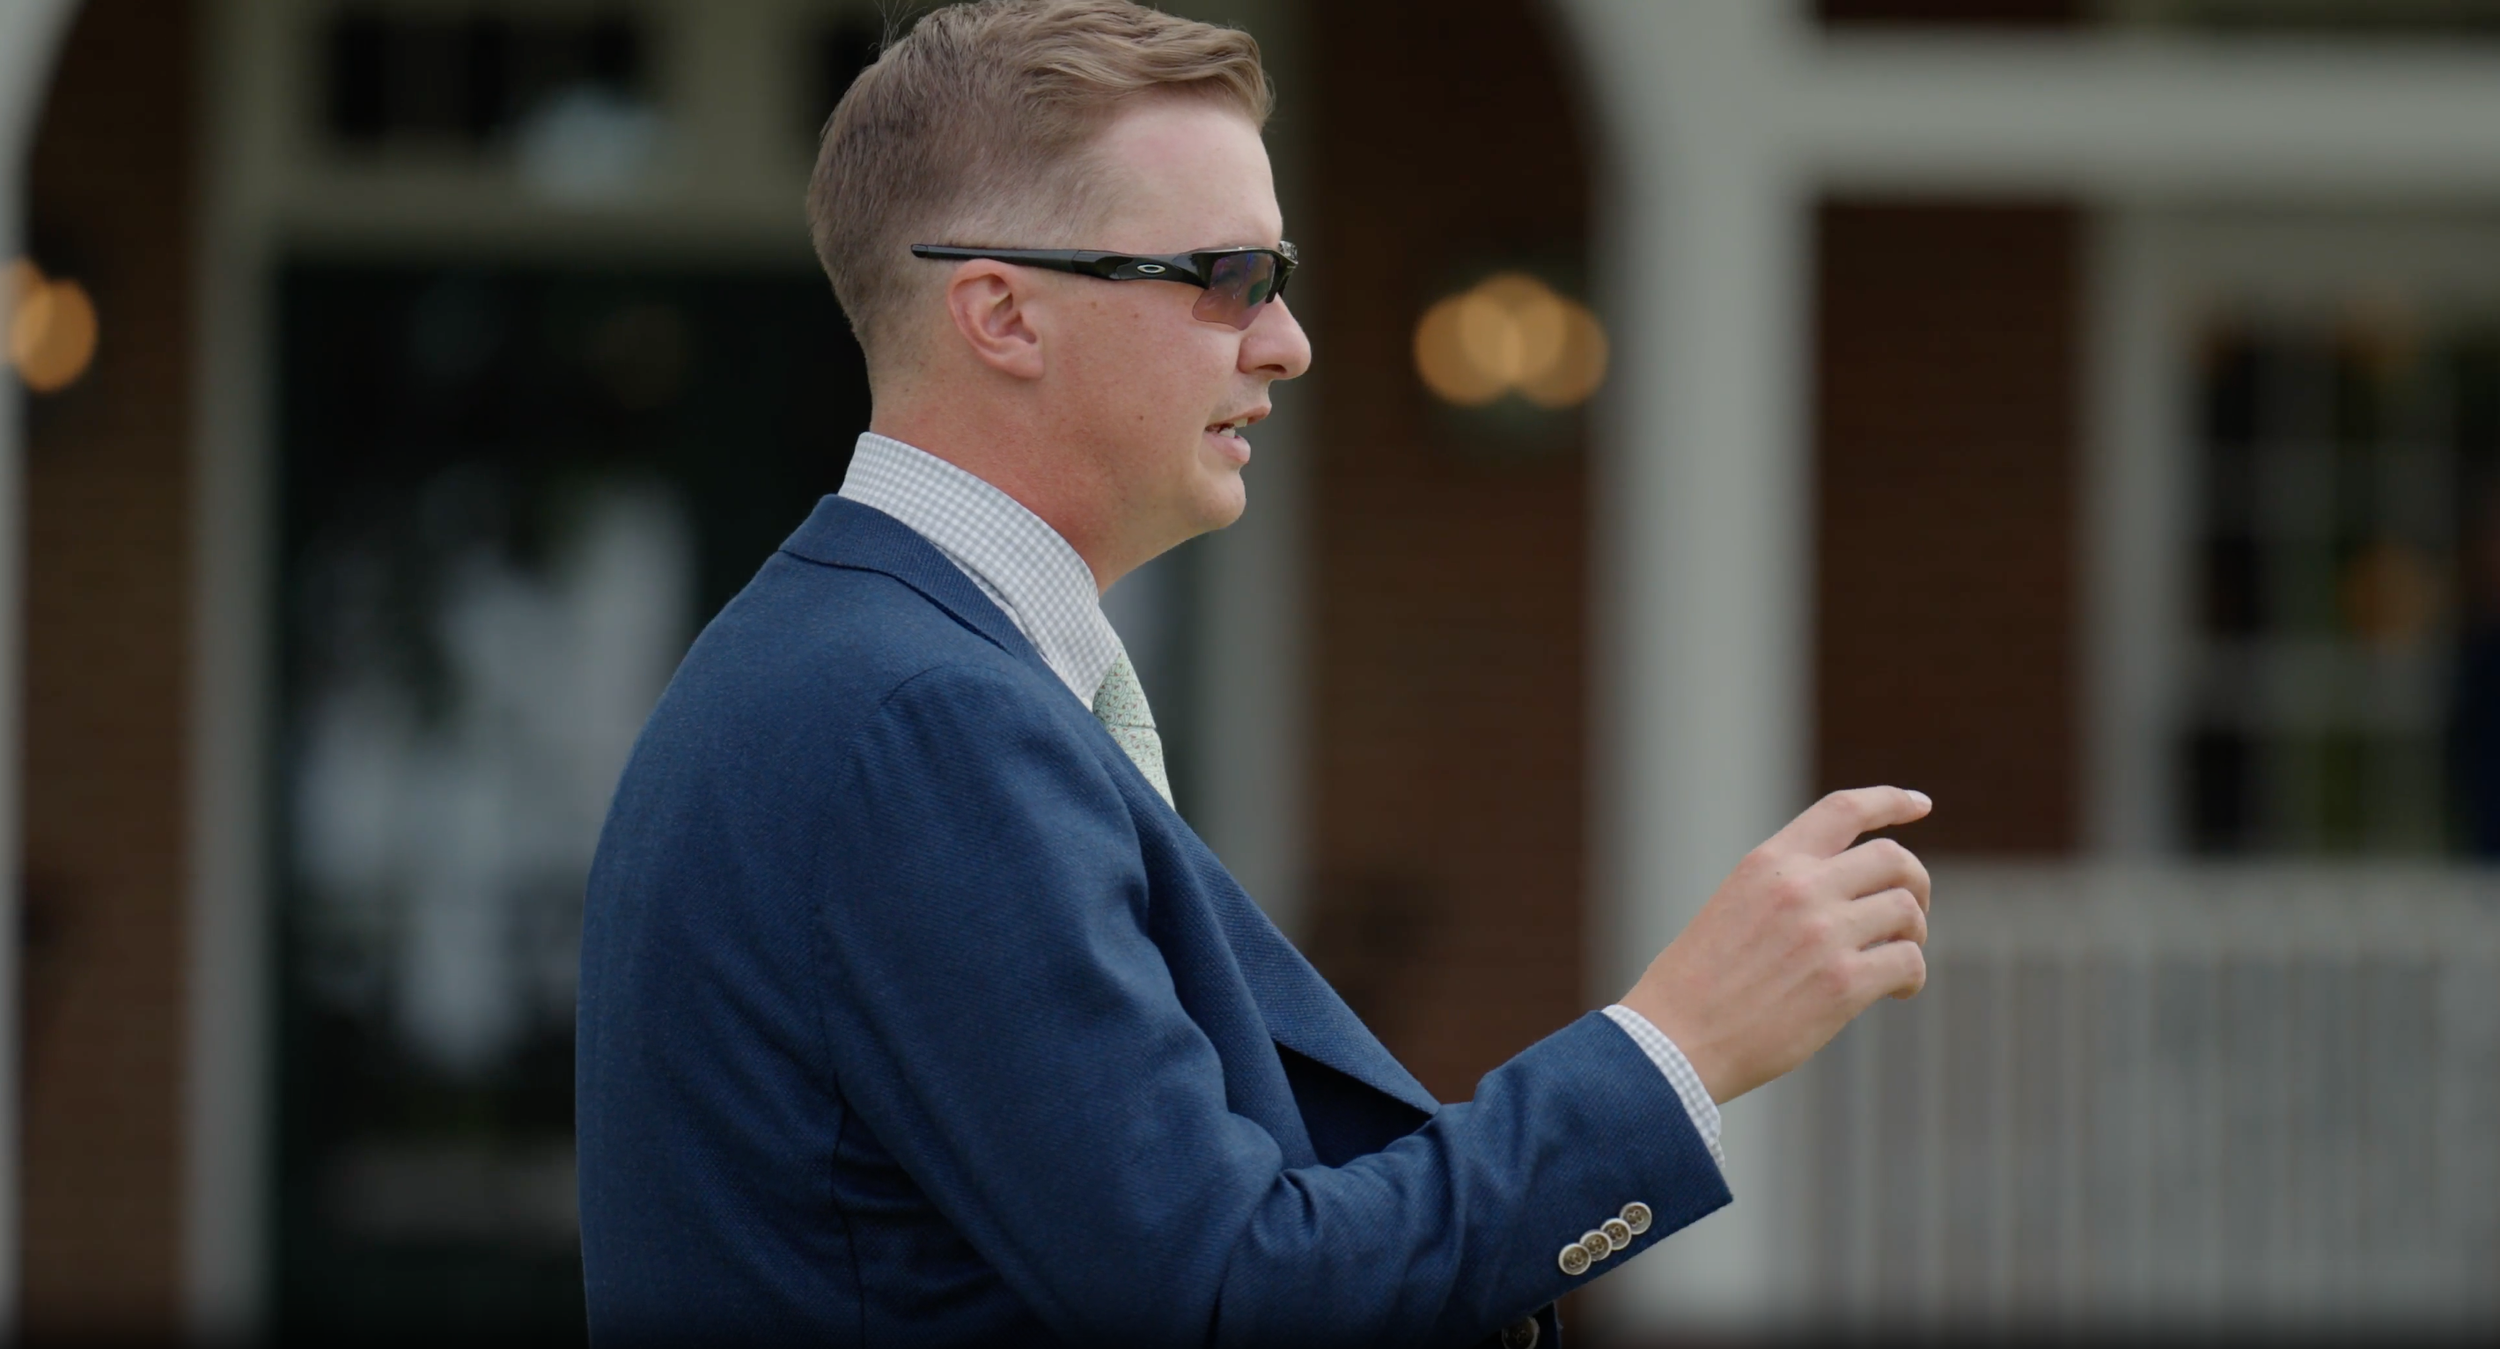
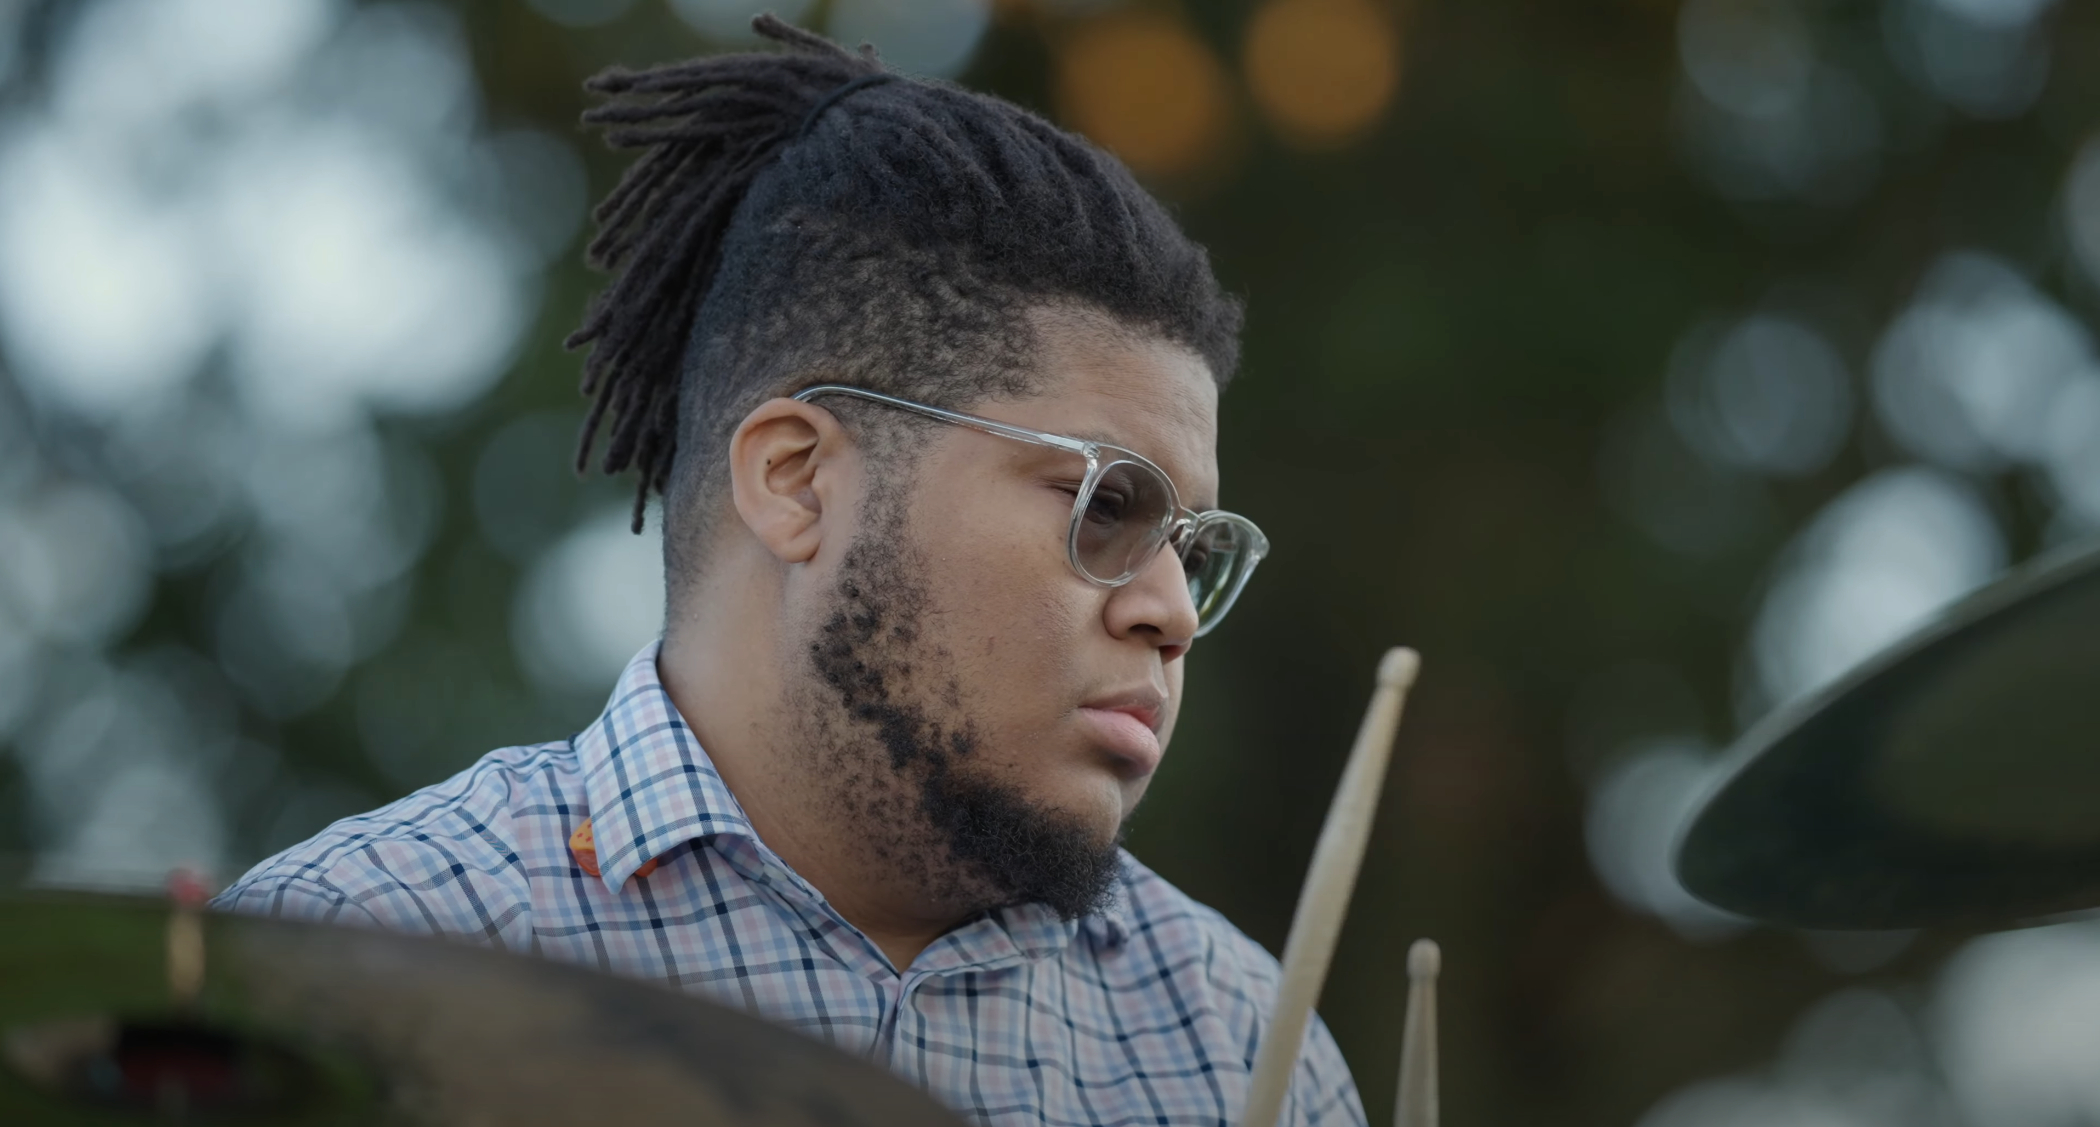
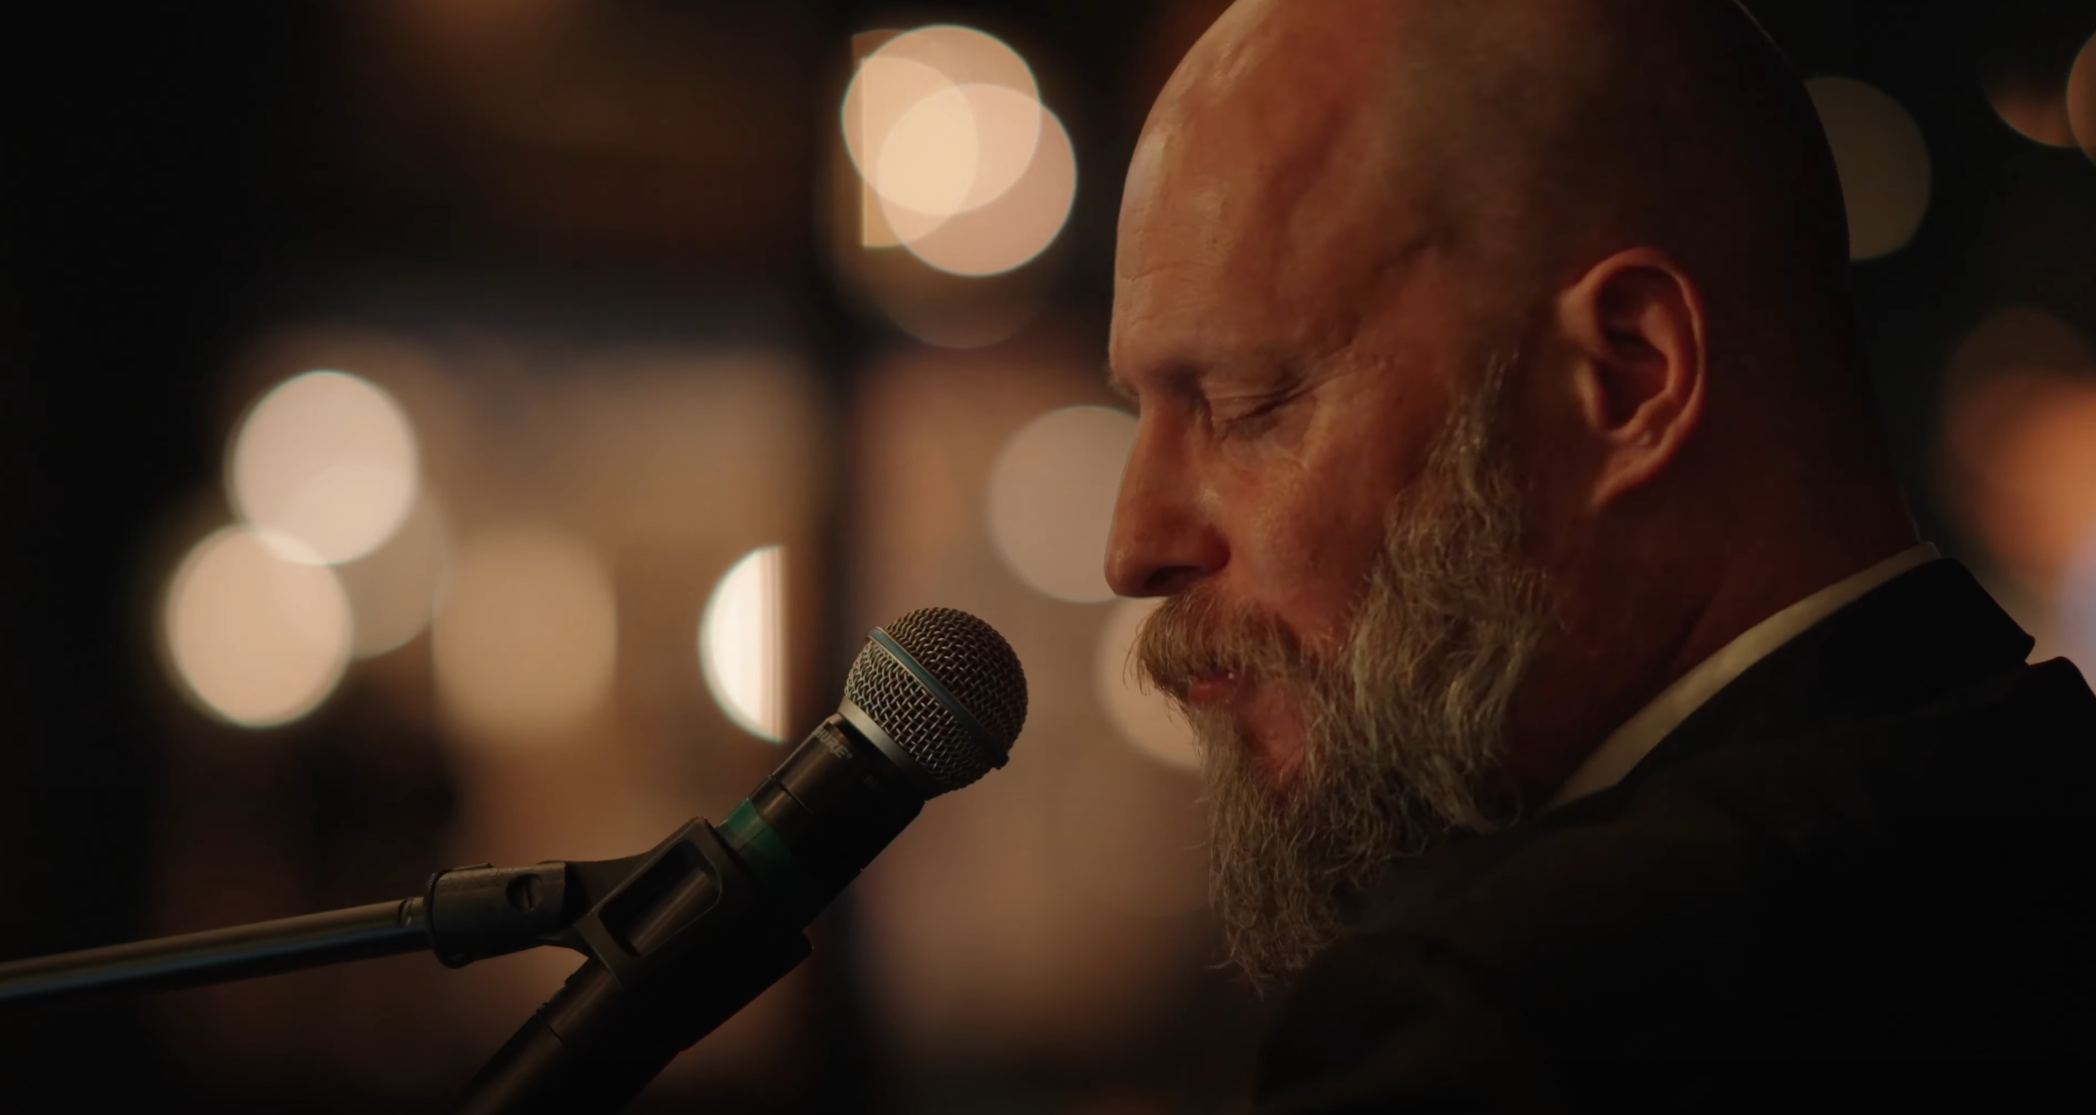
INTERVIEW FRAMING SAMPLES
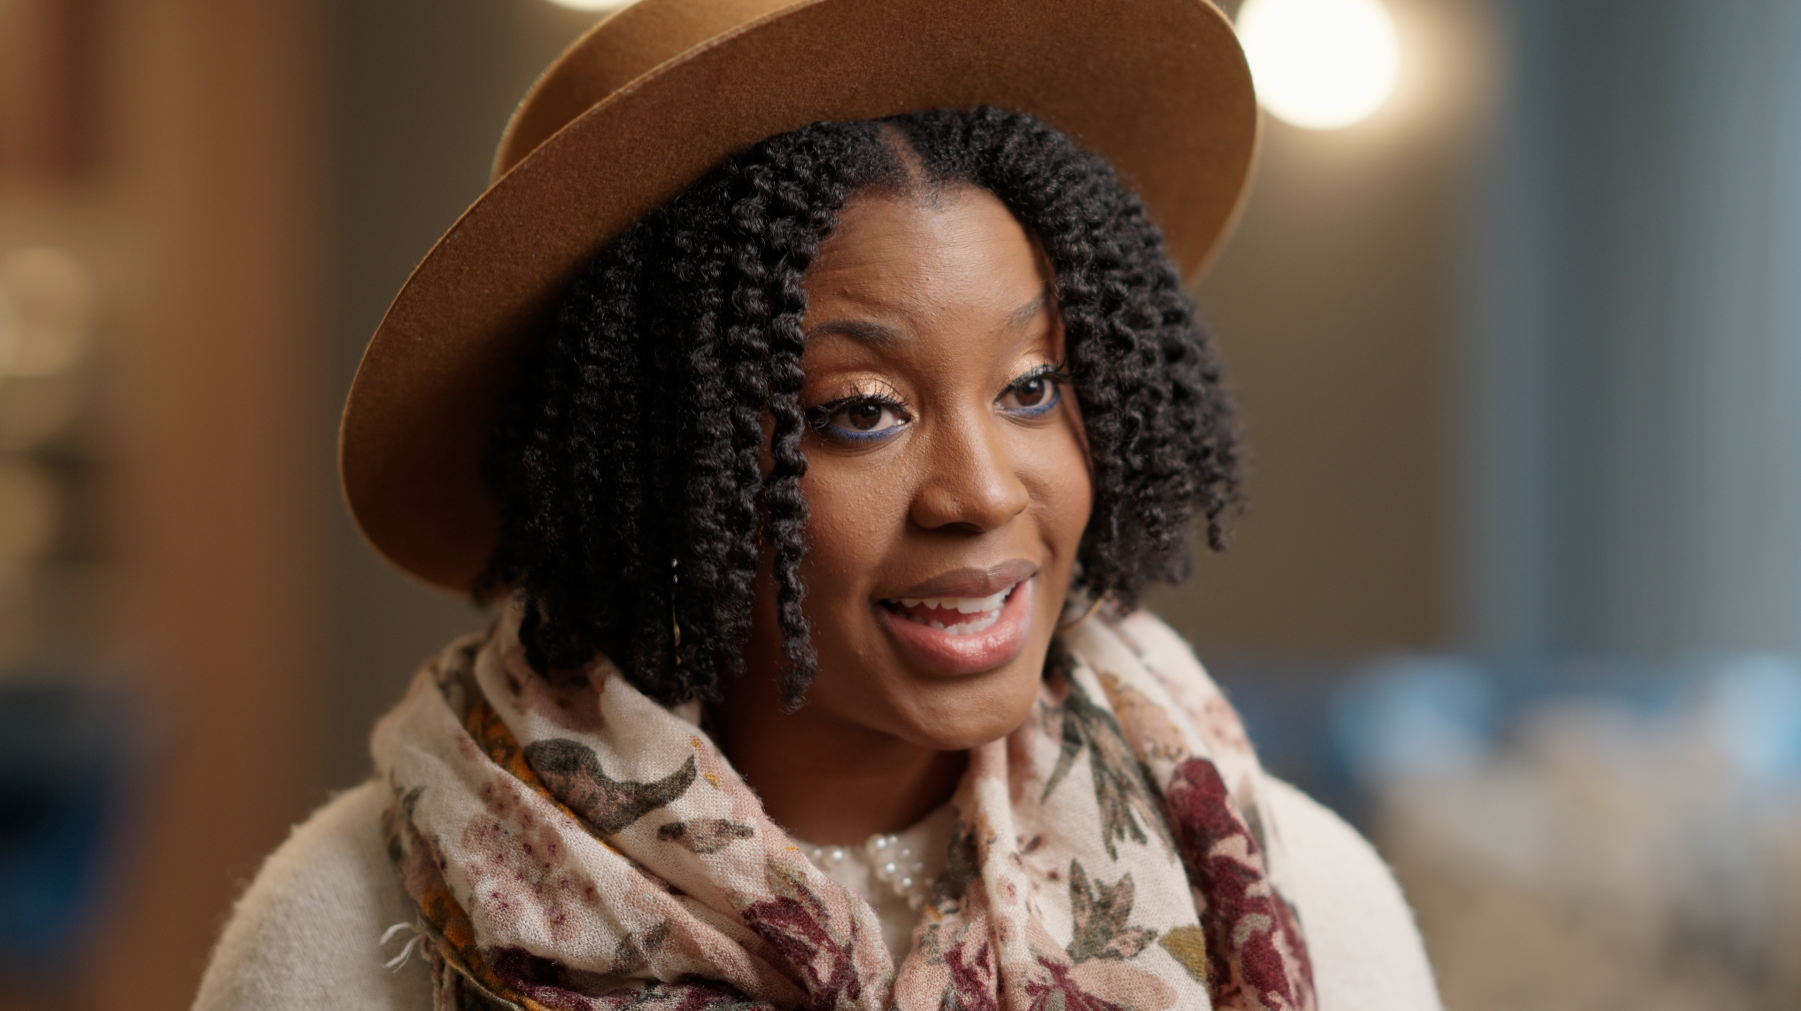
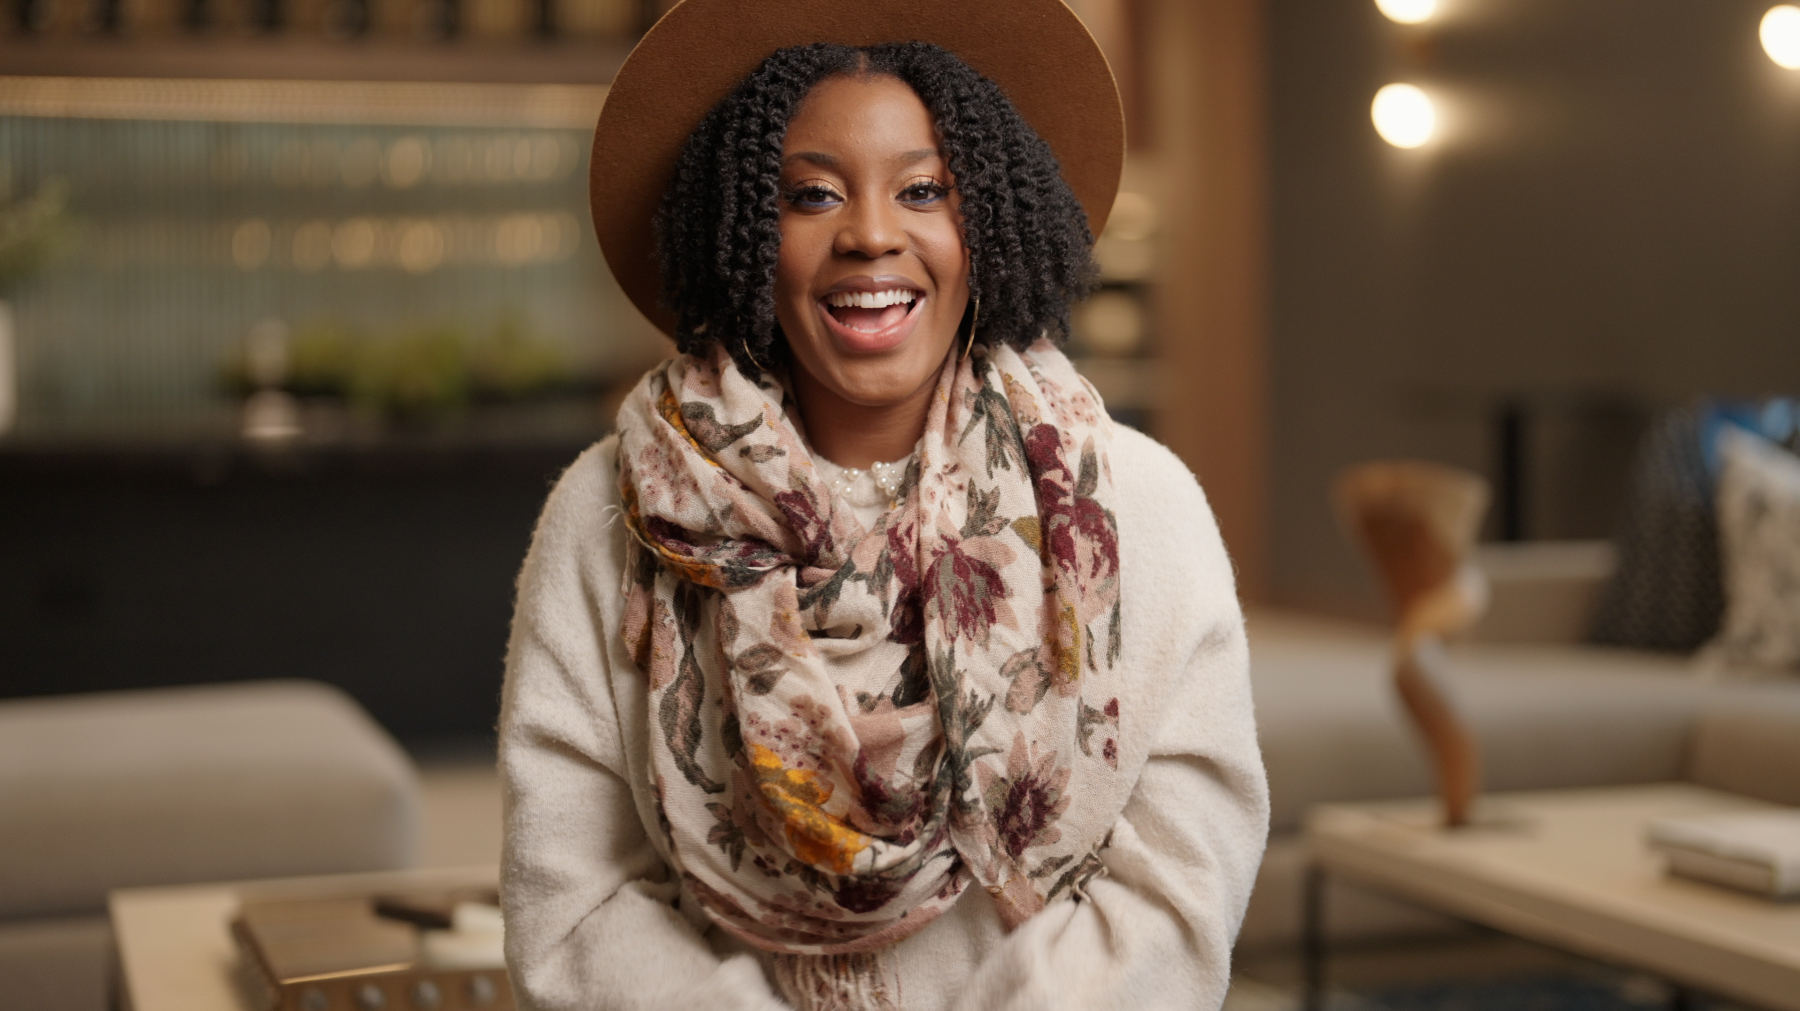
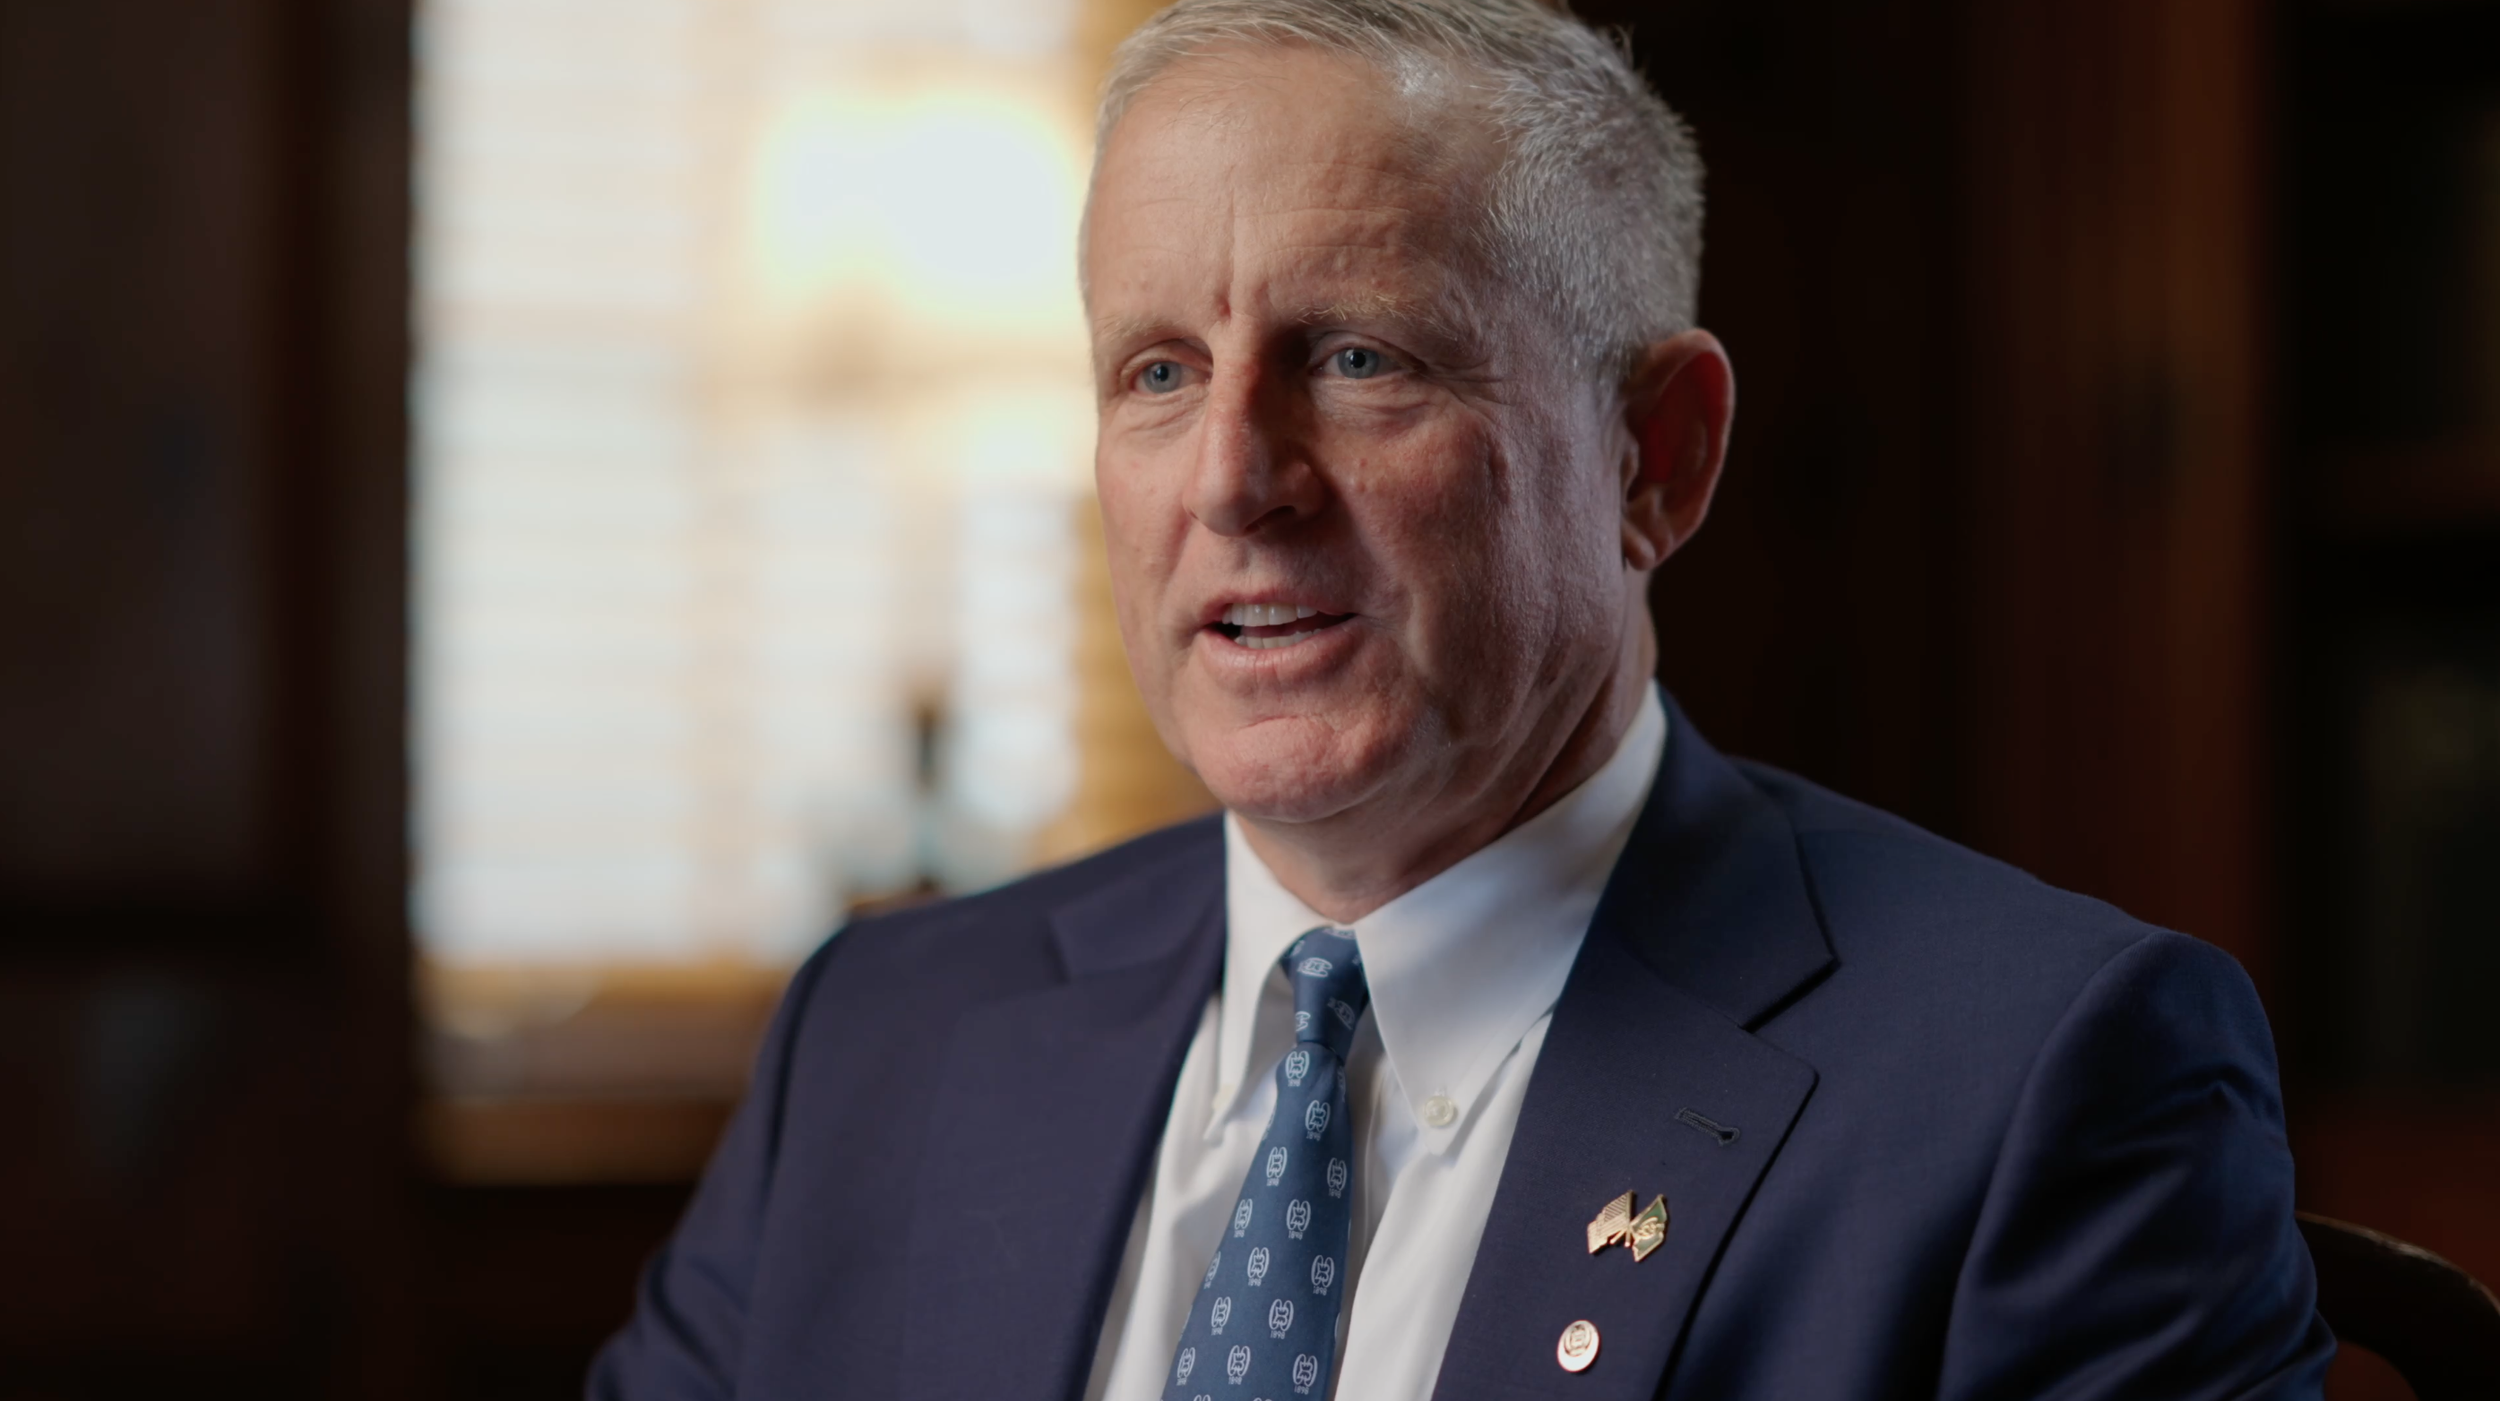
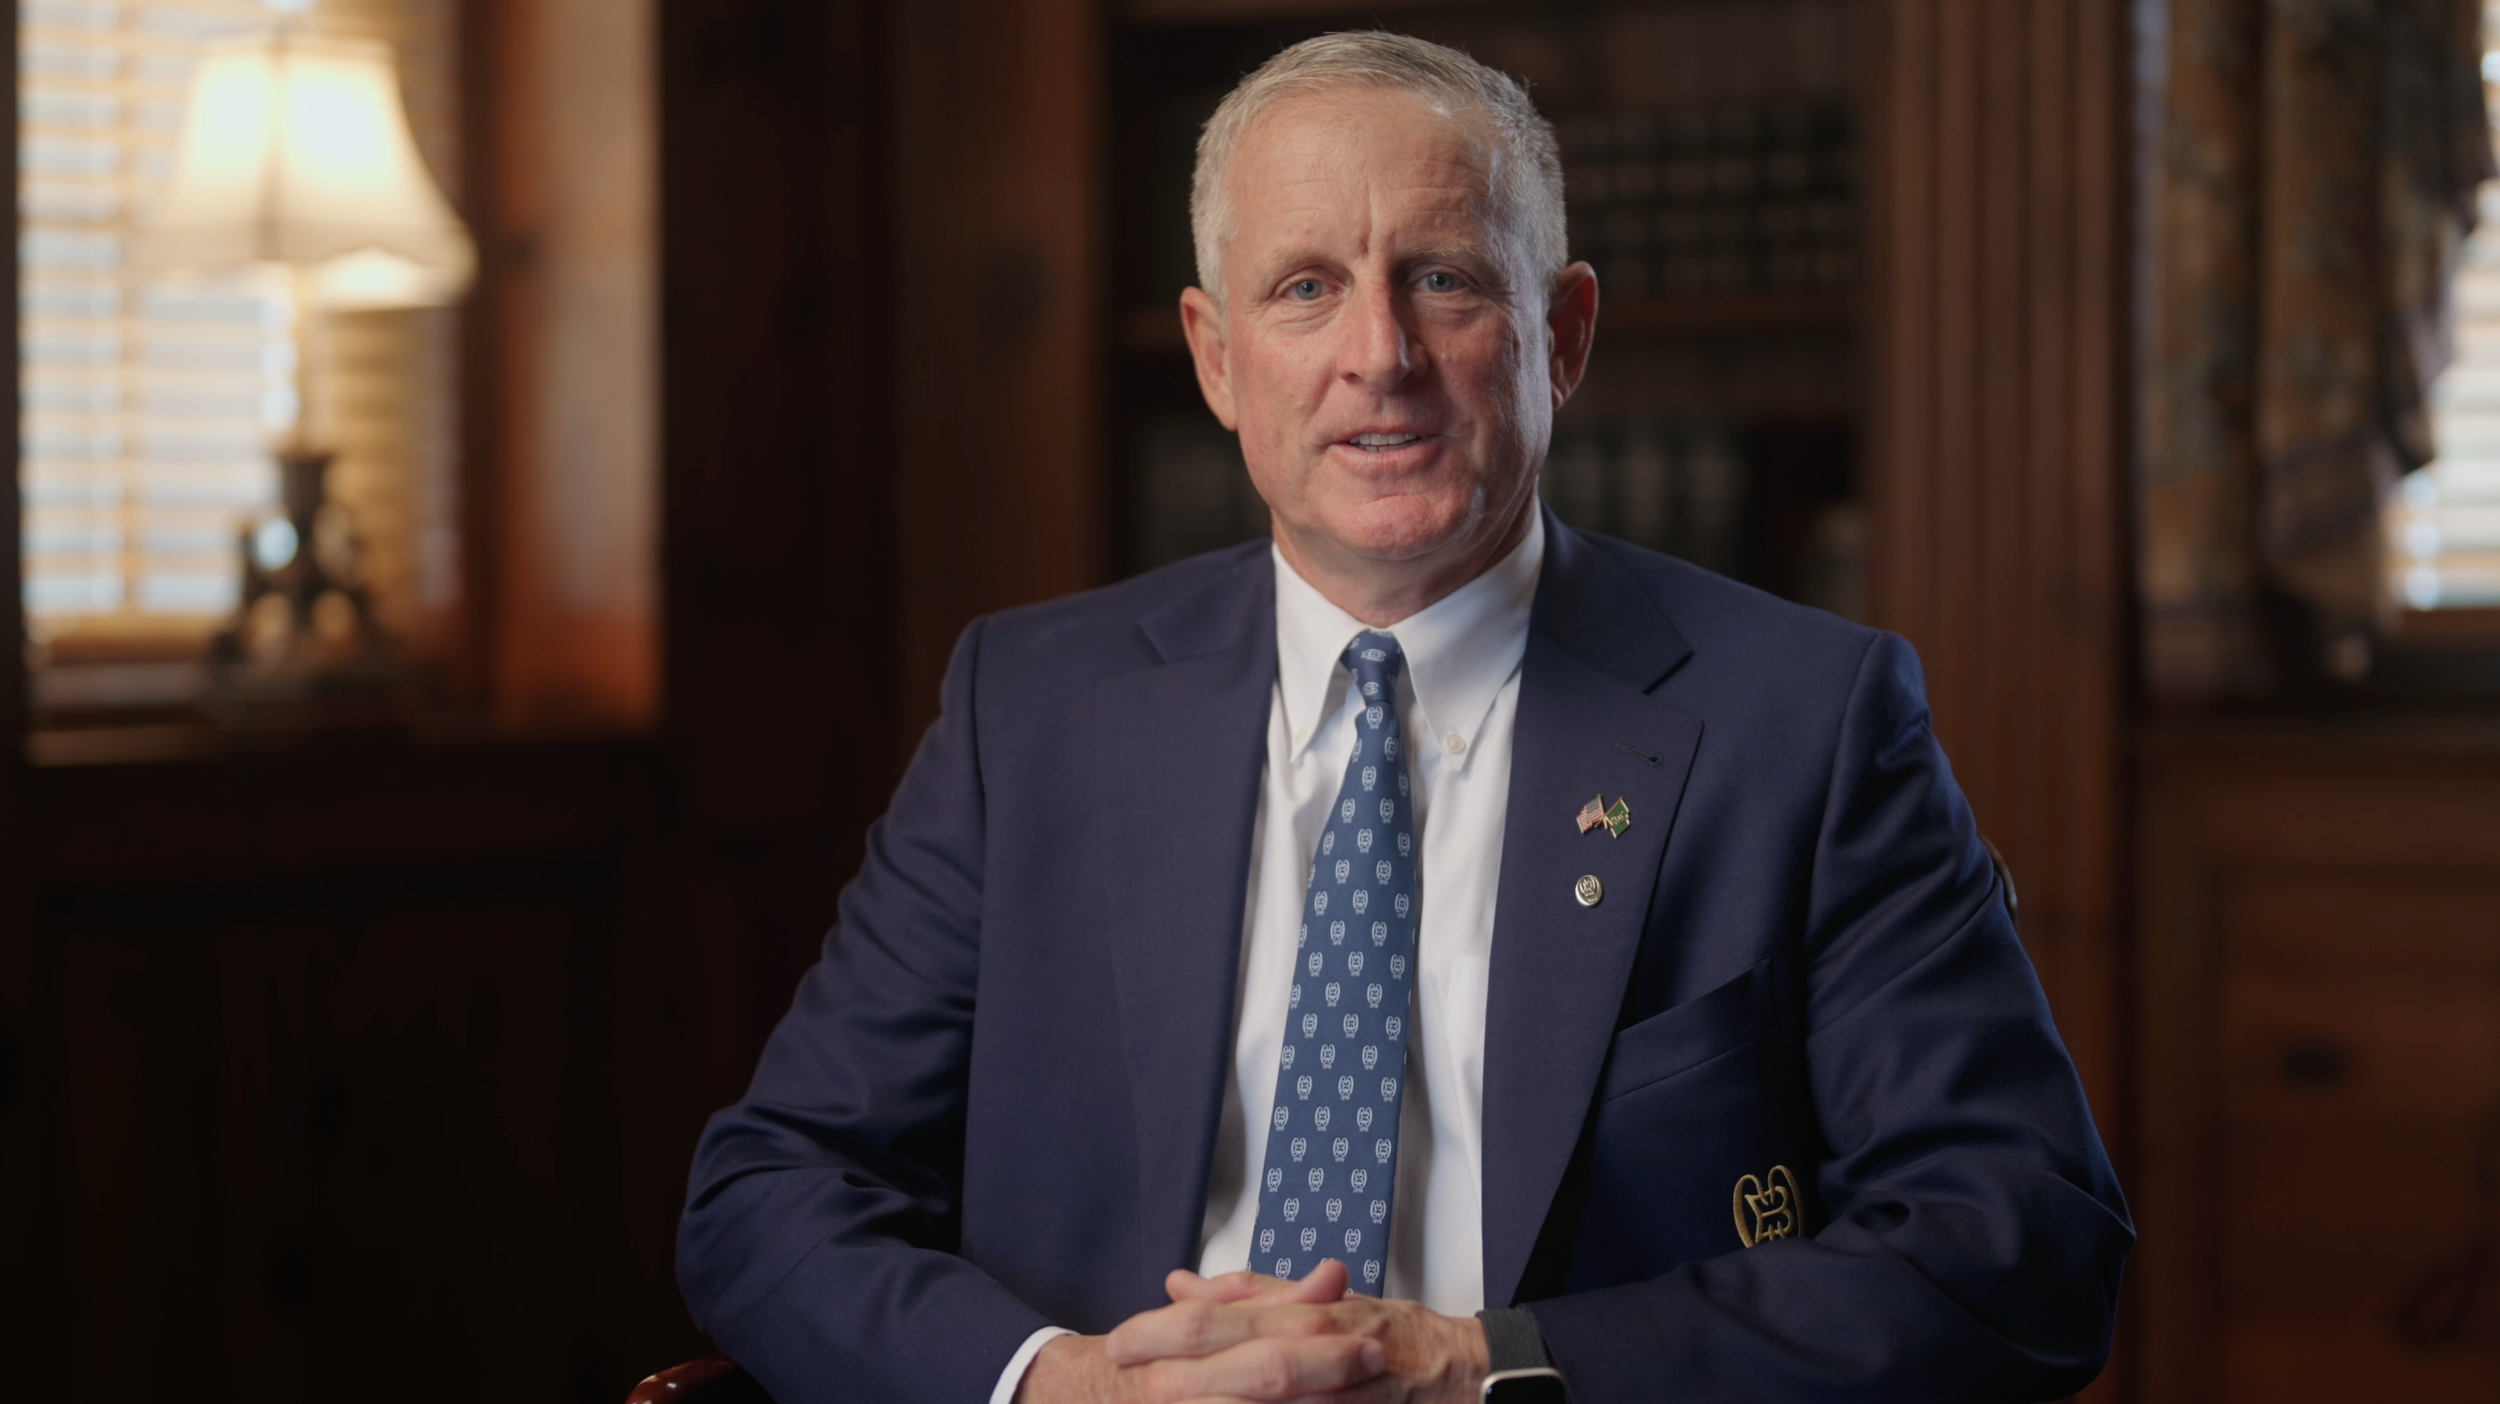
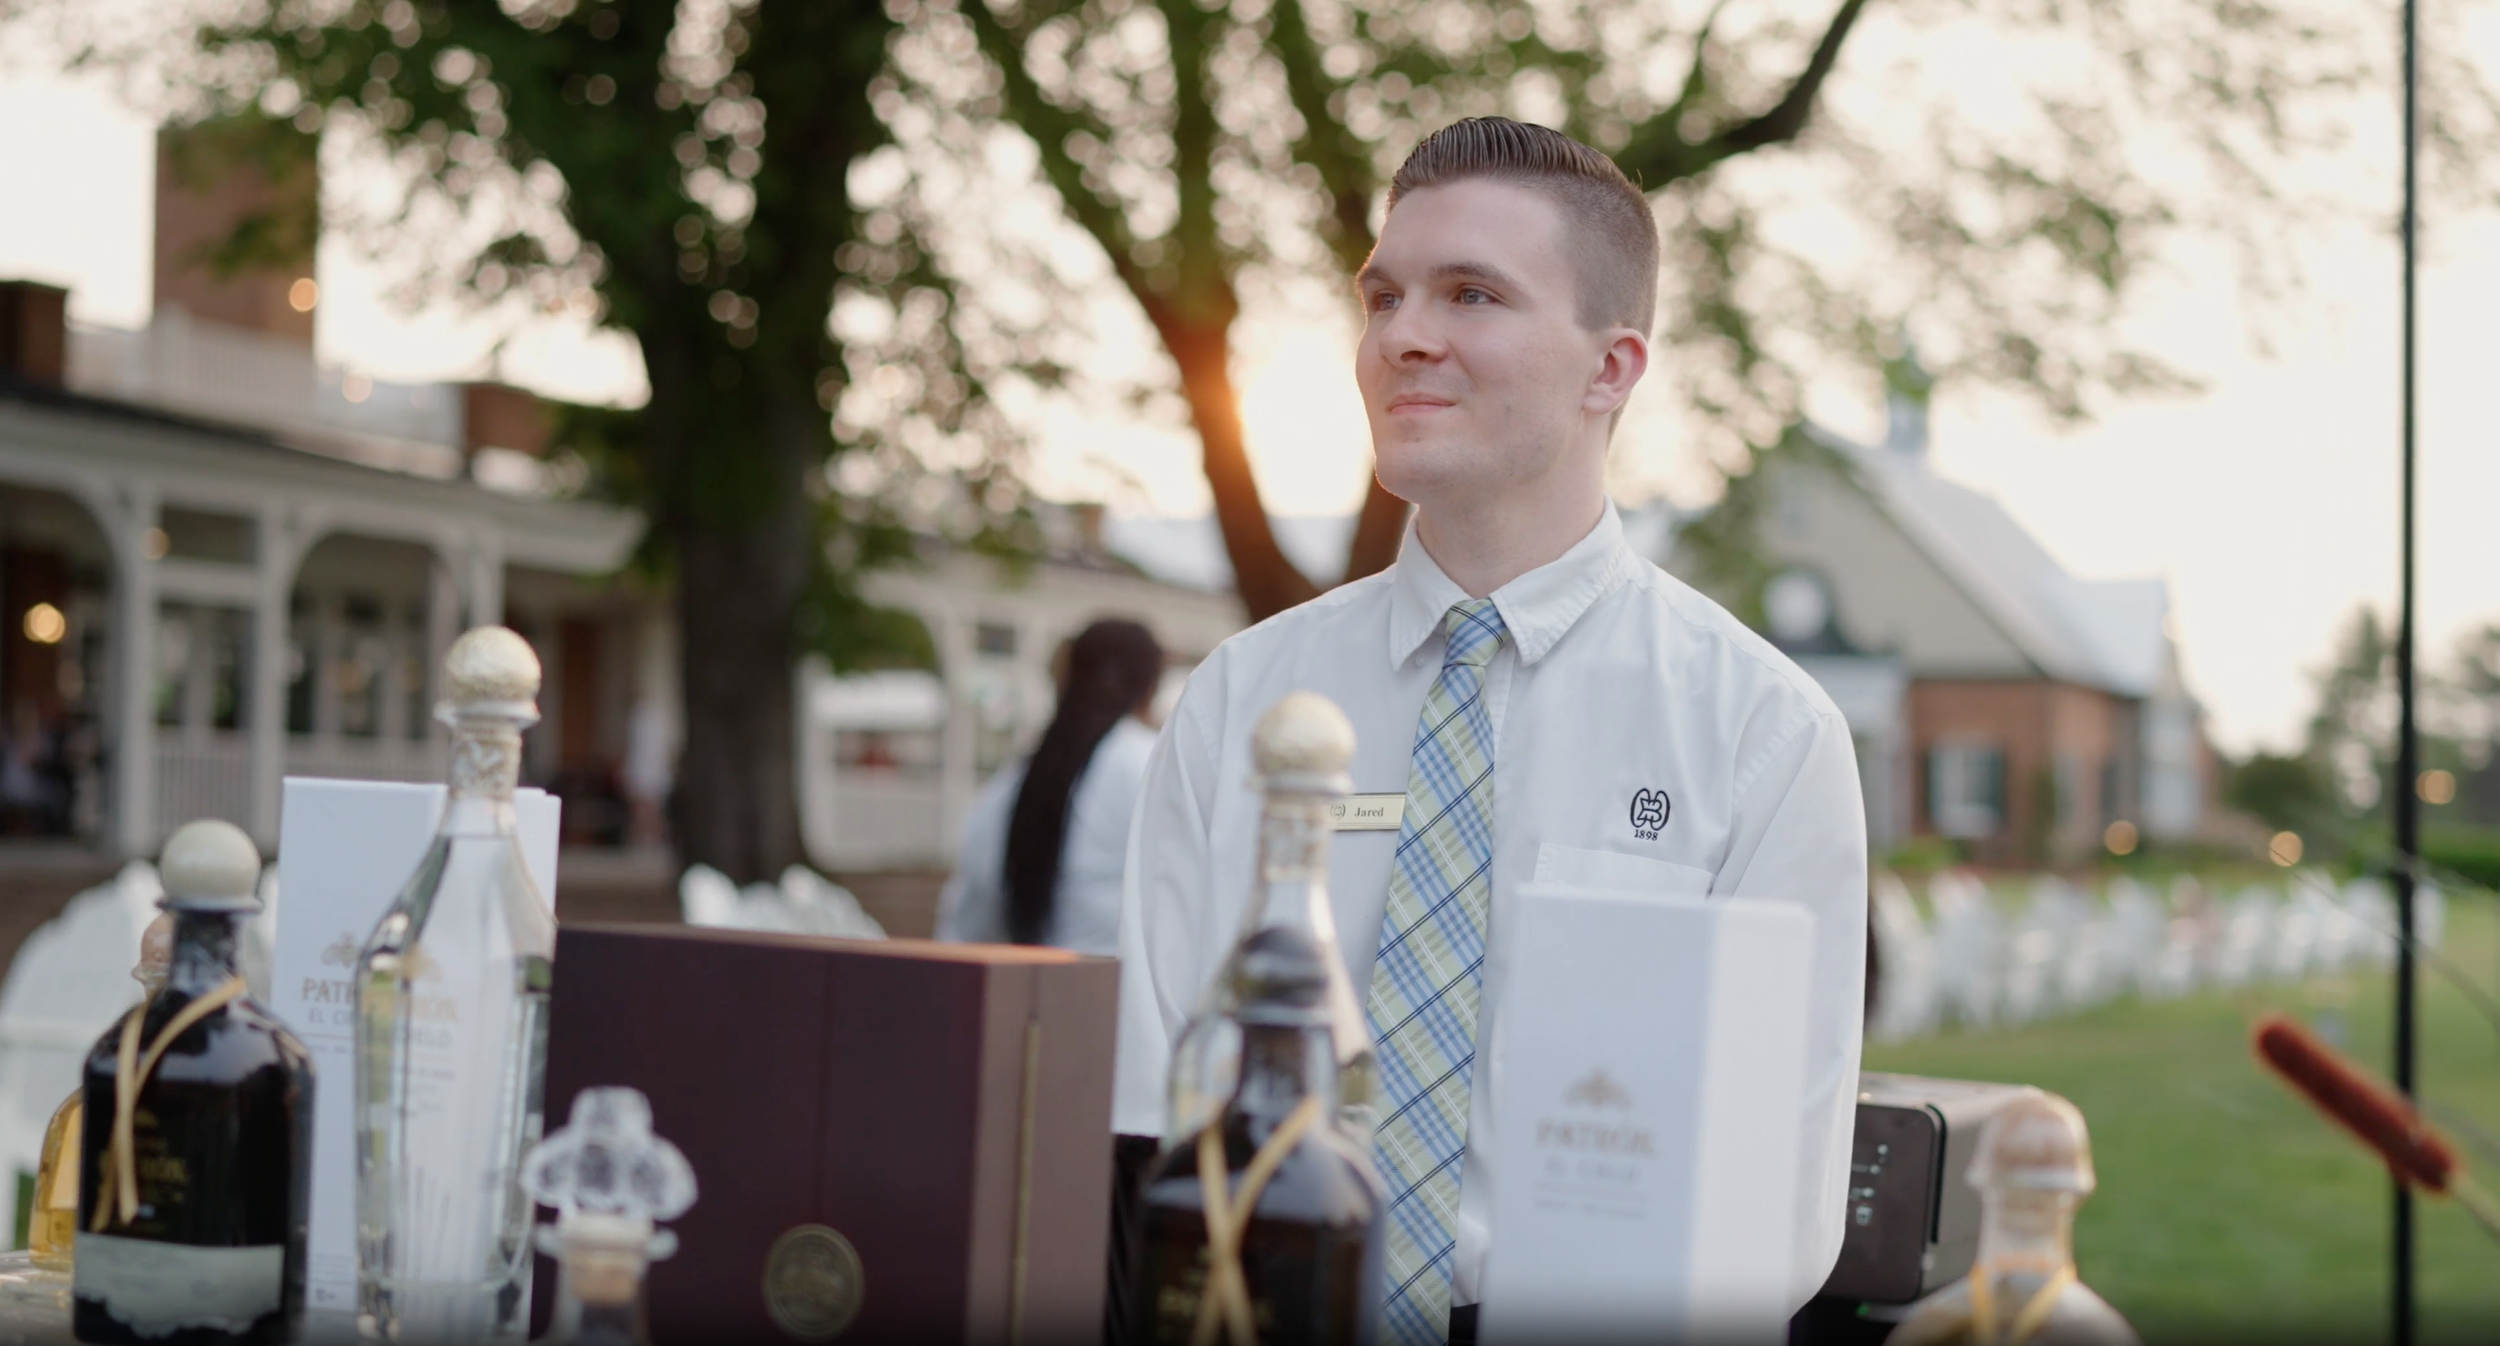
Framing should compliment the story your video is trying to tell. However, by conventional interview technique standards your subject should be framed appropriately using the rule of third grid lines. The samples below demonstrate both a primary and secondary camera angle where the A CAMERA is slight wider with the subject centered or slightly to one side of the frame while the B CAMERA is opposite of the Key Light and framed tighter on the subject.
Some quick framing tips are:
Follow the rule of thirds
Film your secondary camera angle on the shadow-side of the subject (project dependent)
Make sure both eyes are visible (avoid complete side profiles unless requested)
Don’t leave too much “dead space” above your subjects head.
If you’re using an interrotron method (subject’s eyeline will be directly to camera)
If you’re shooting conventionally (have interviewer sit as close to the A CAMERA as possible and subject will look to the long-side of the frame).

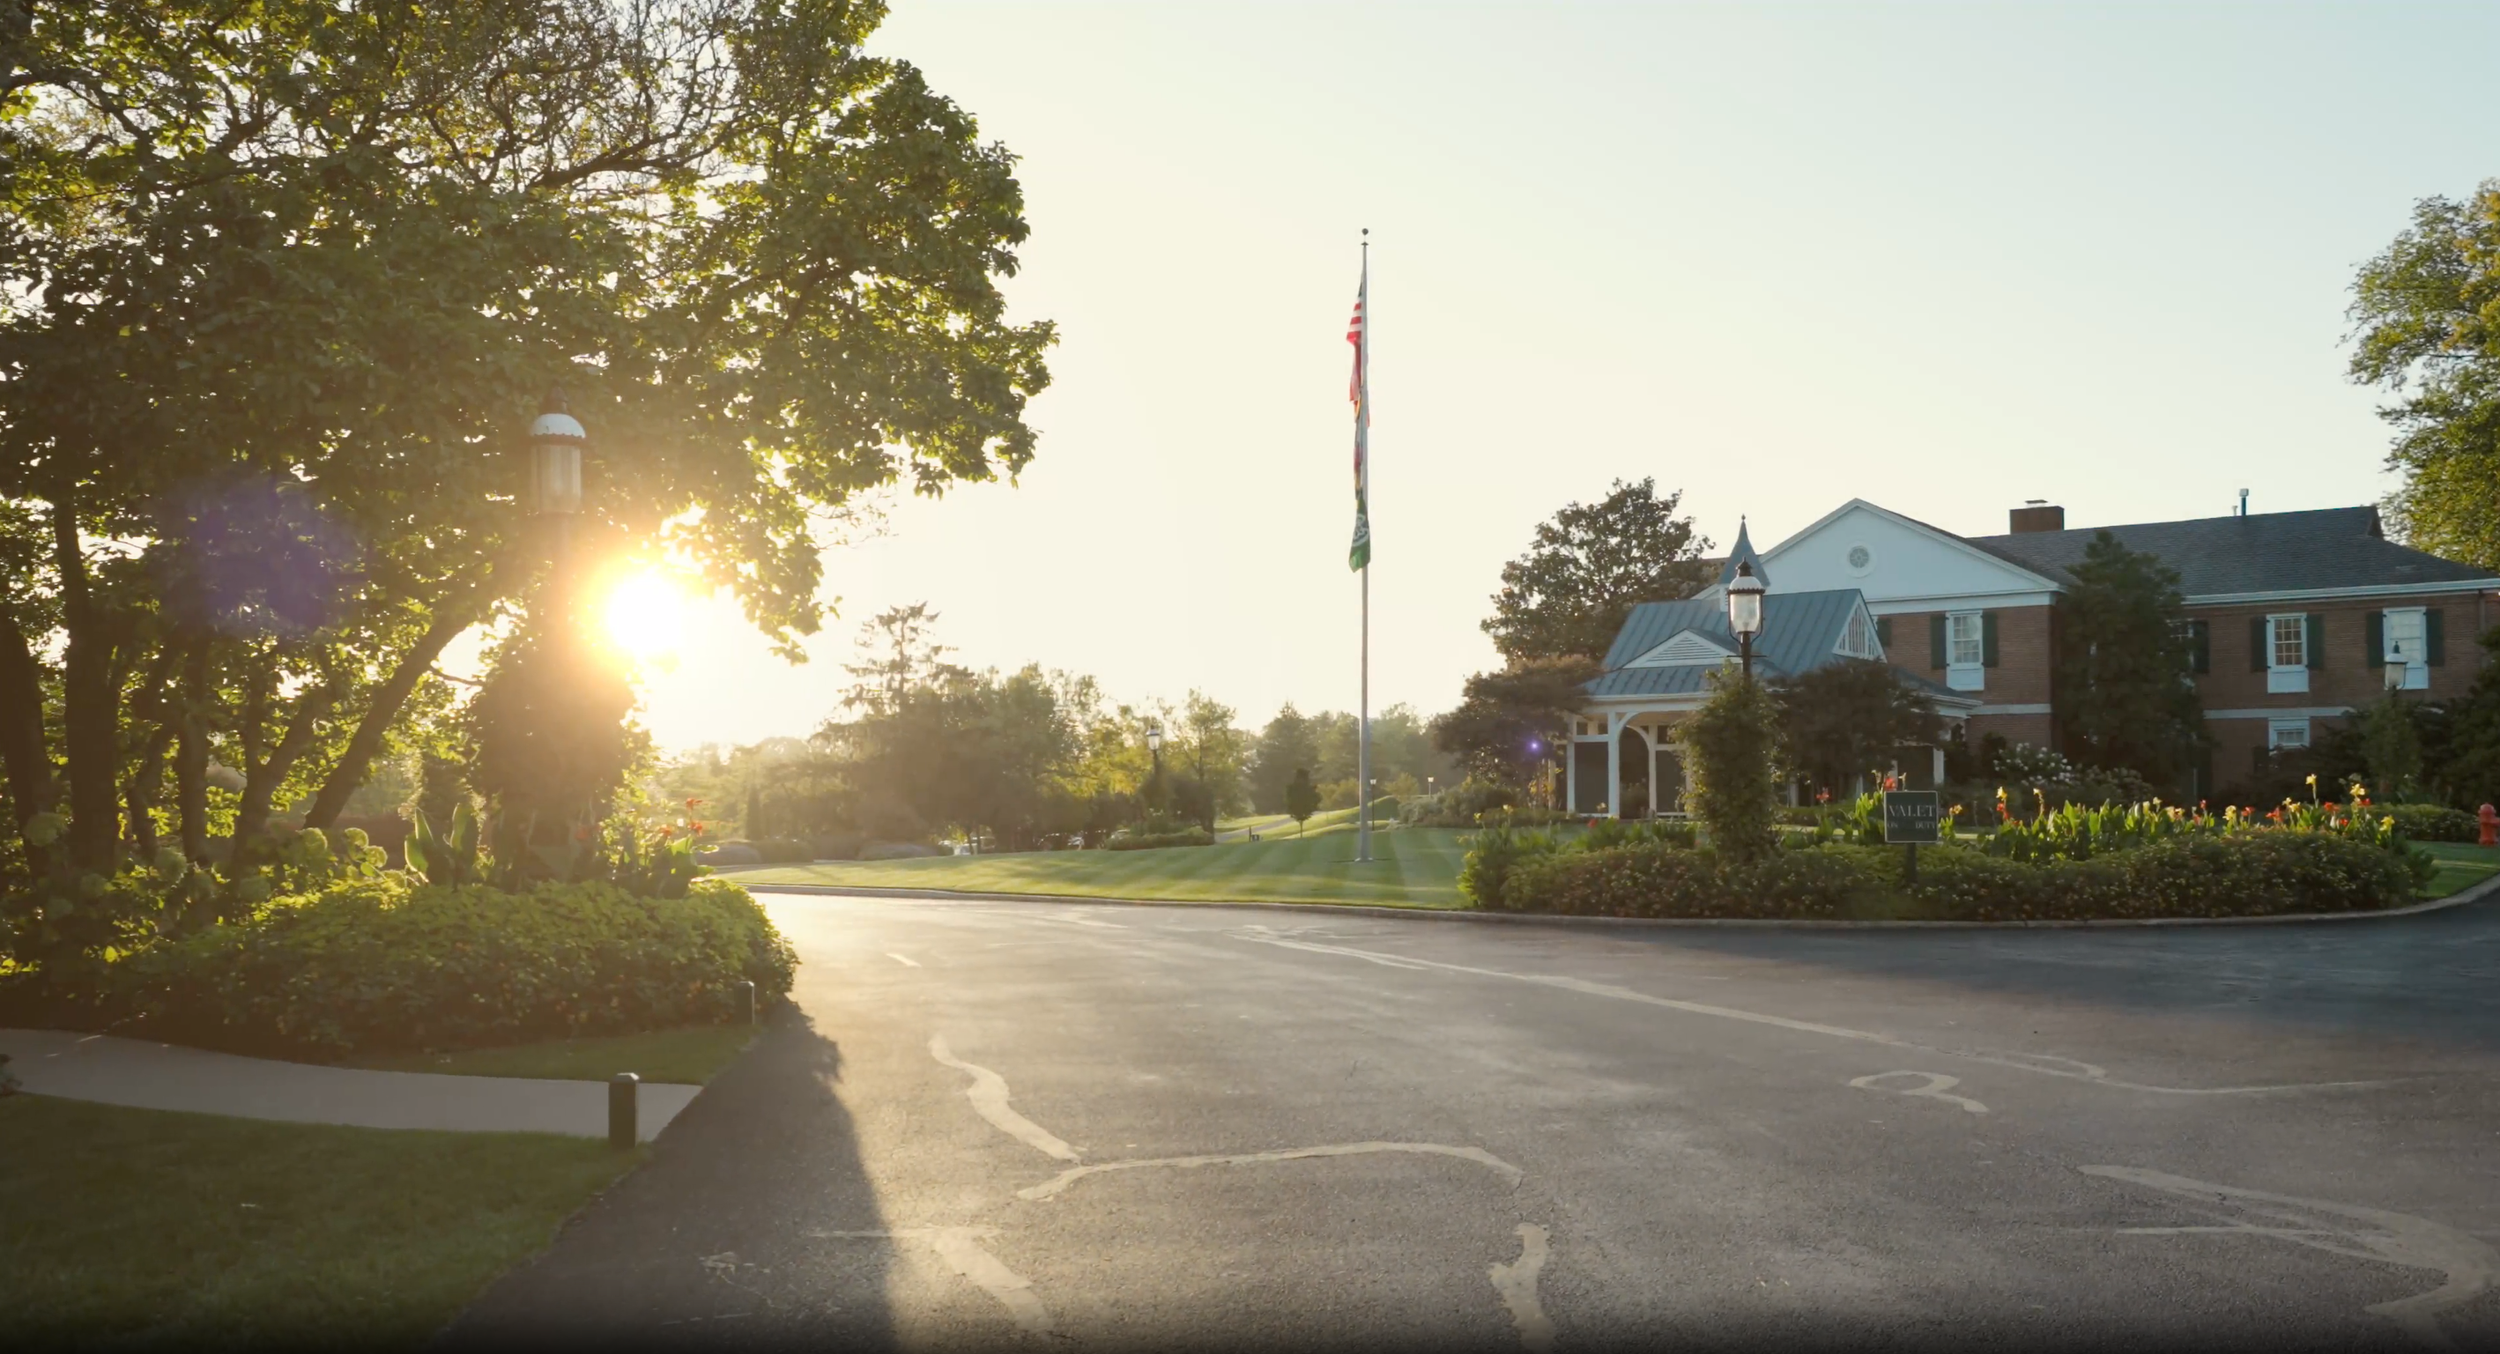
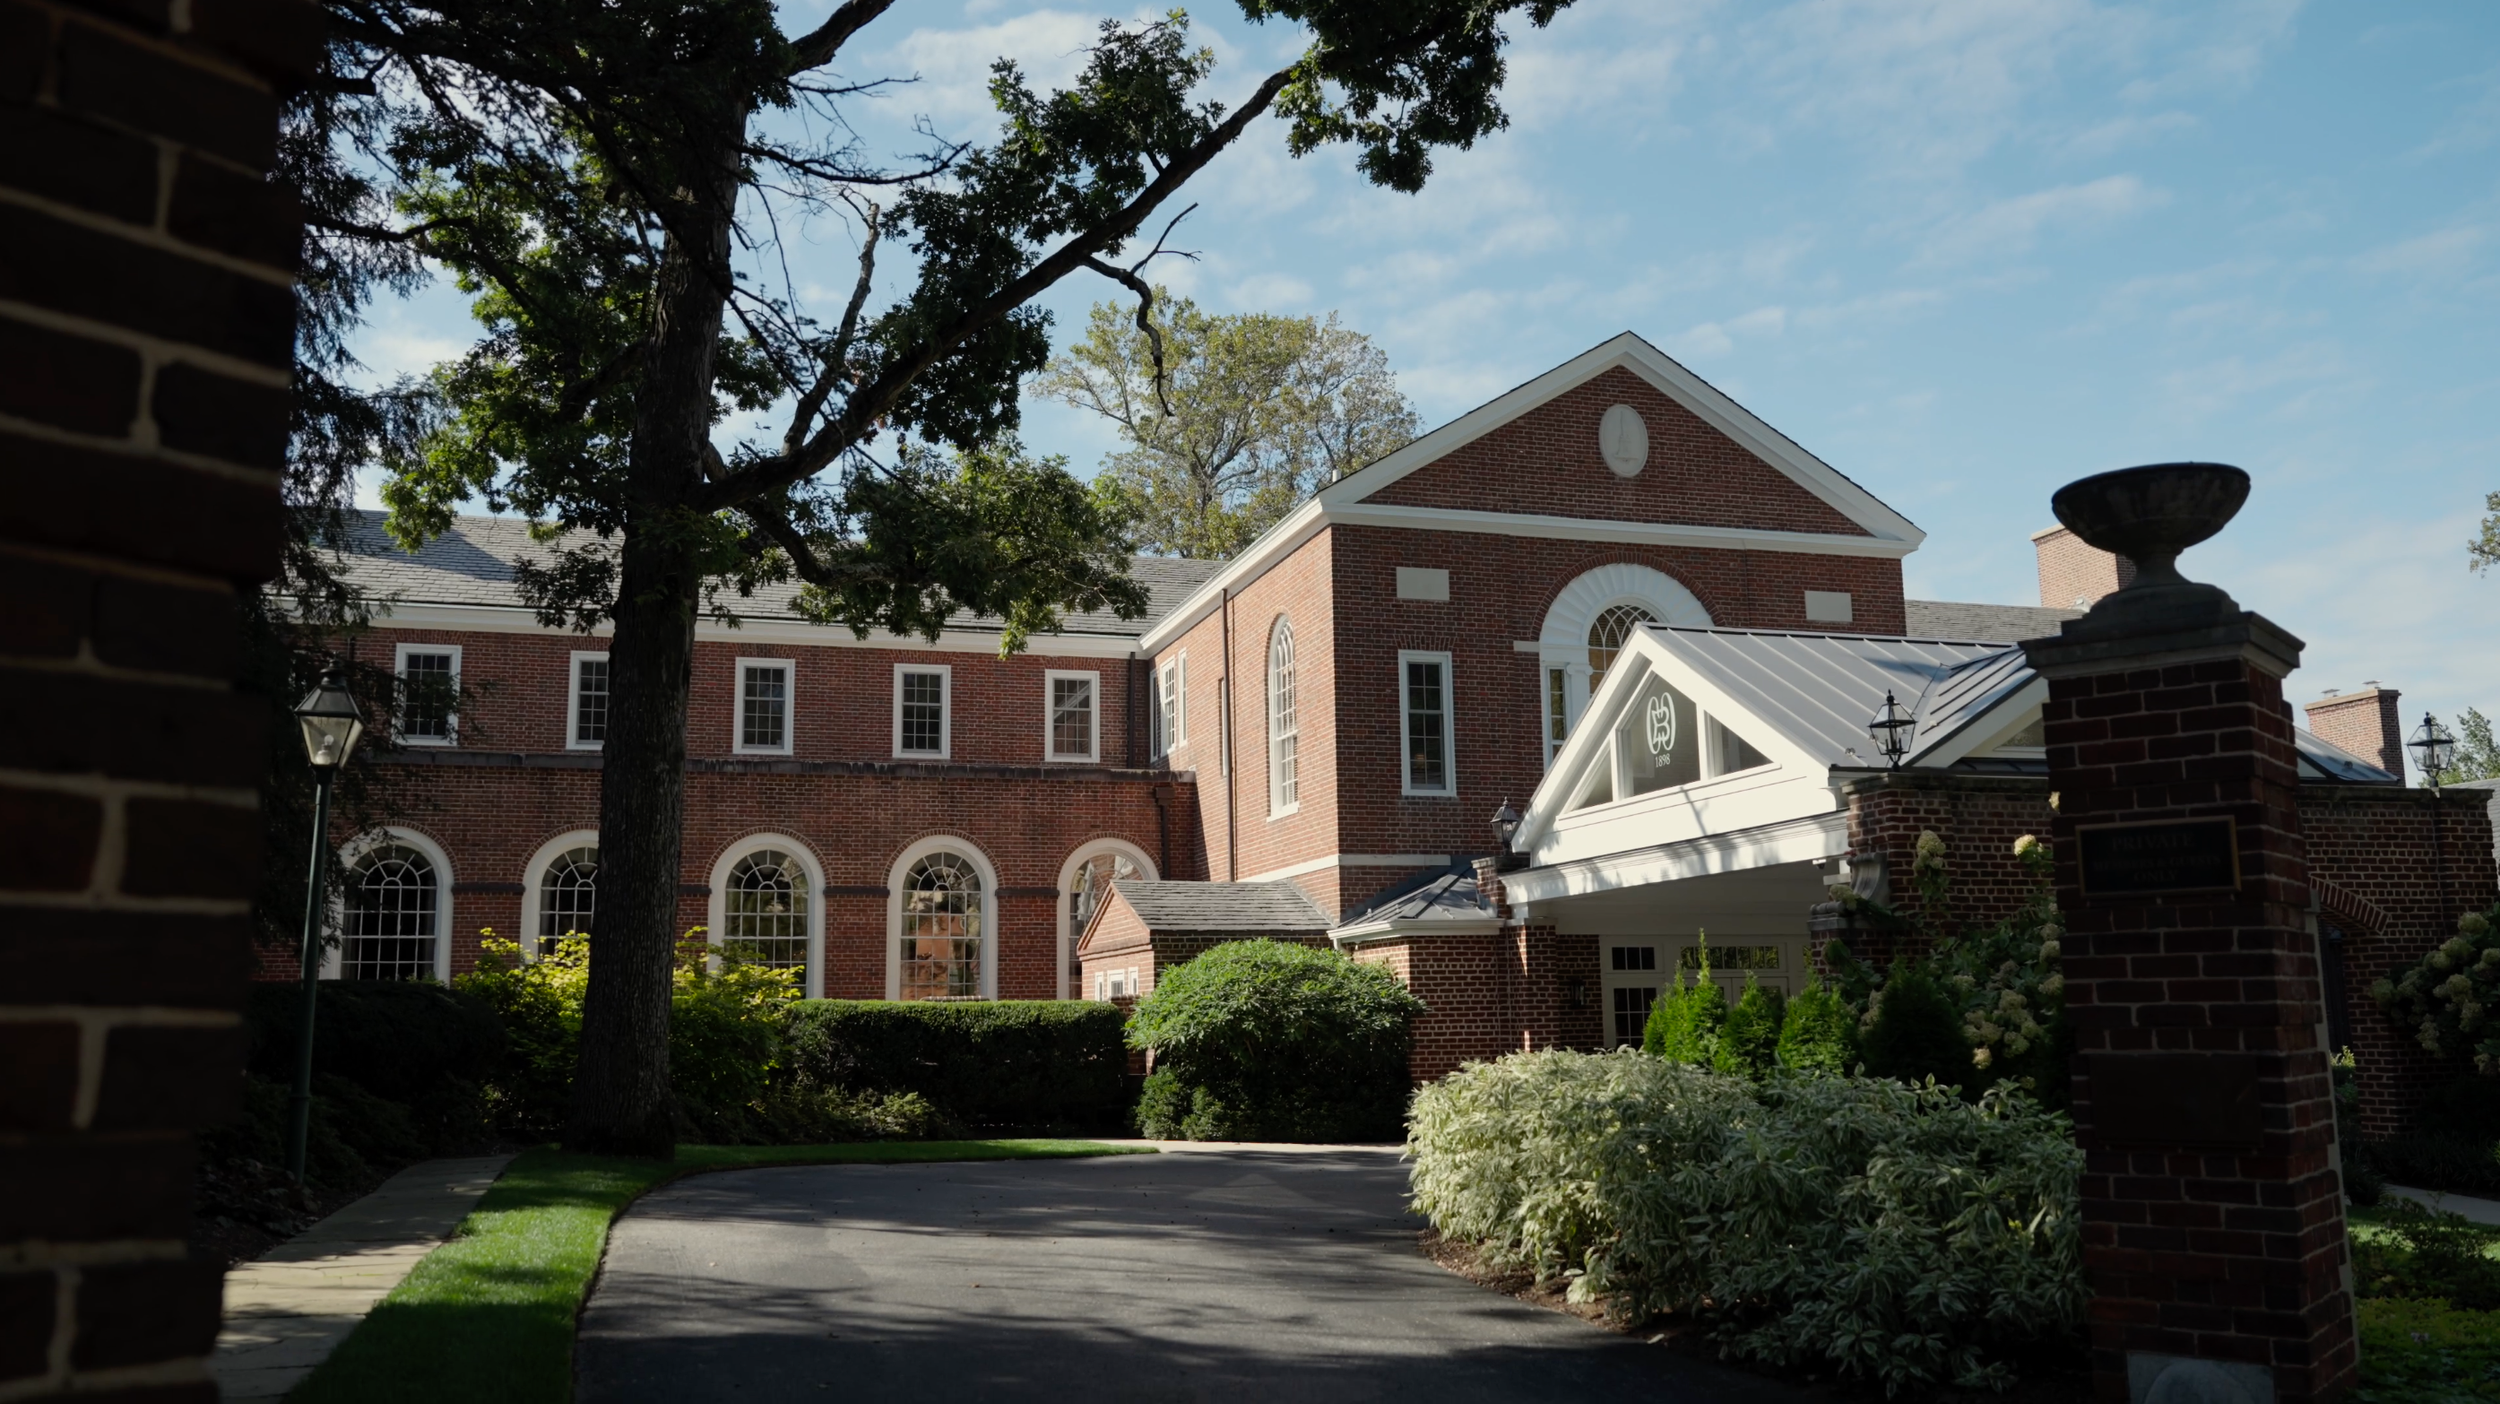
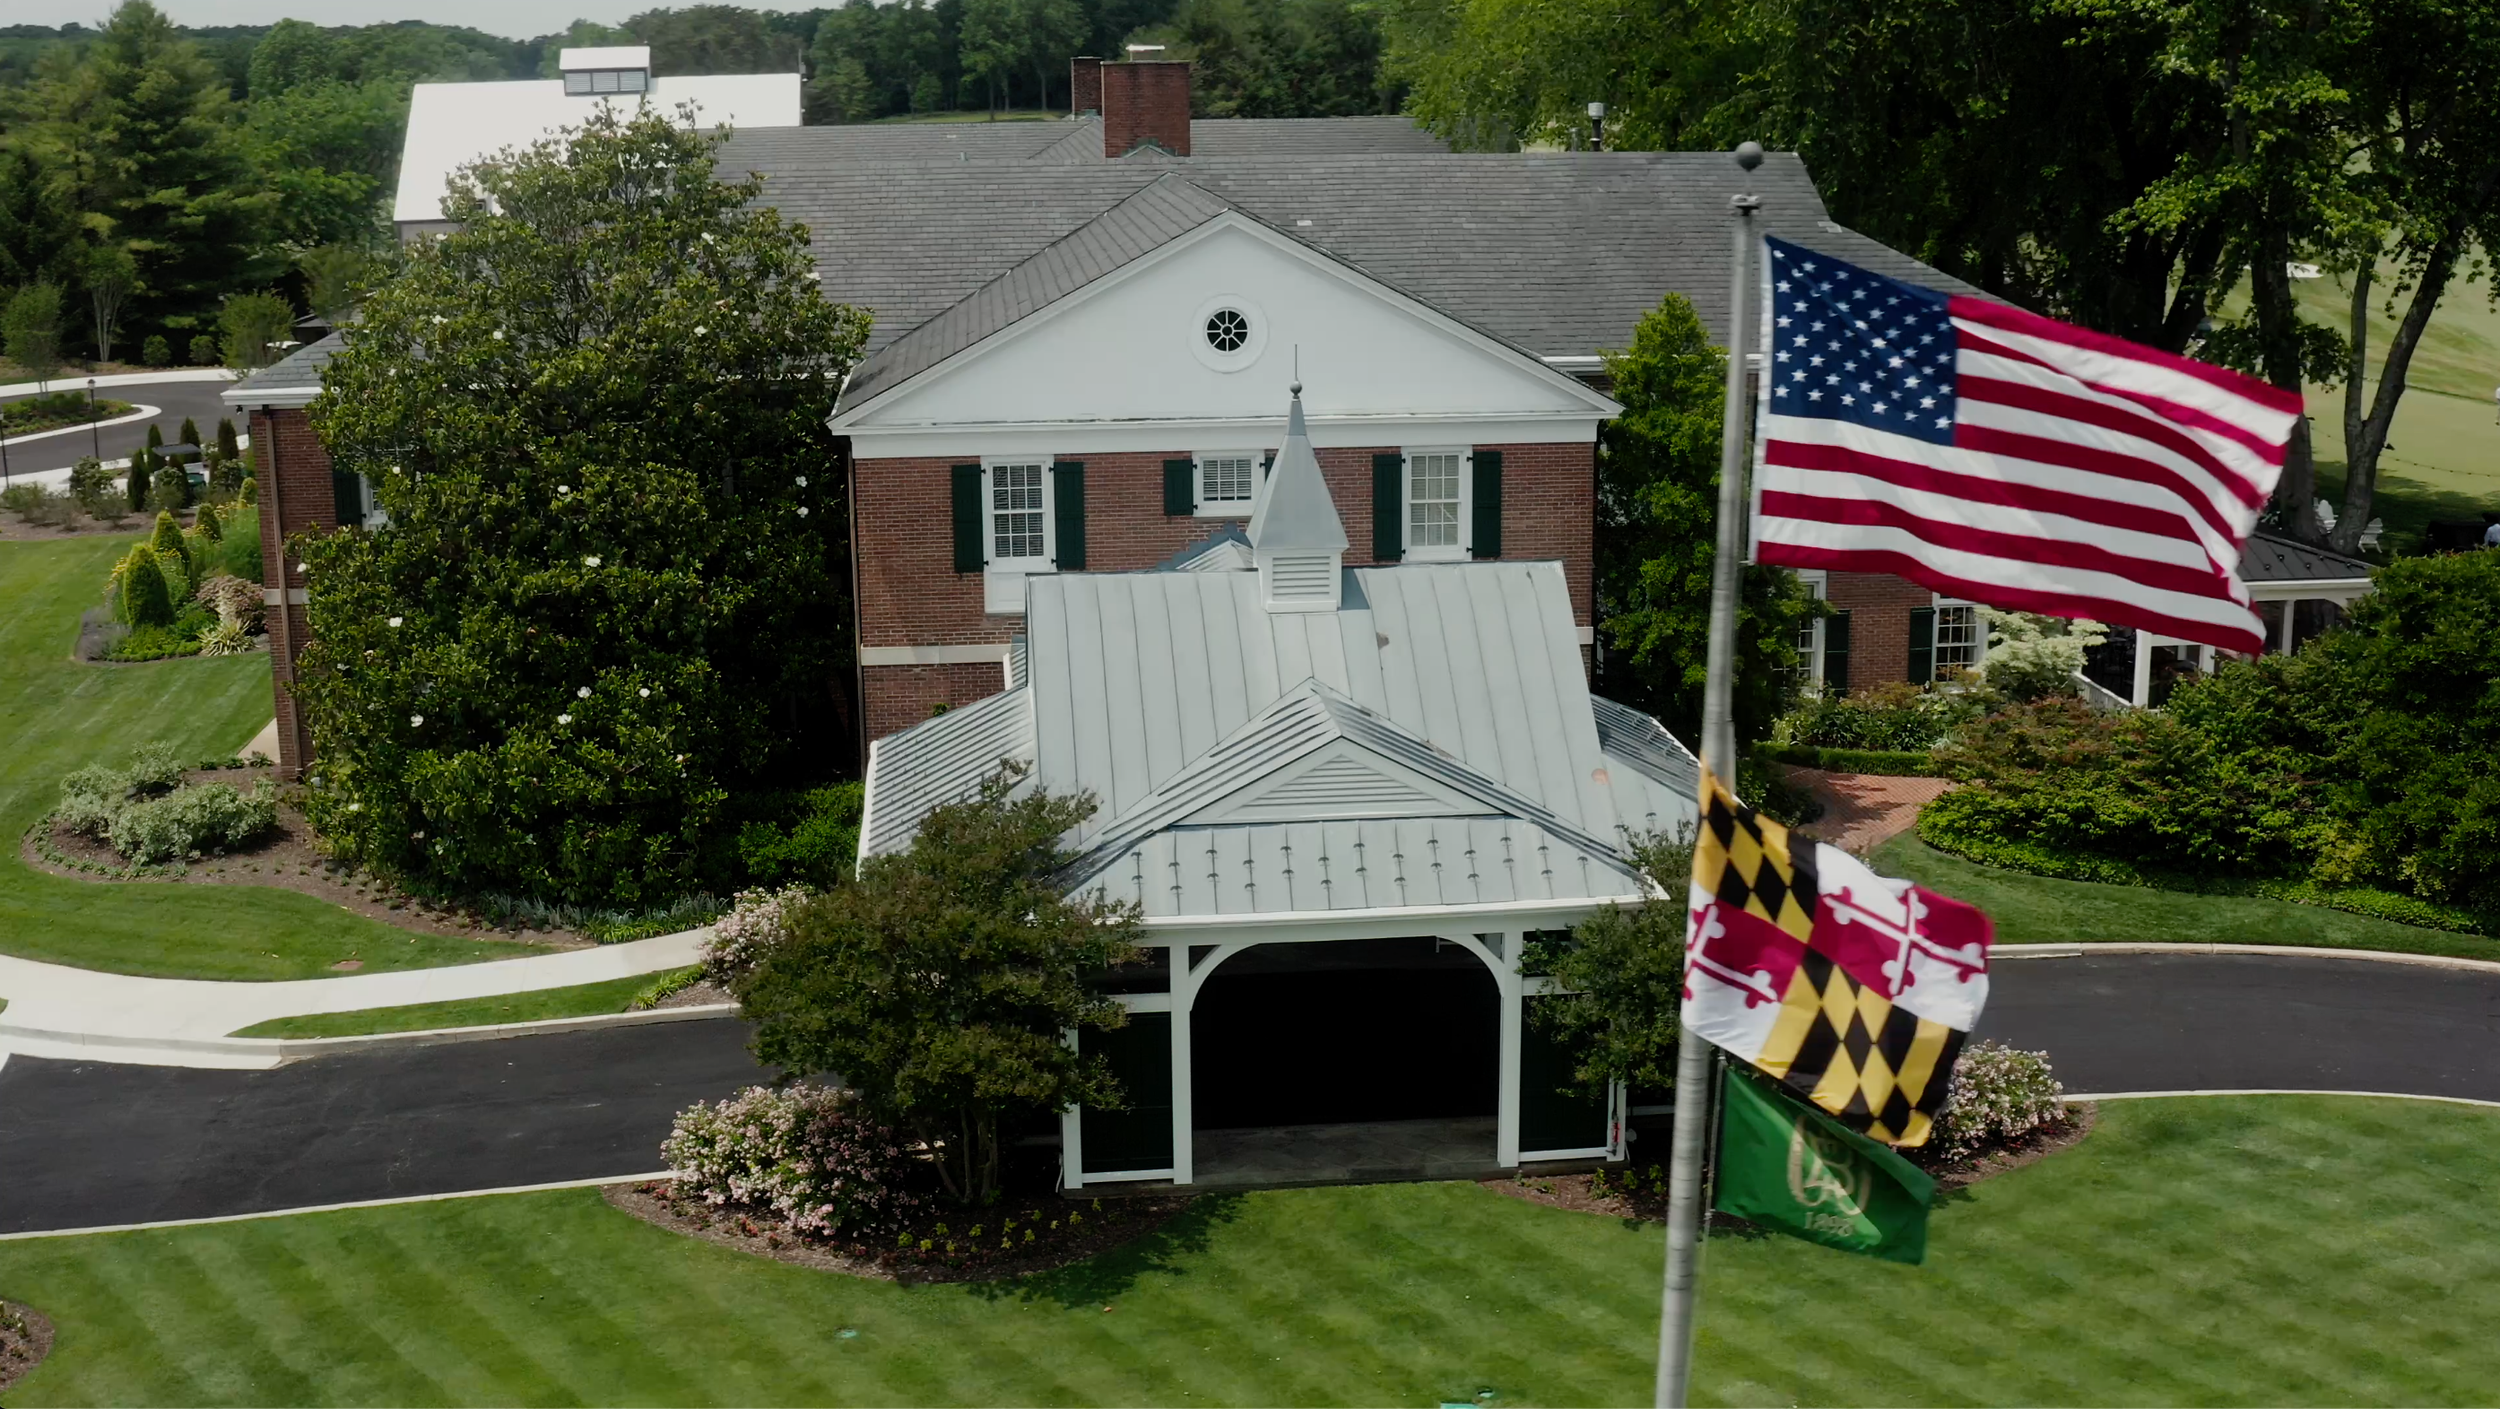
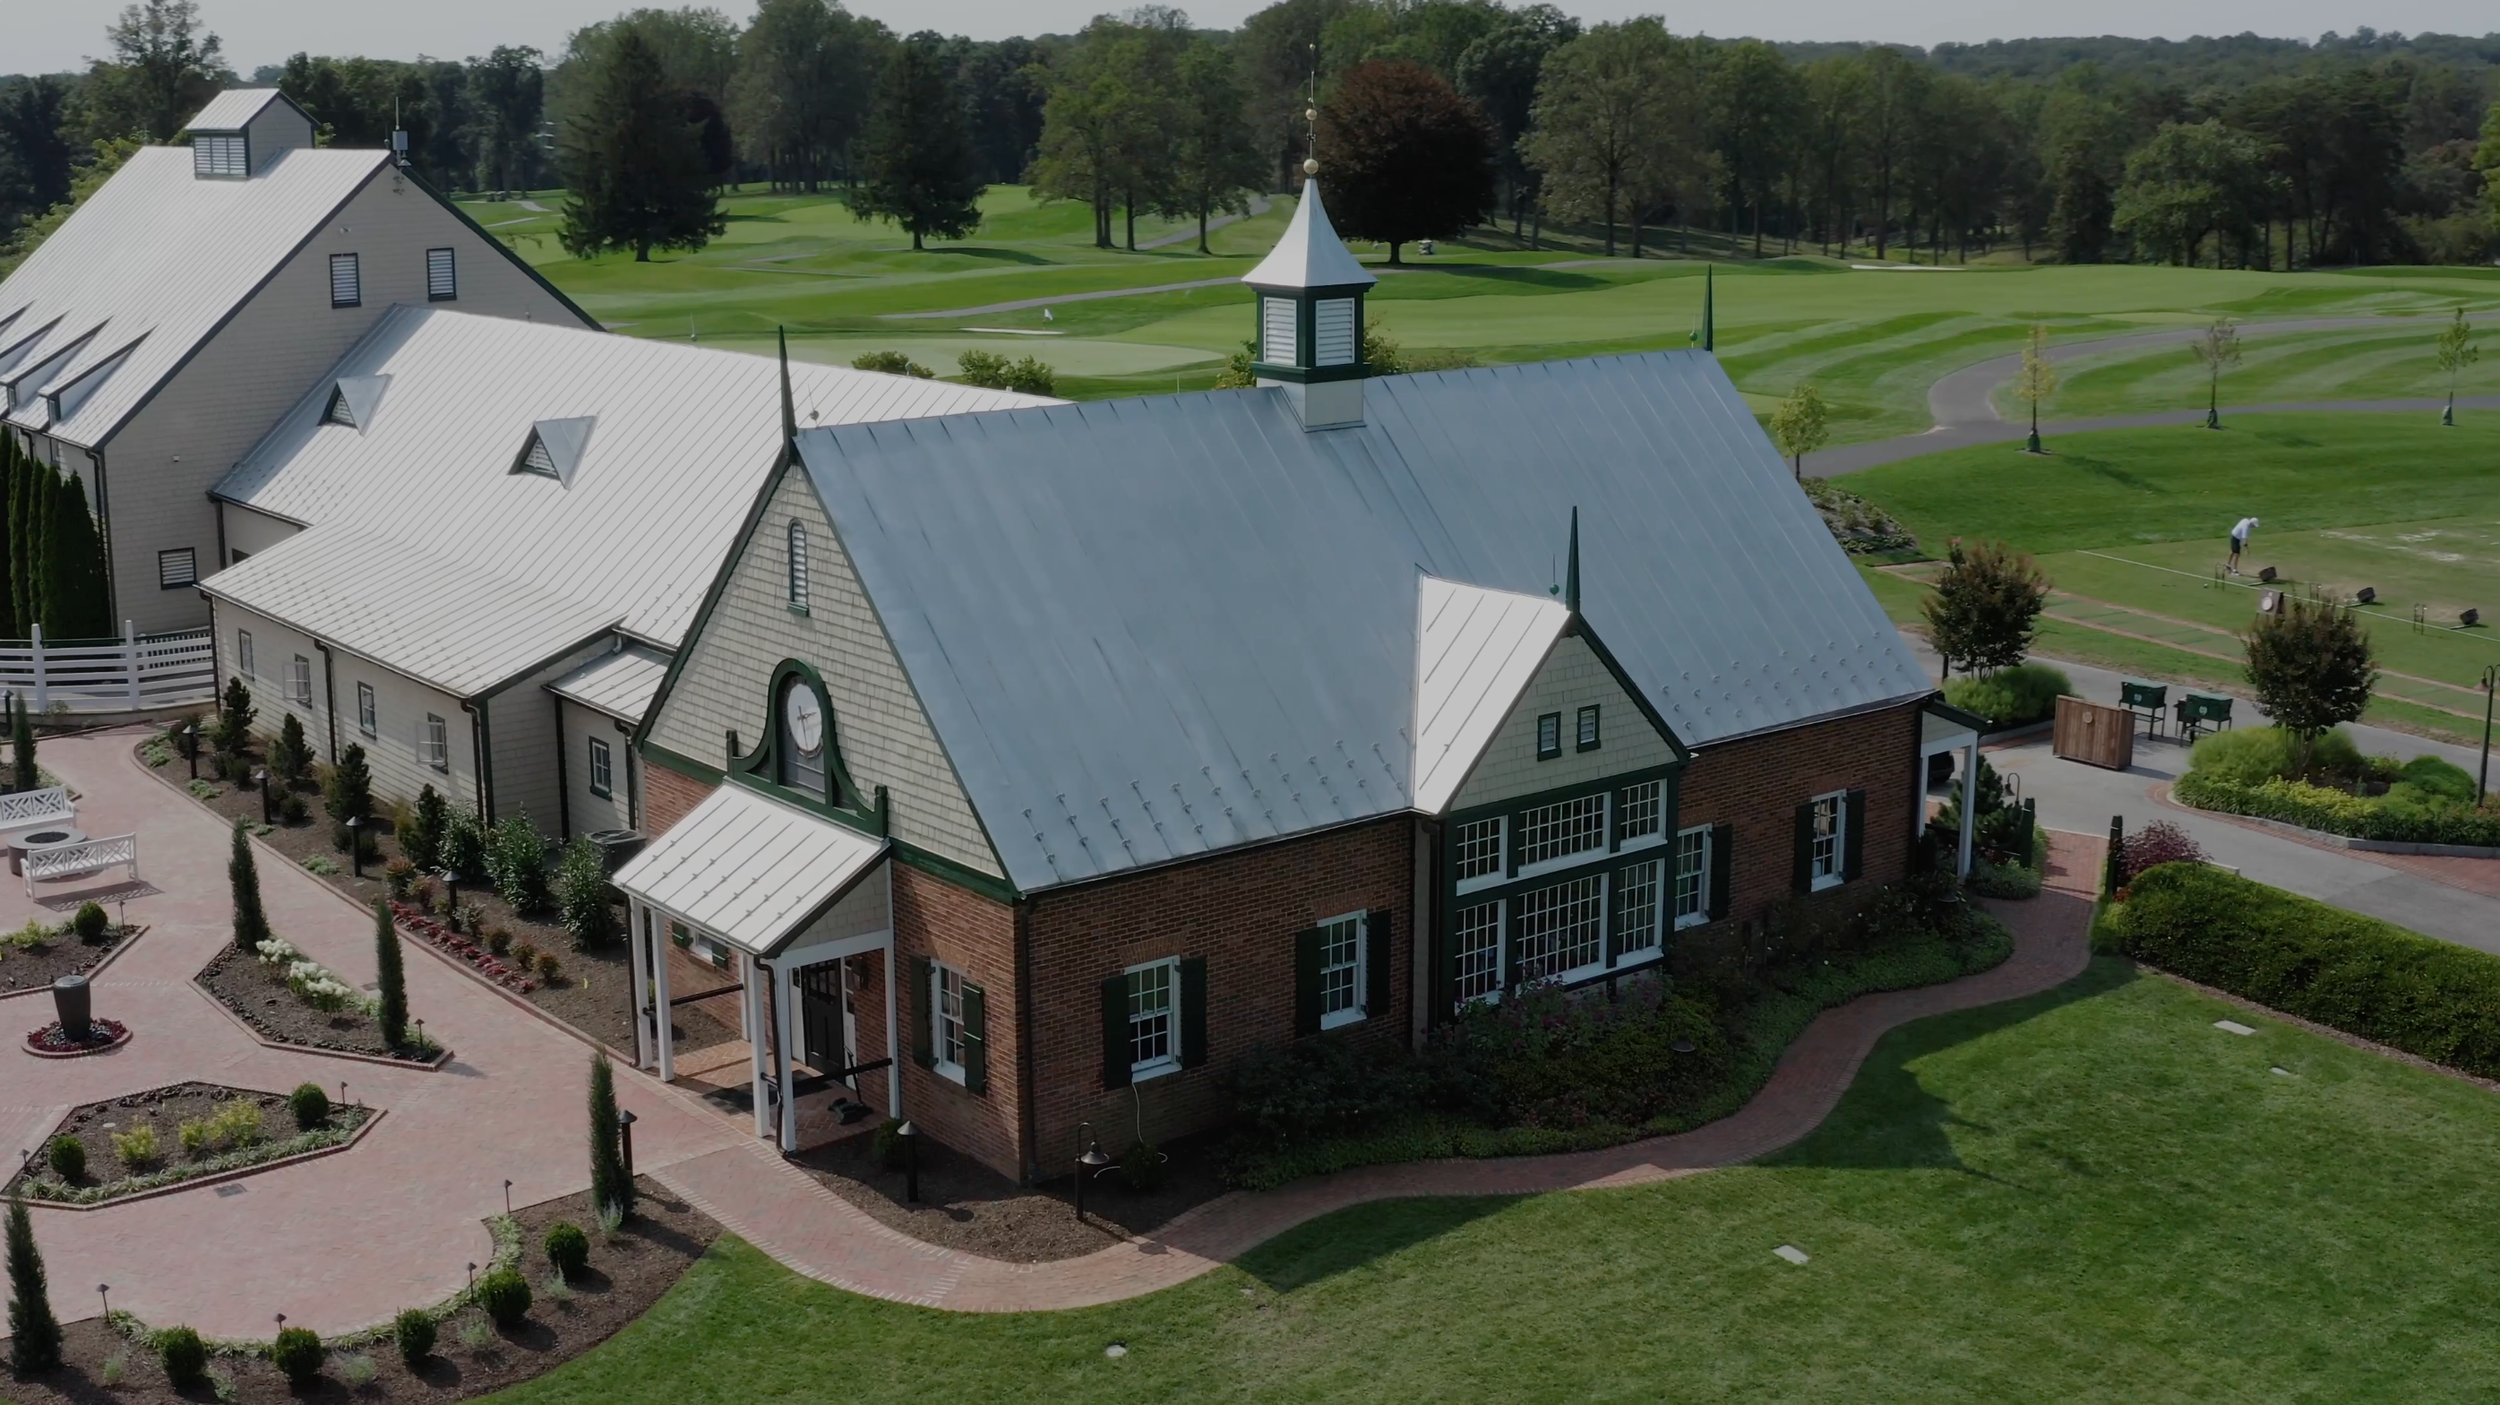
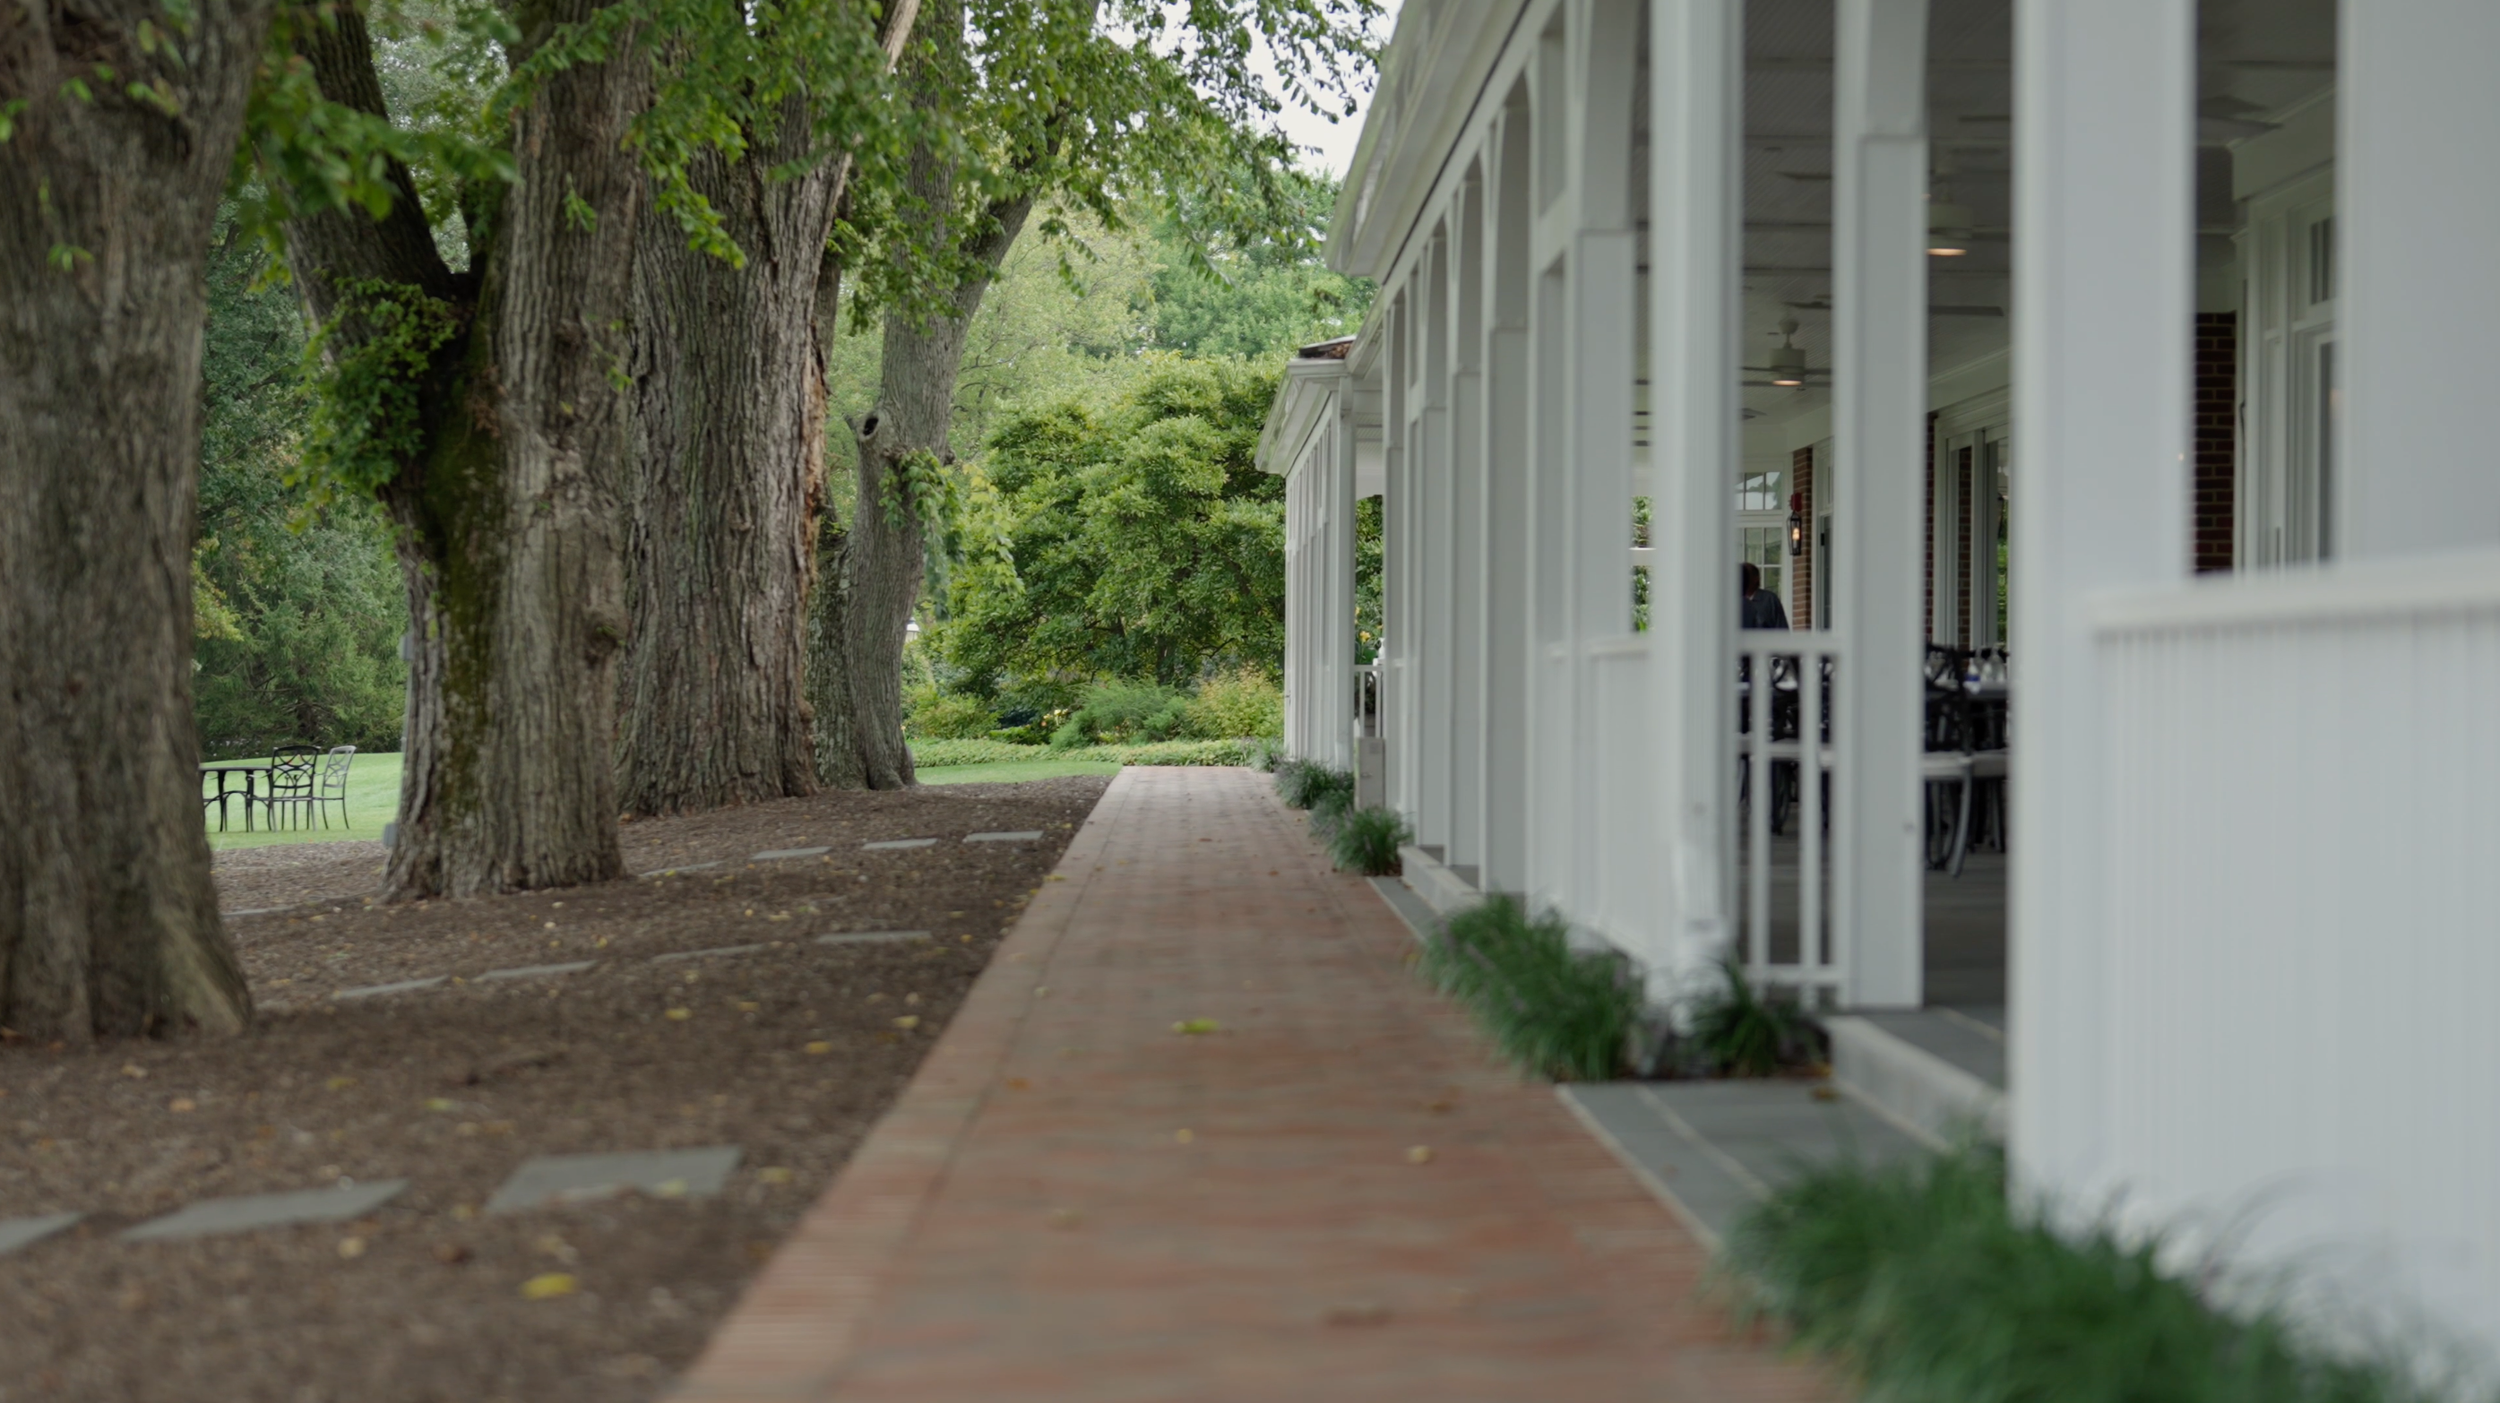
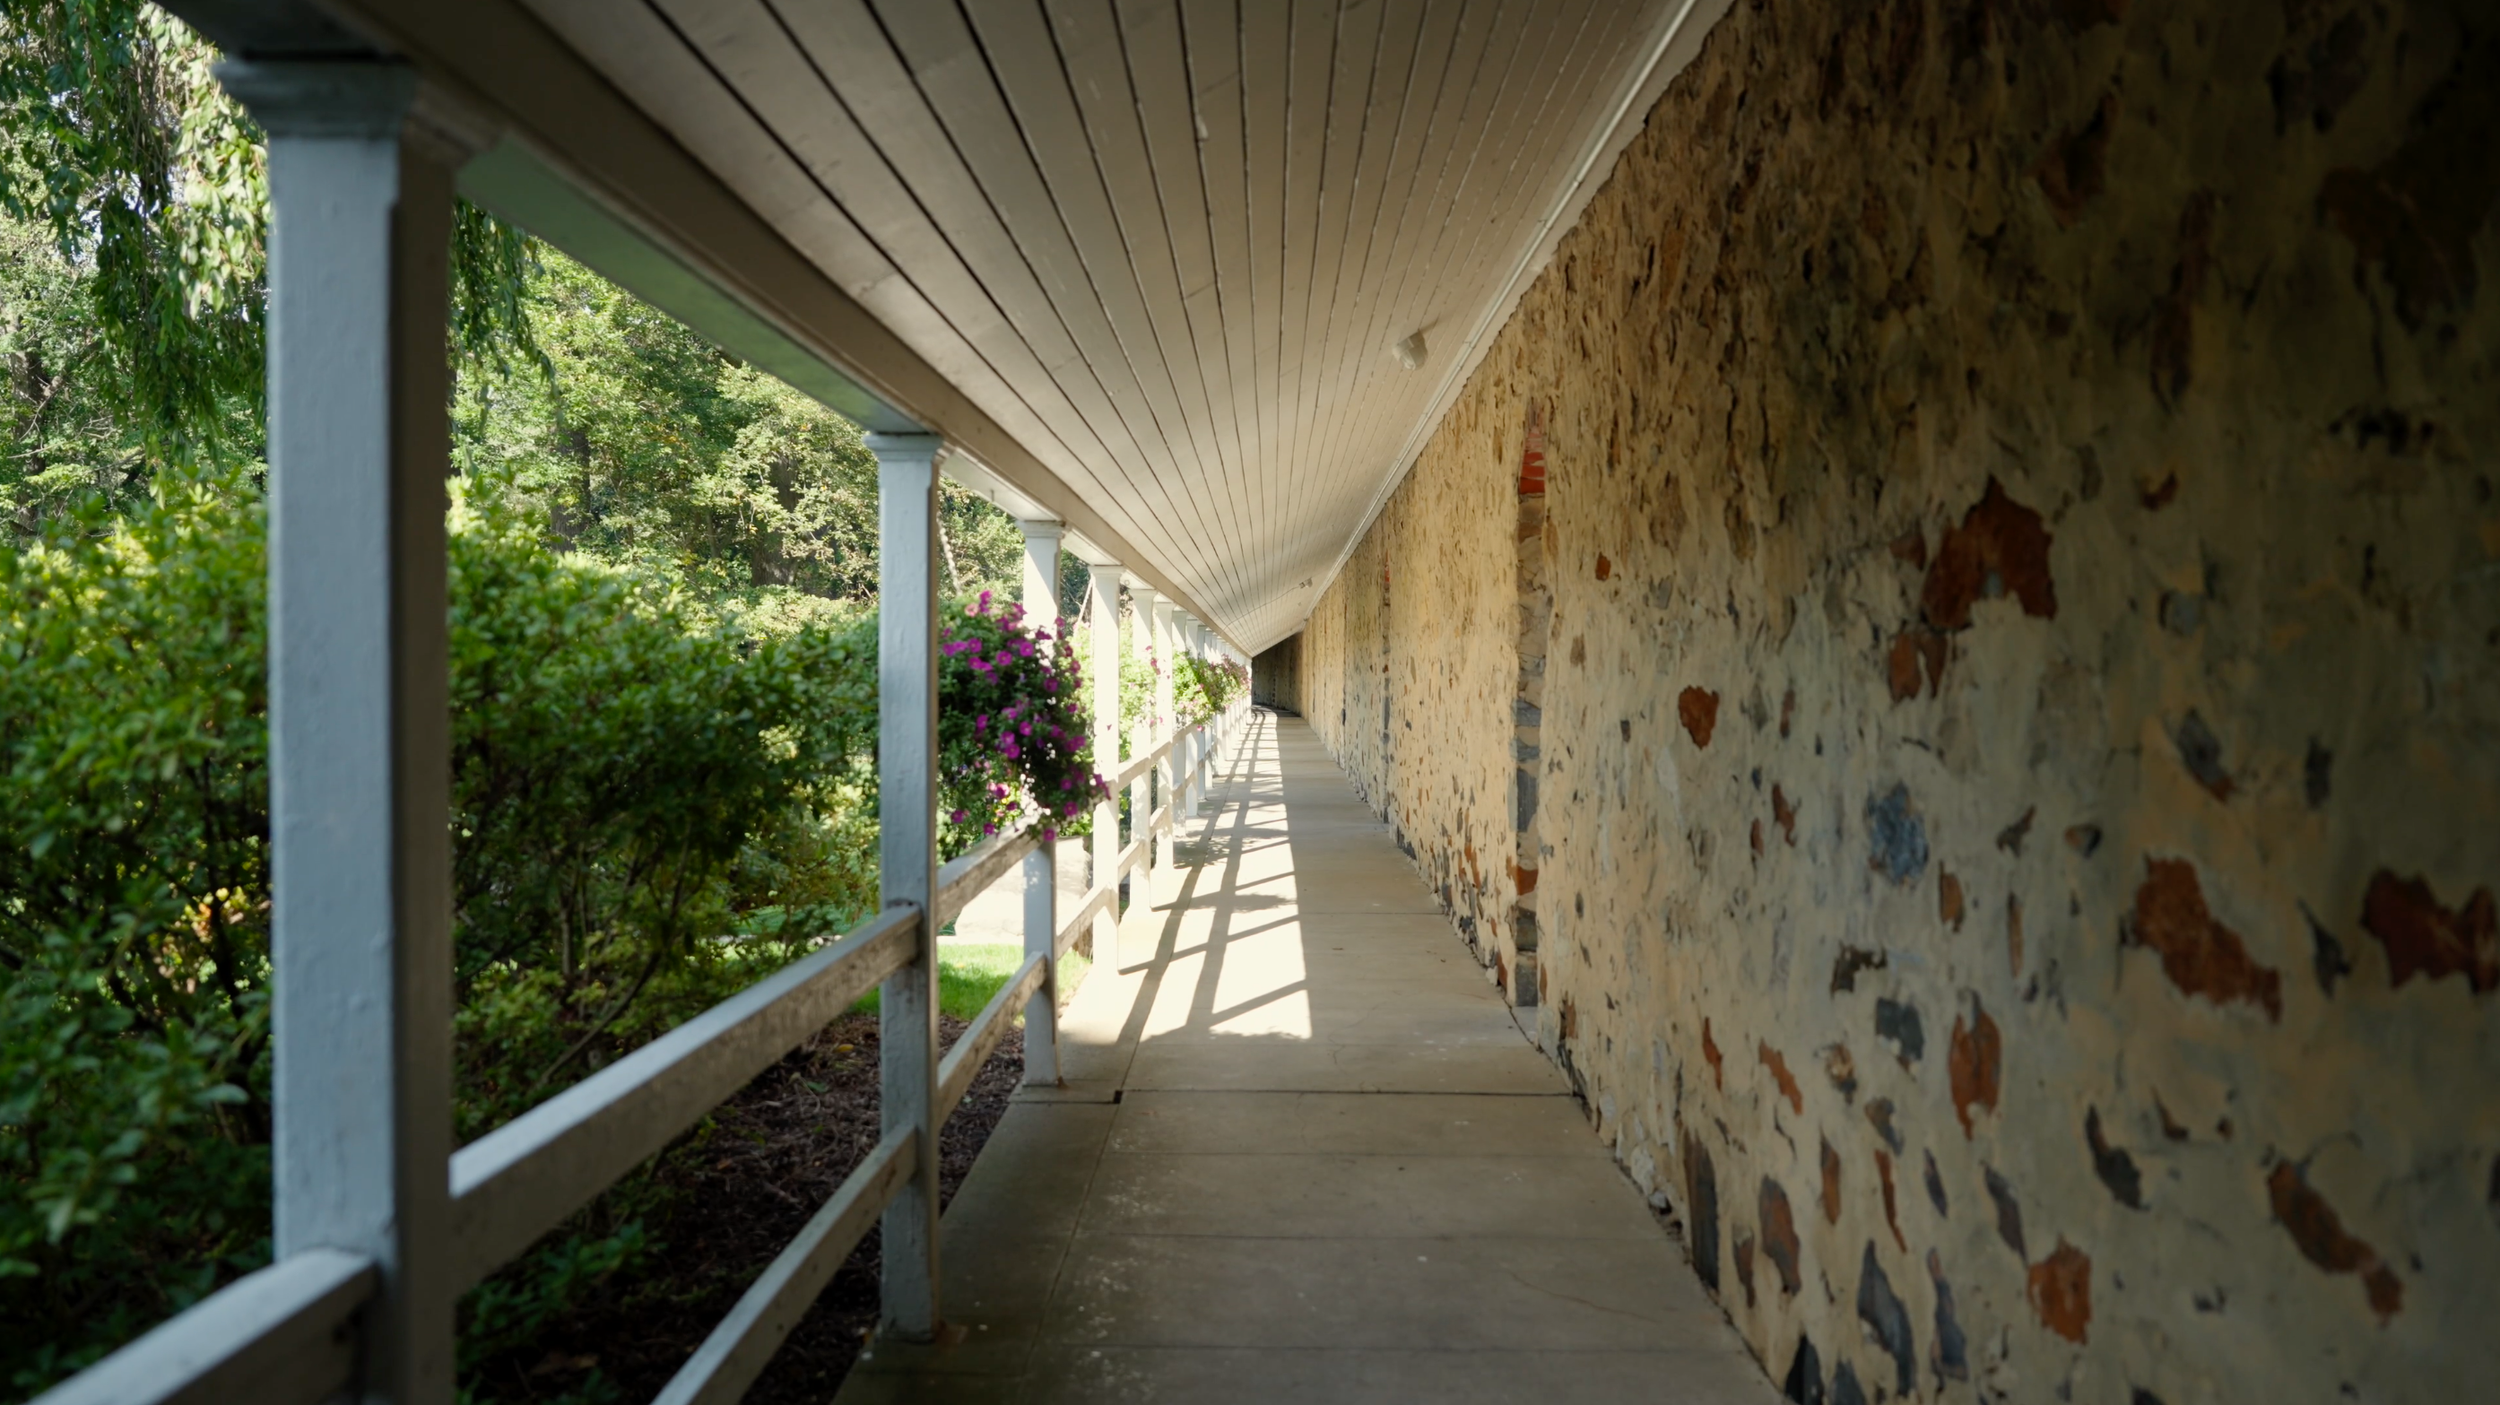
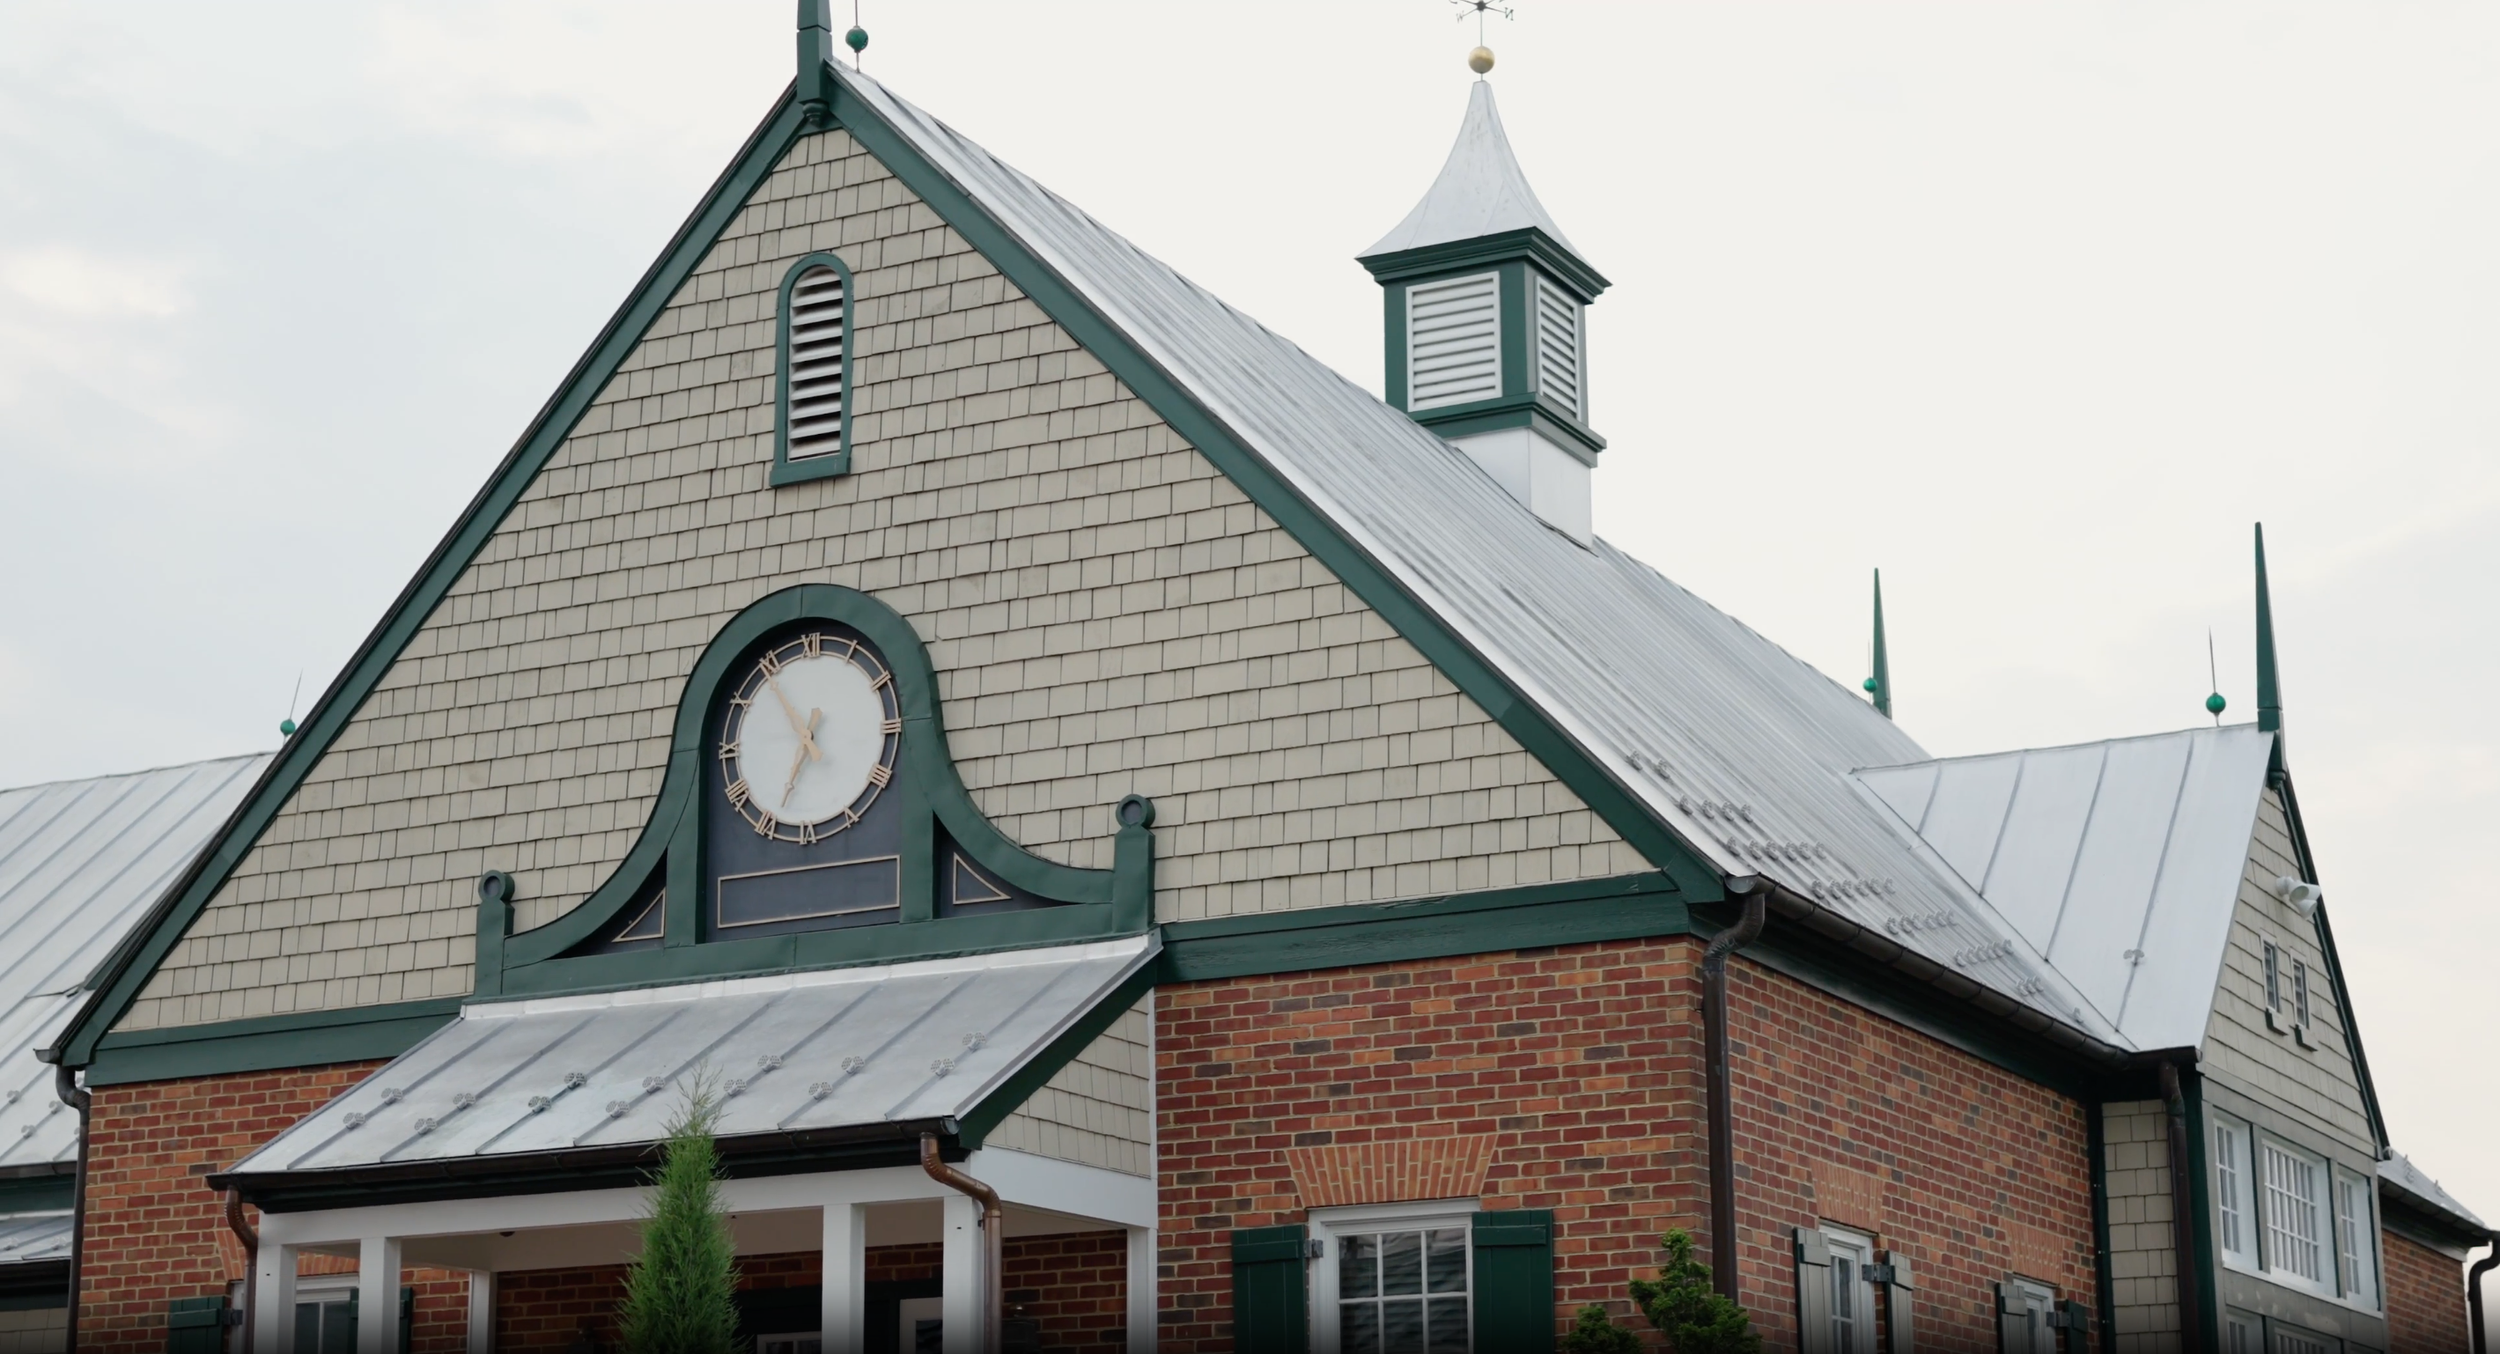
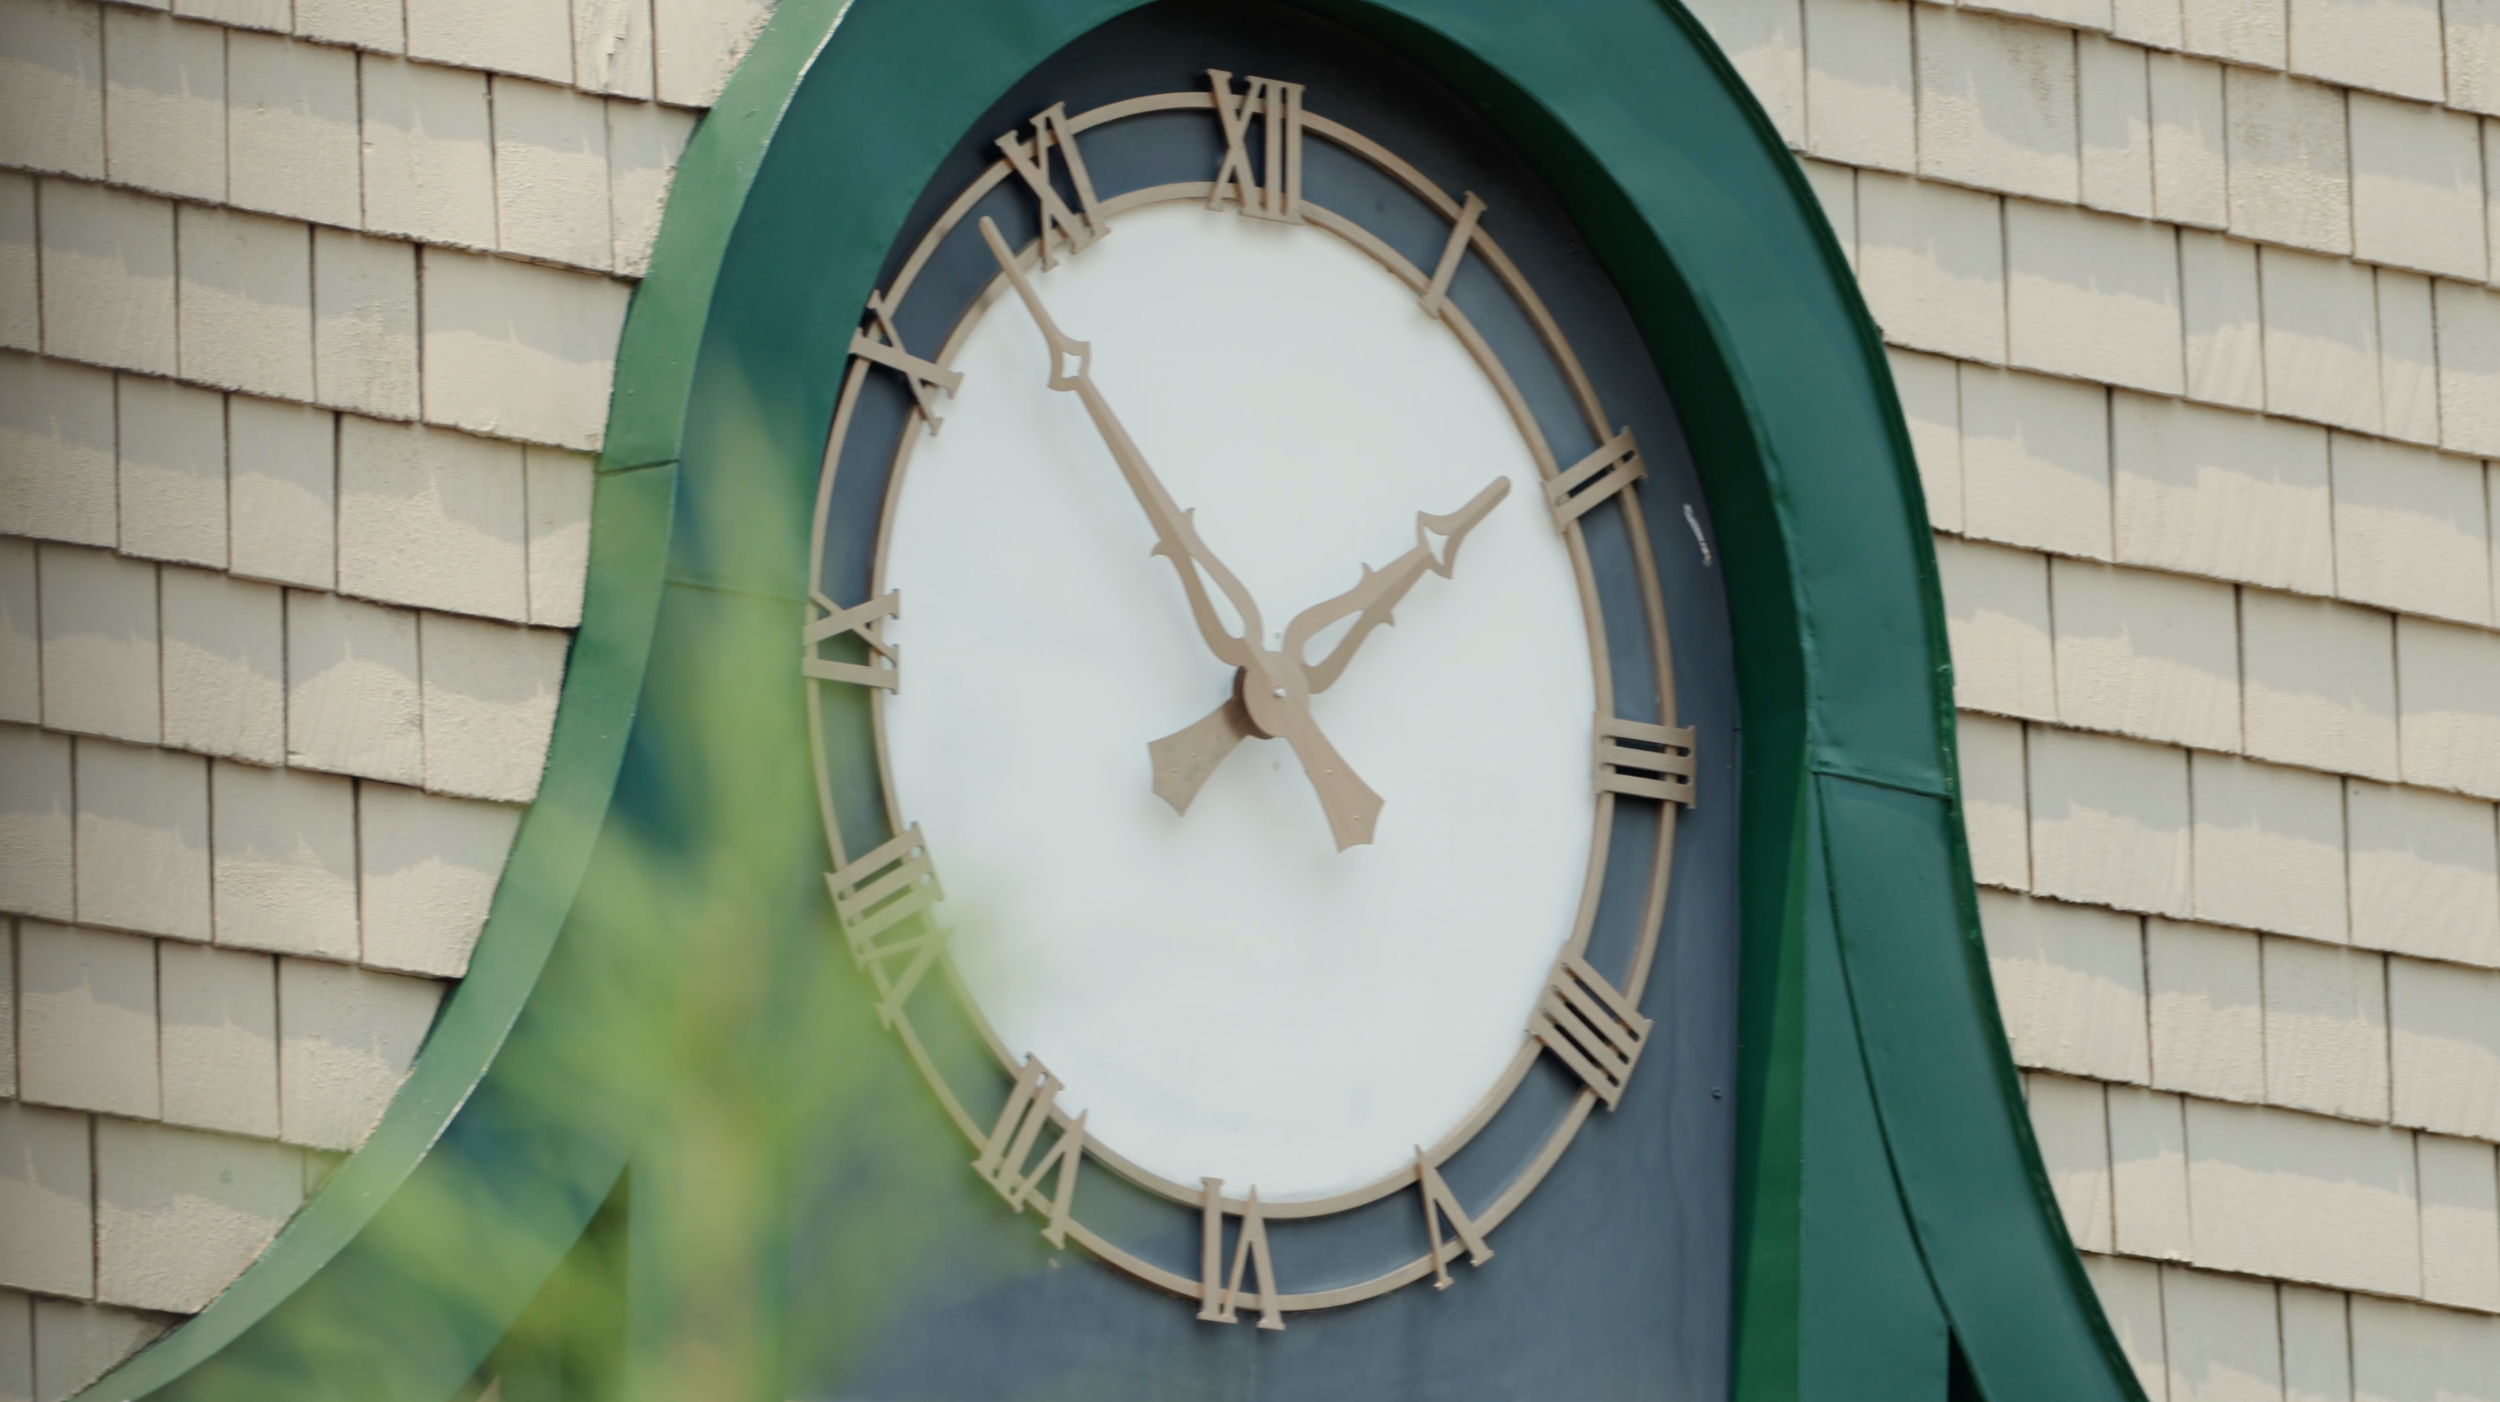
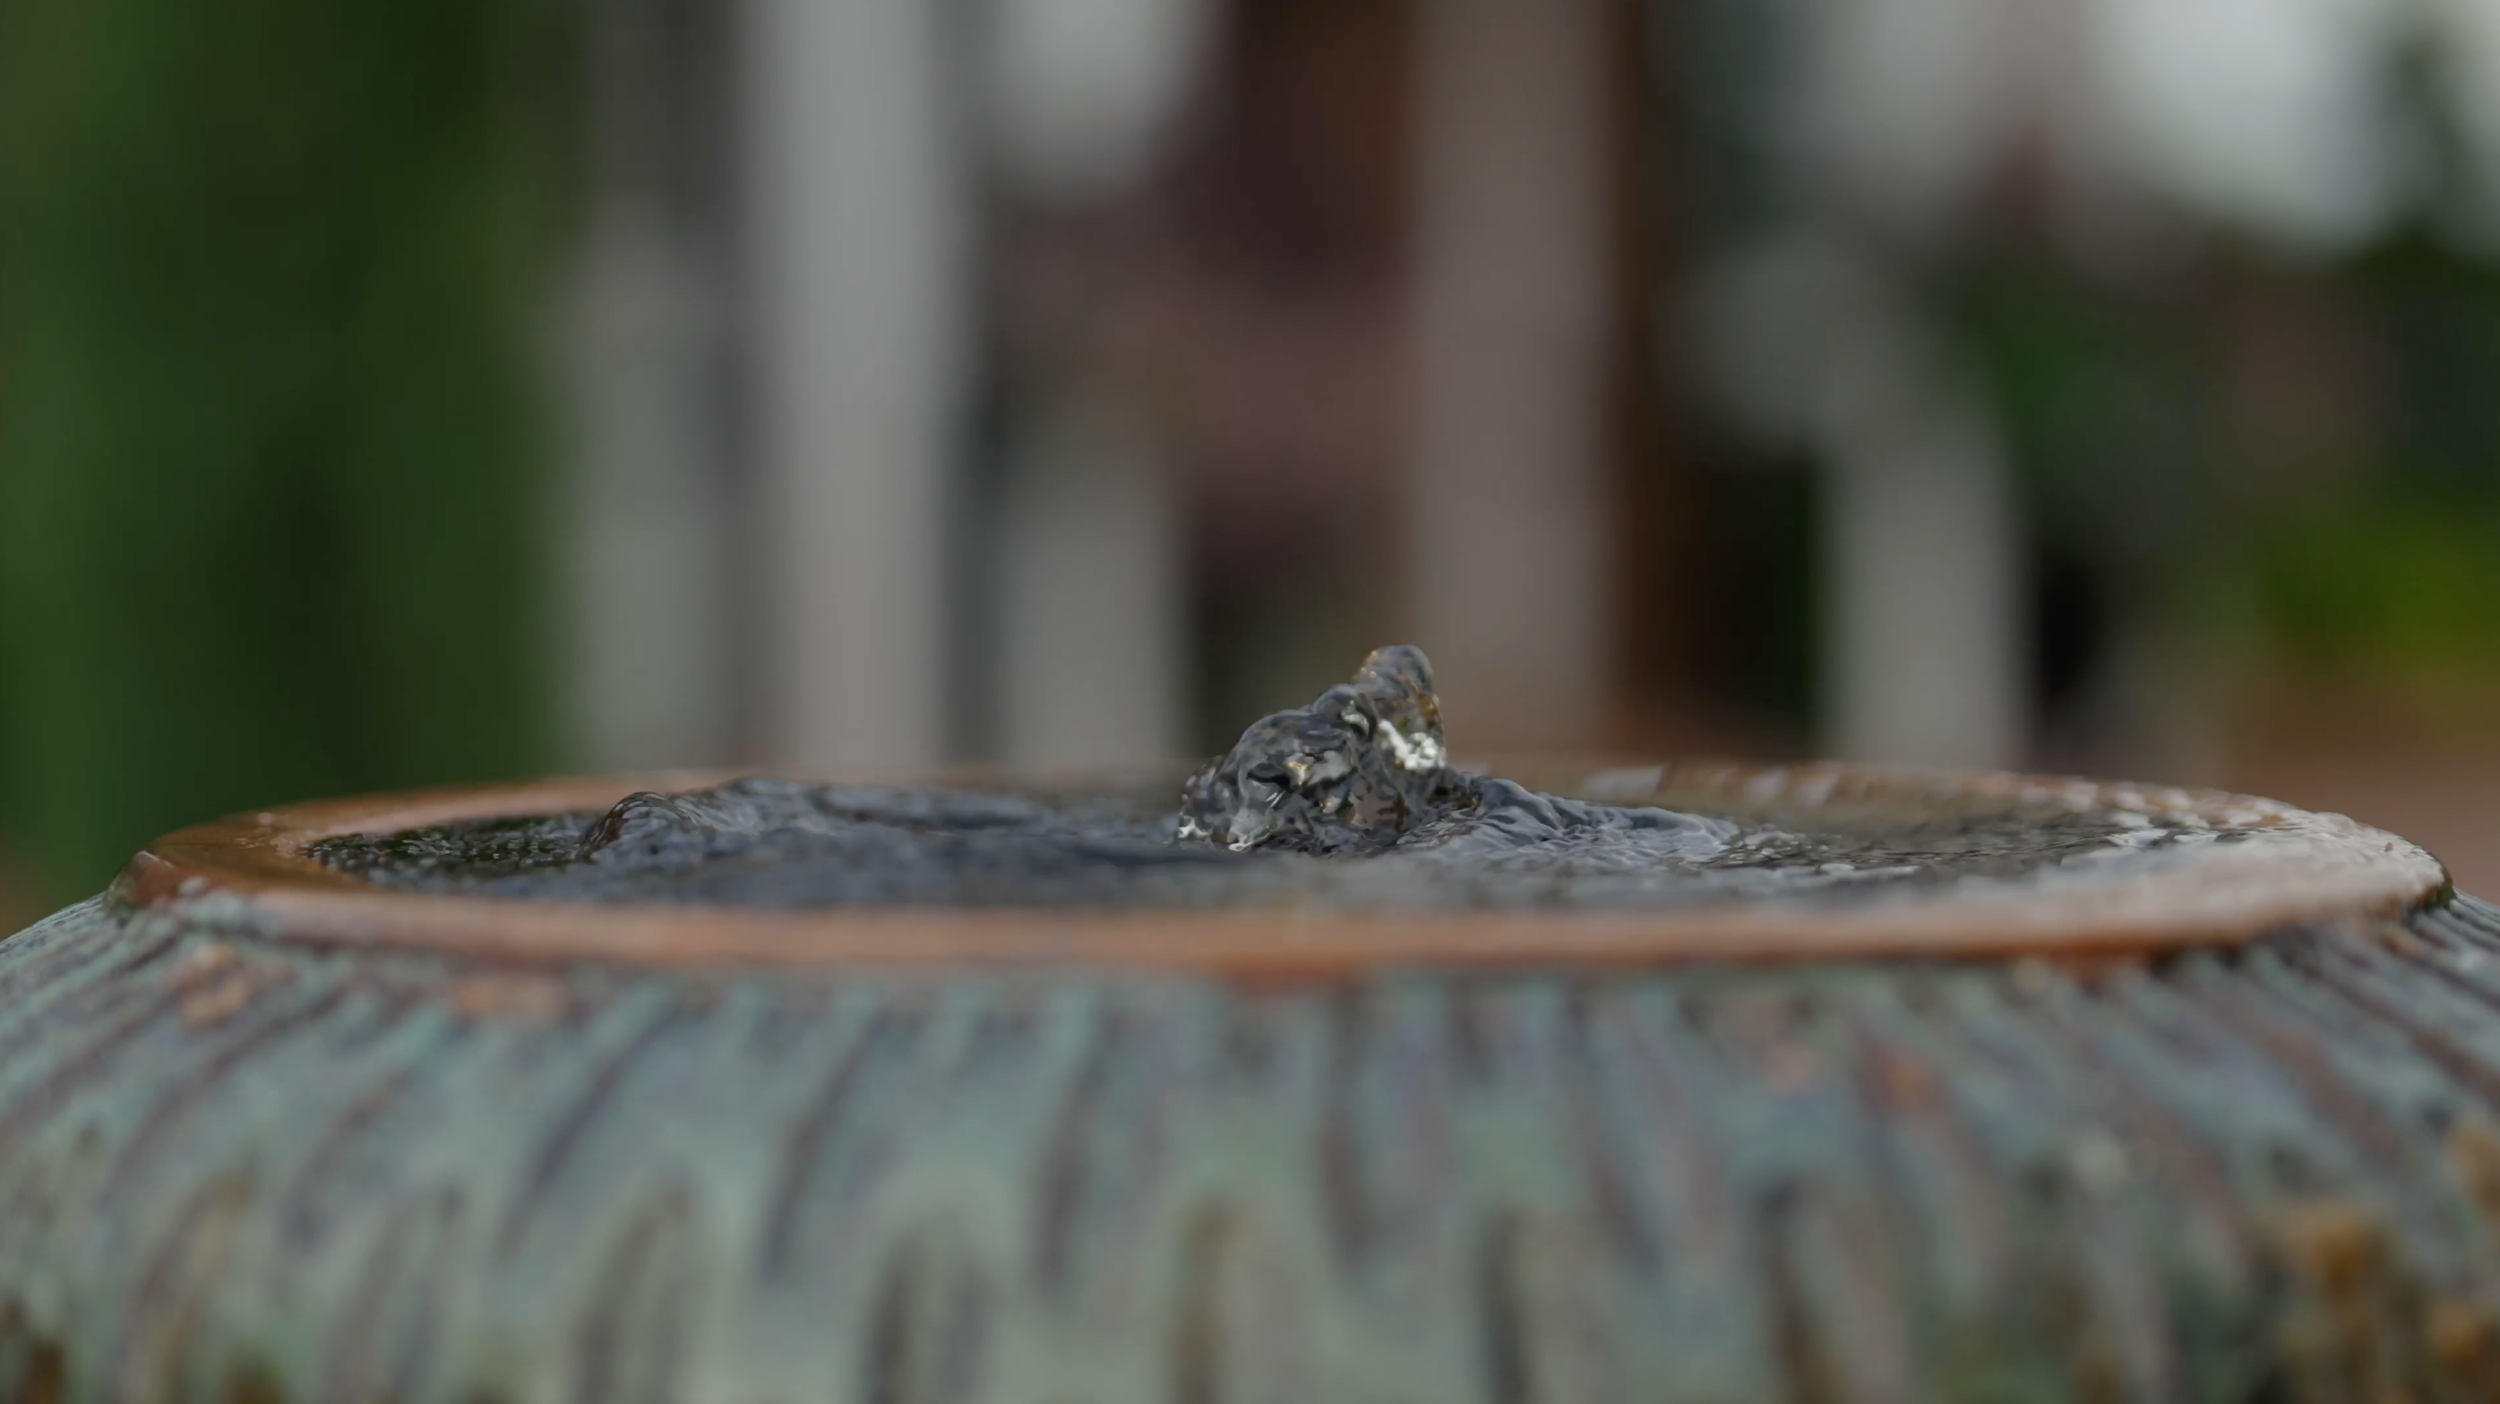
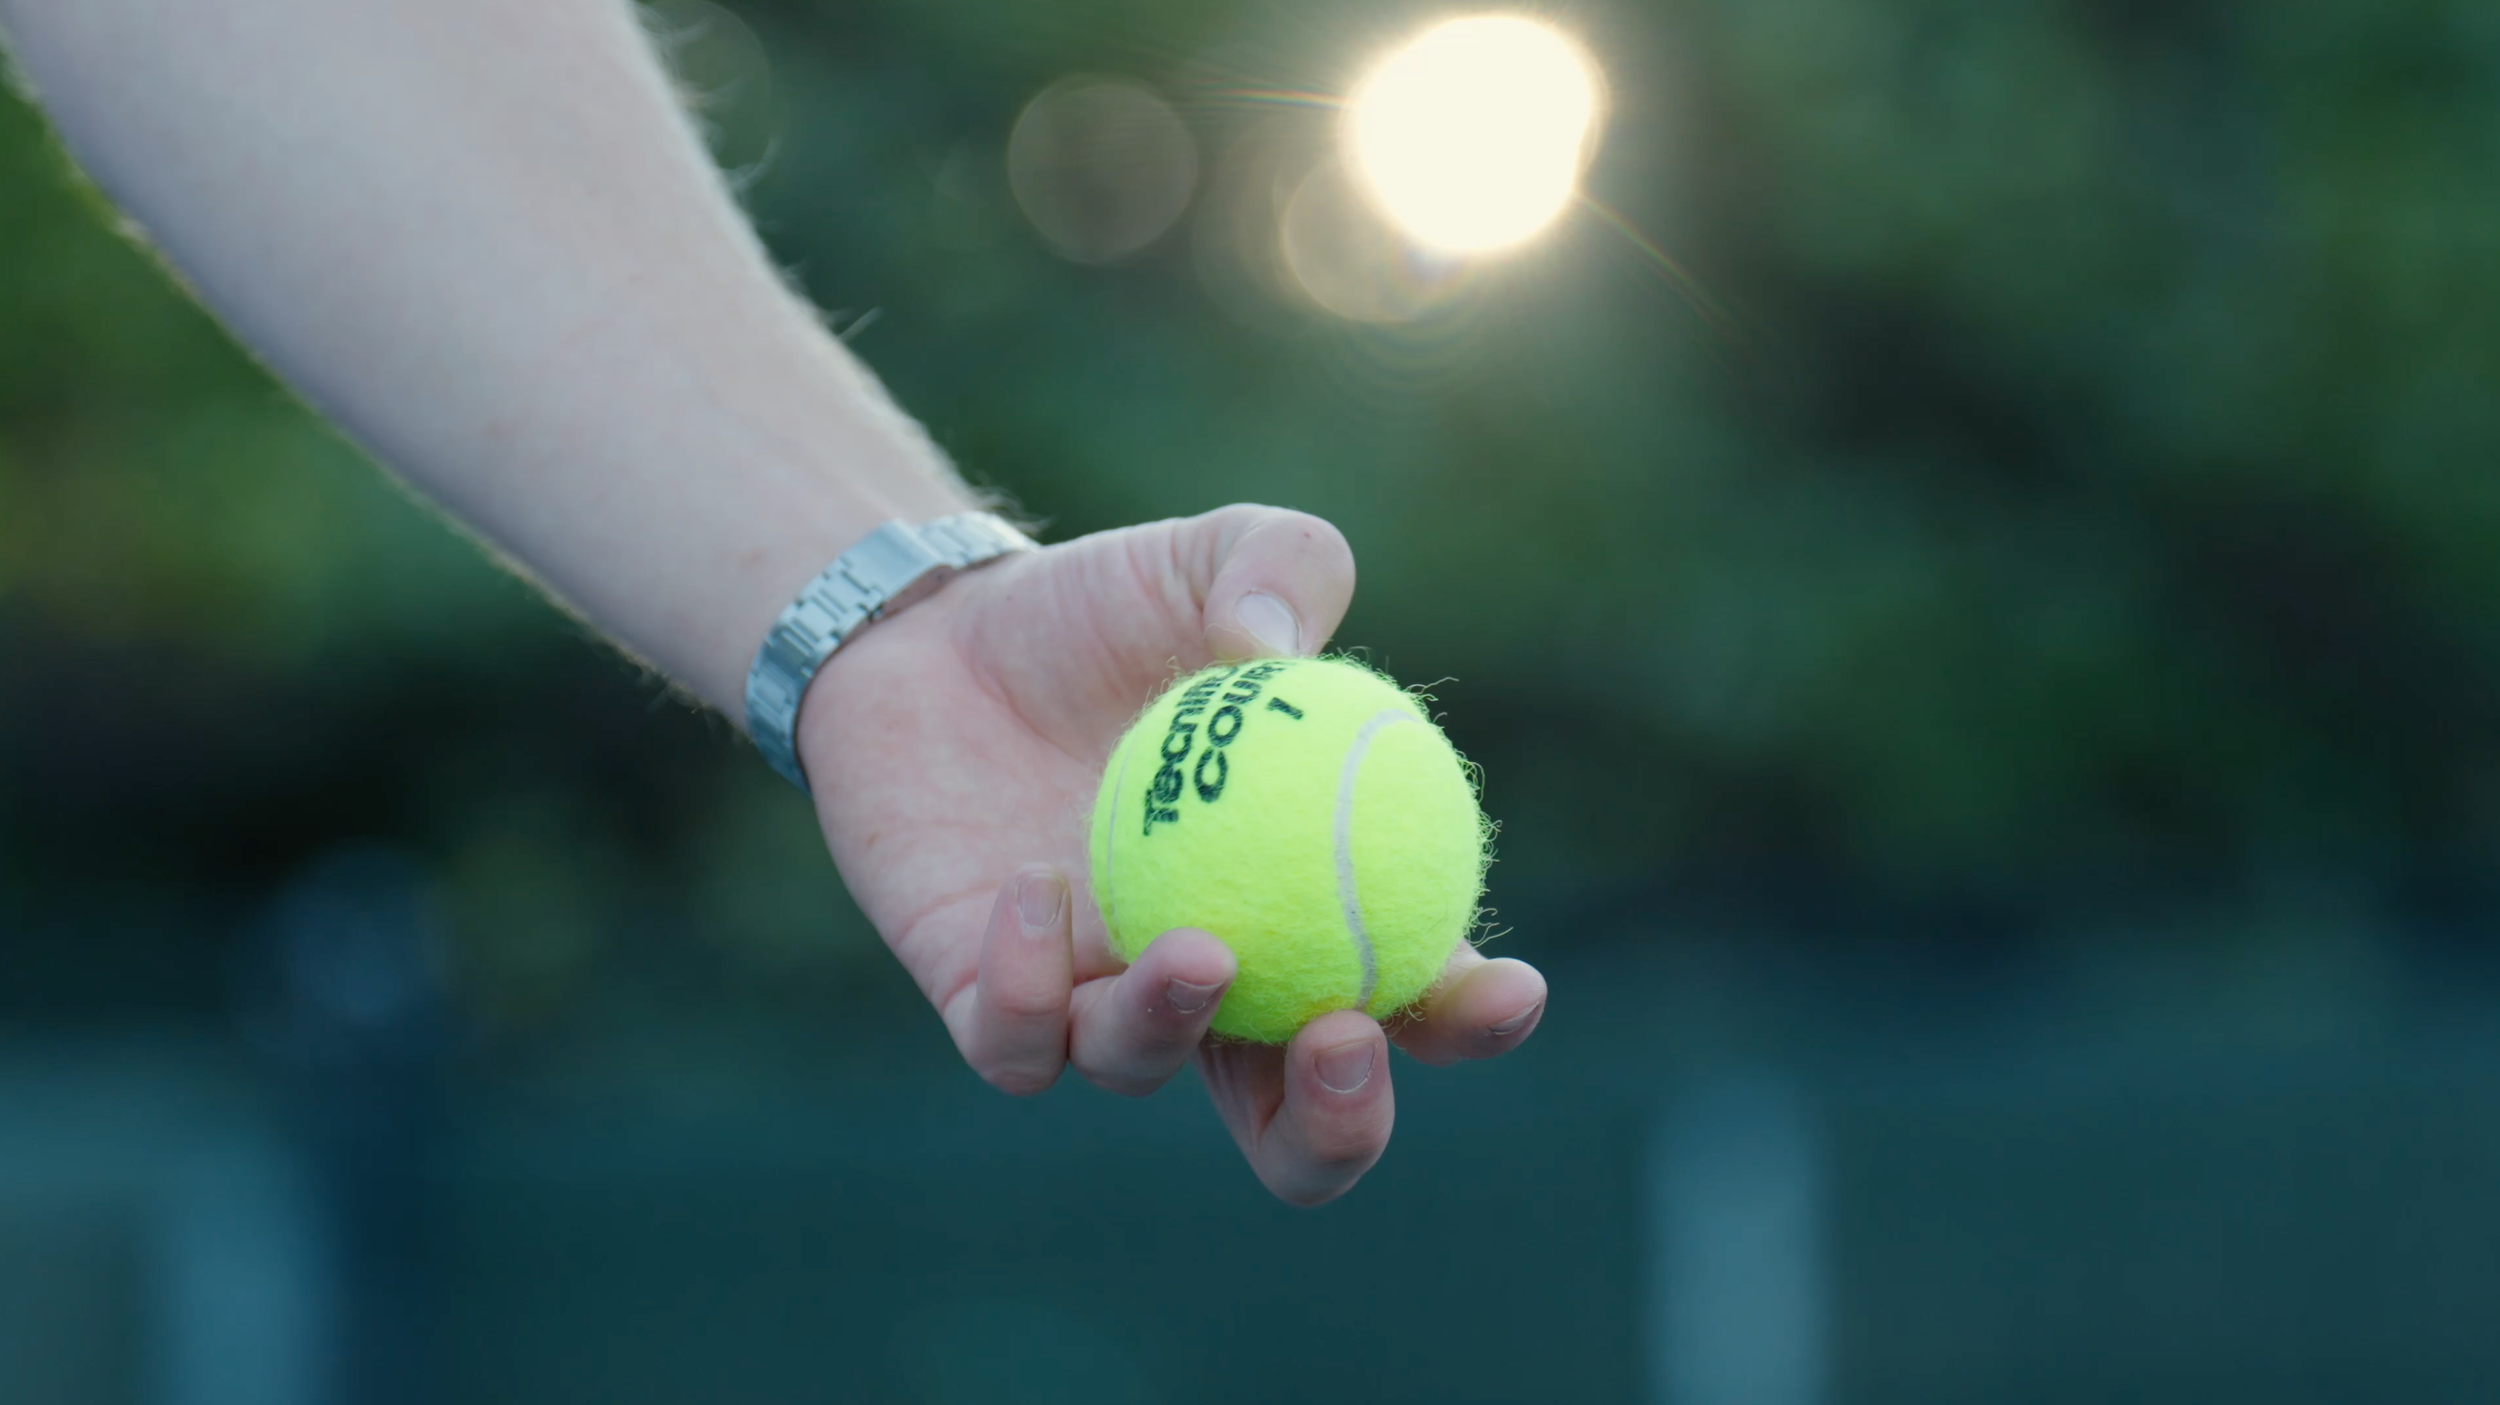
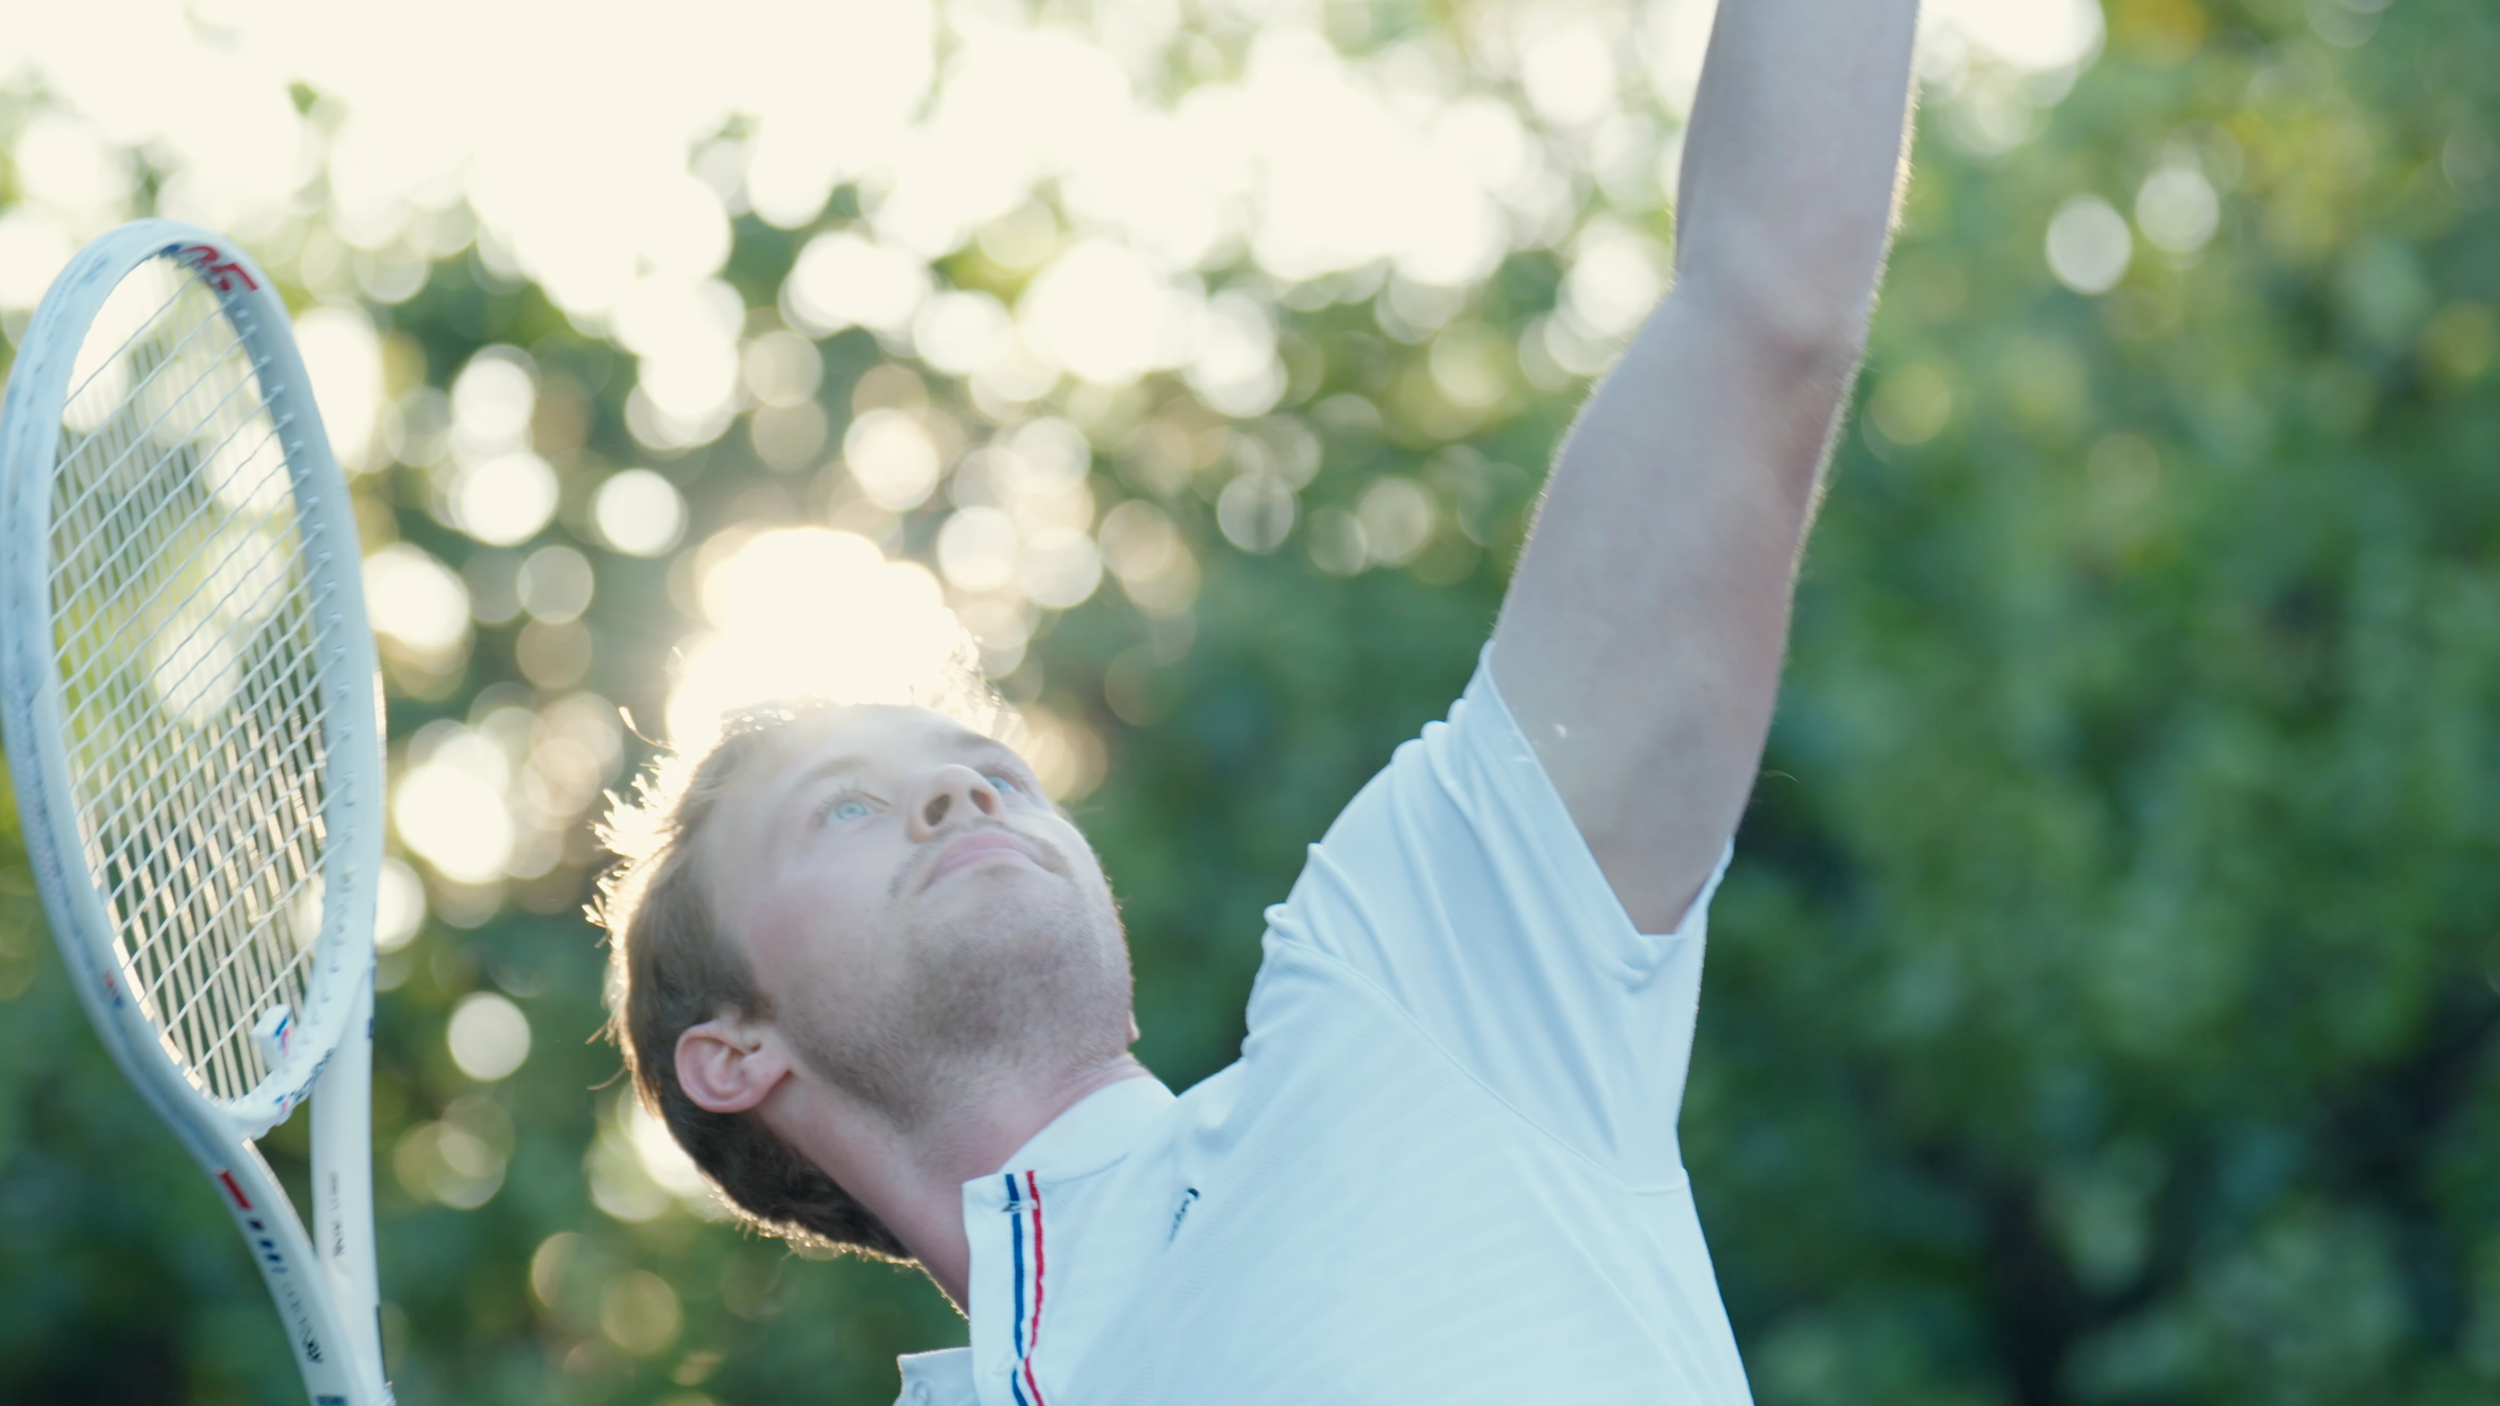
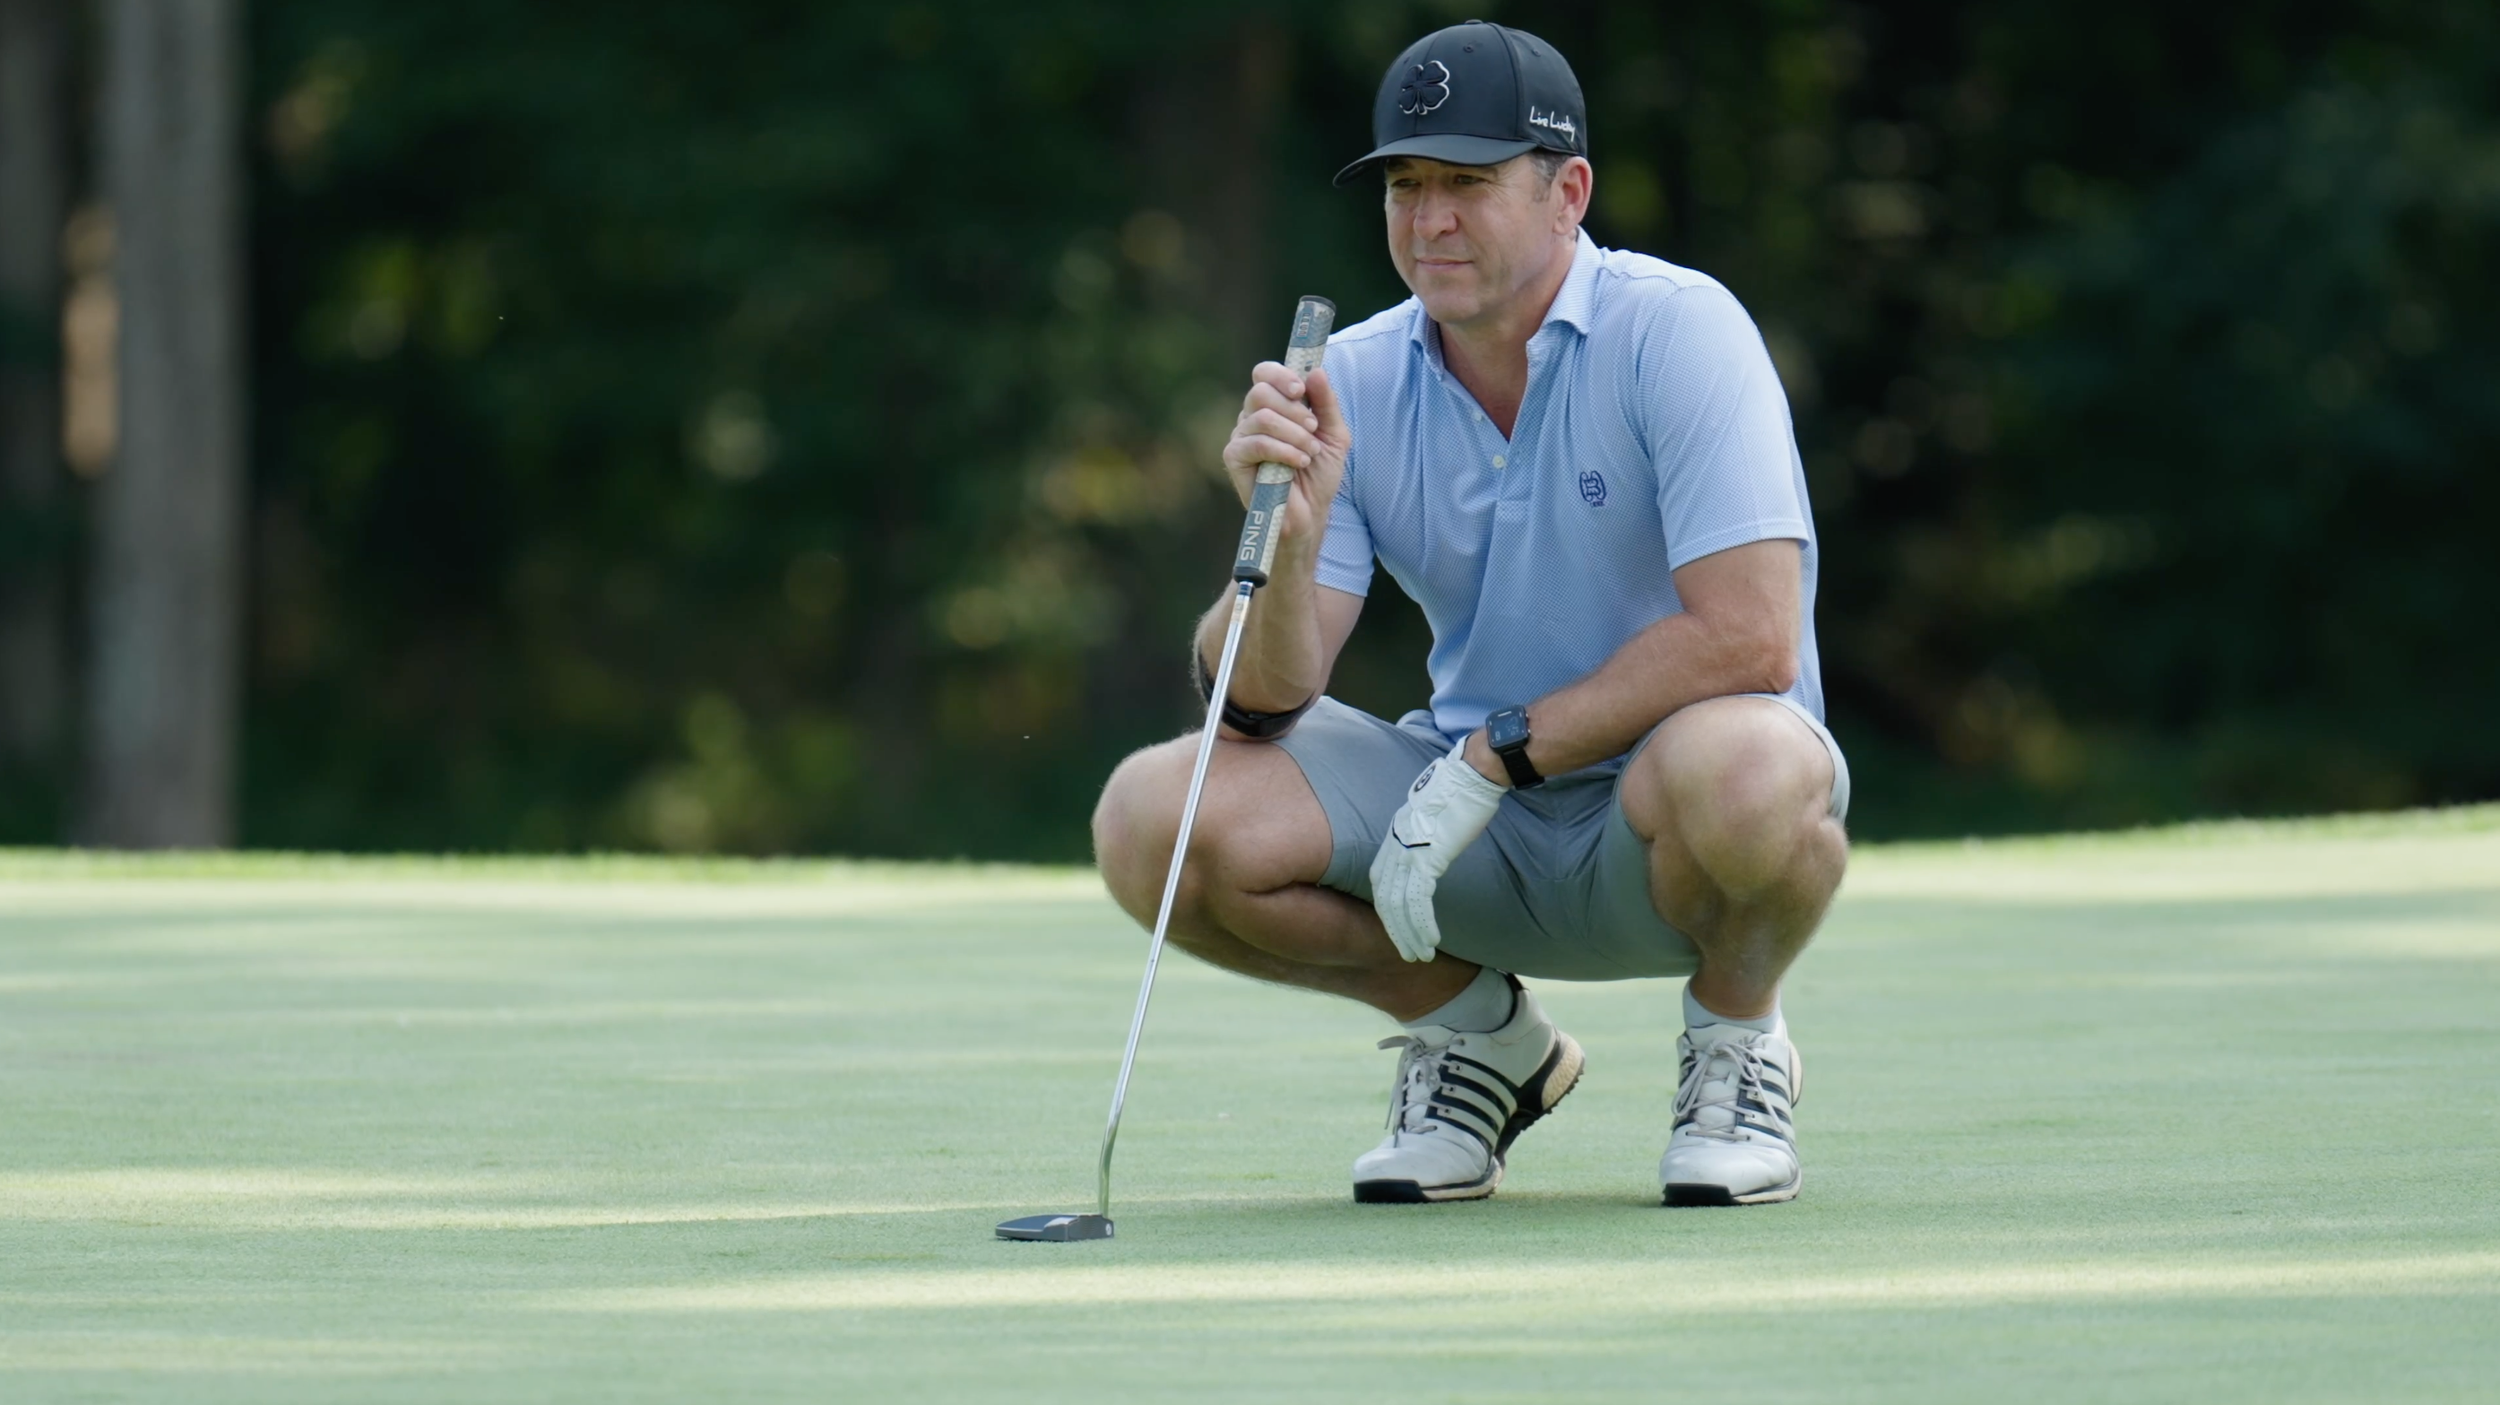
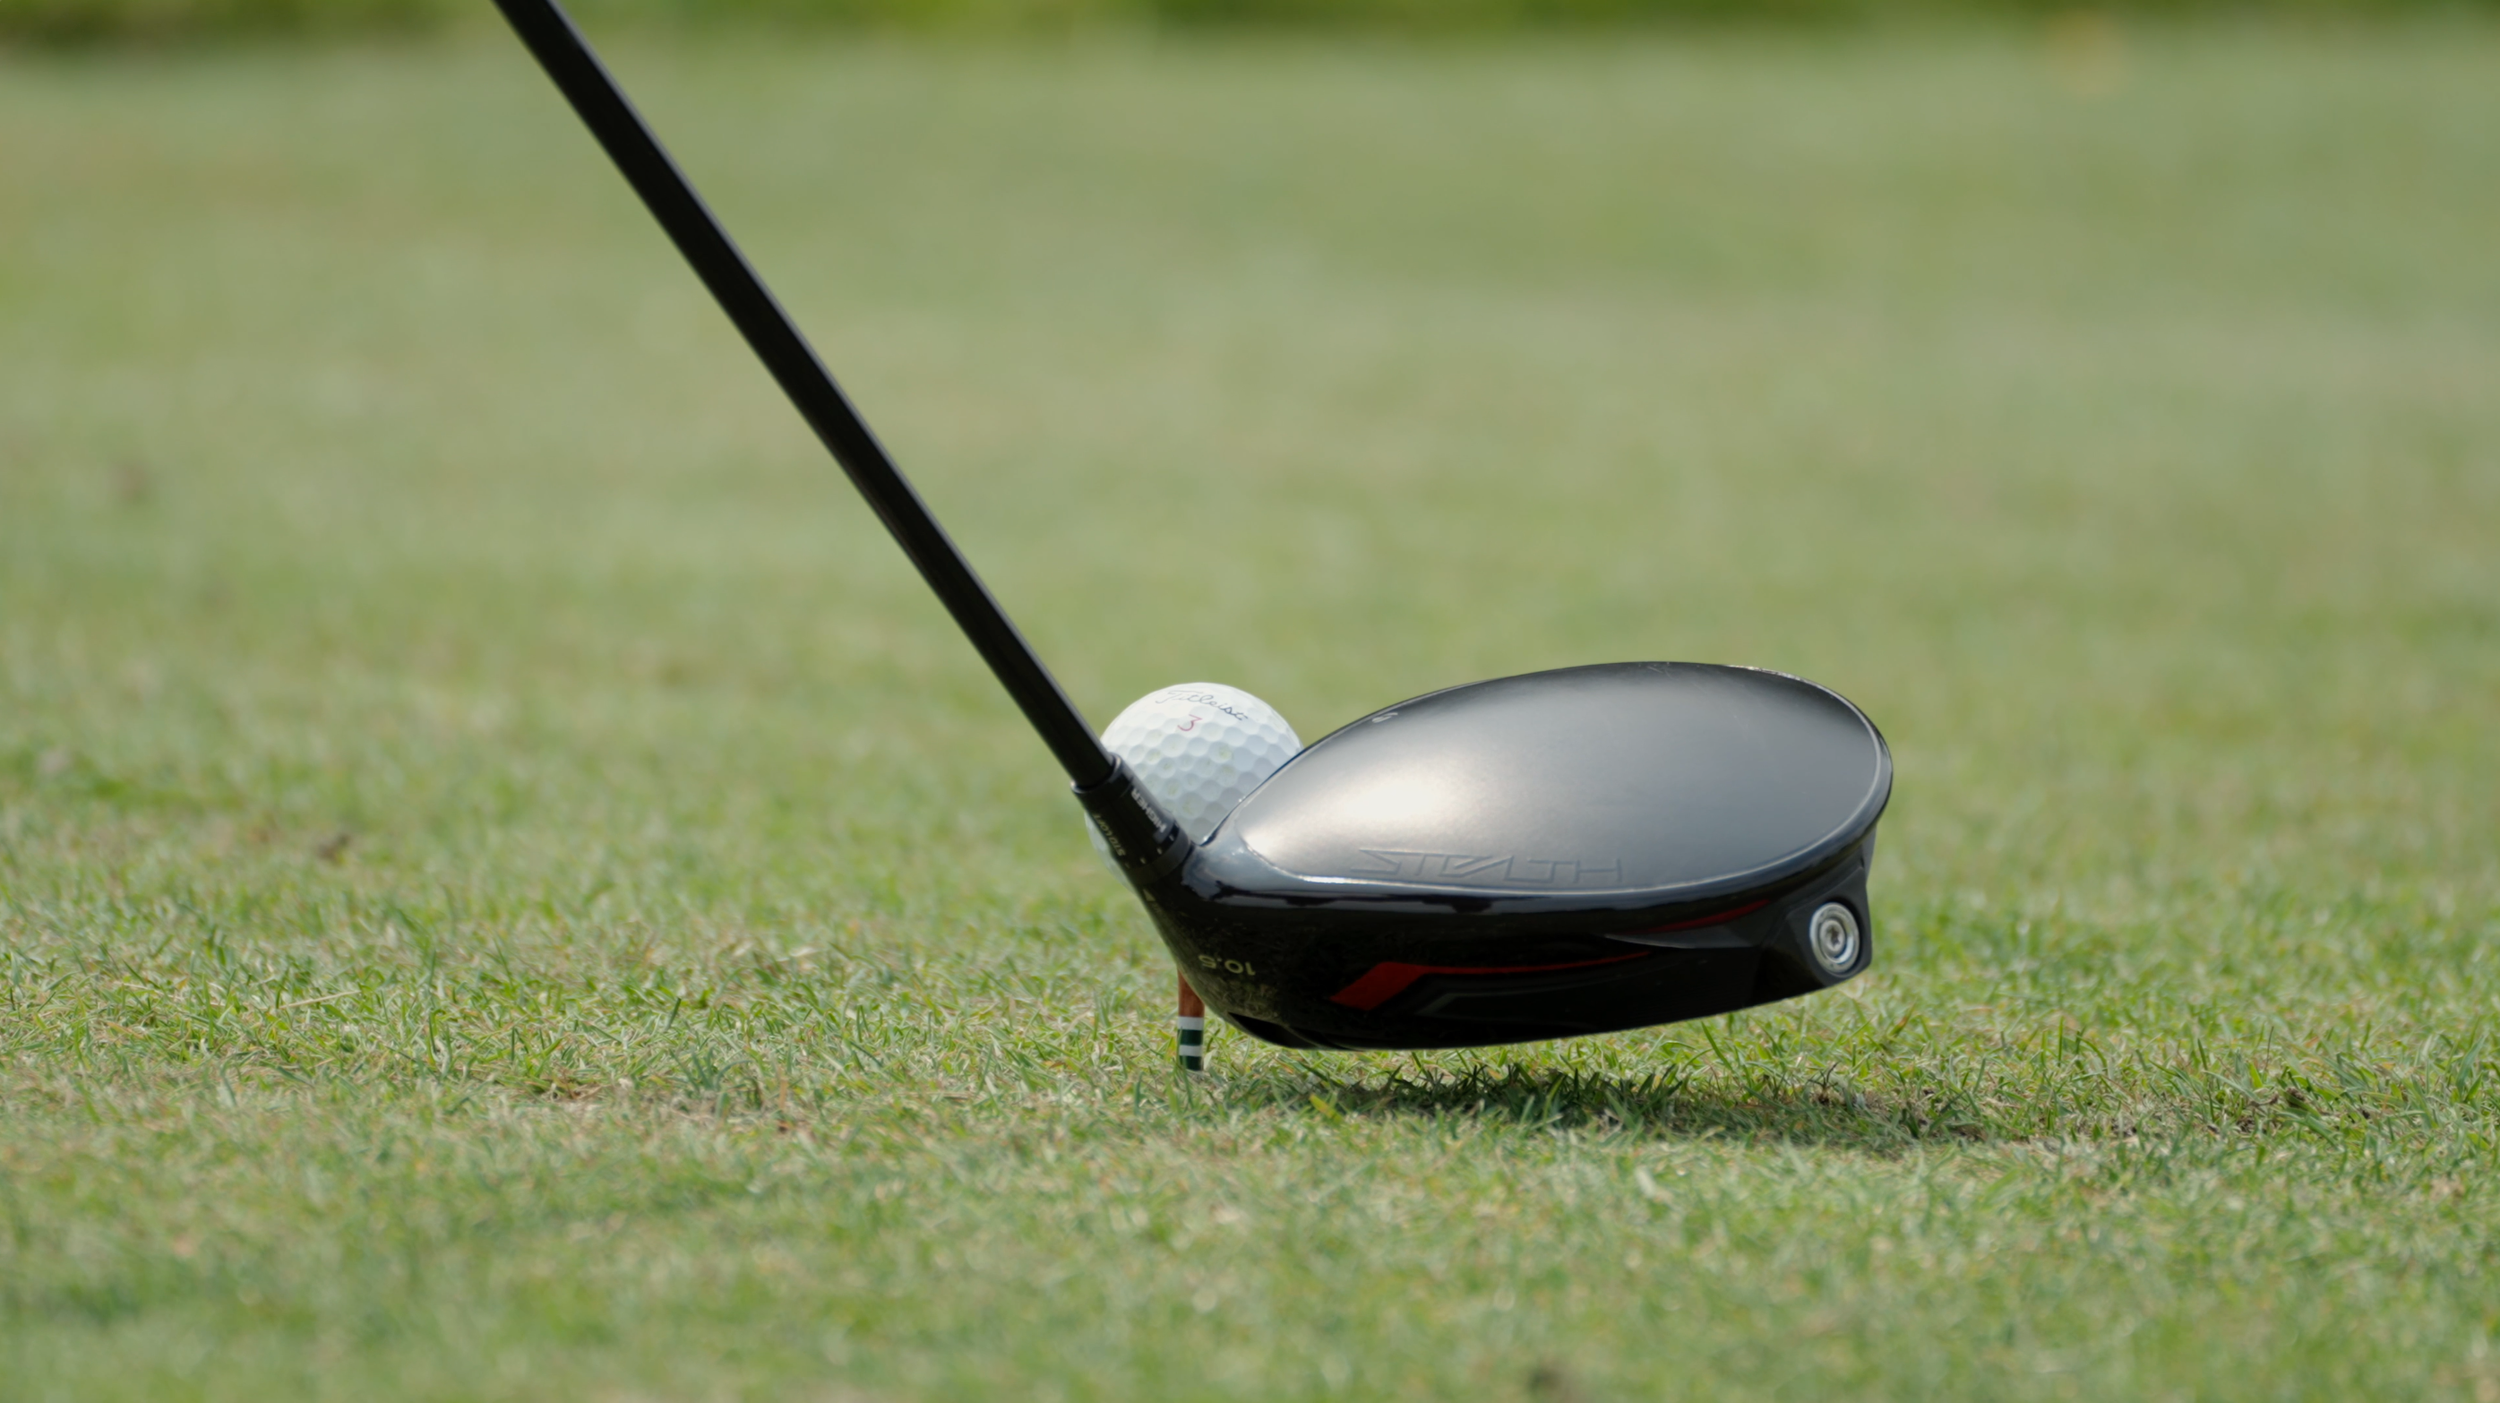
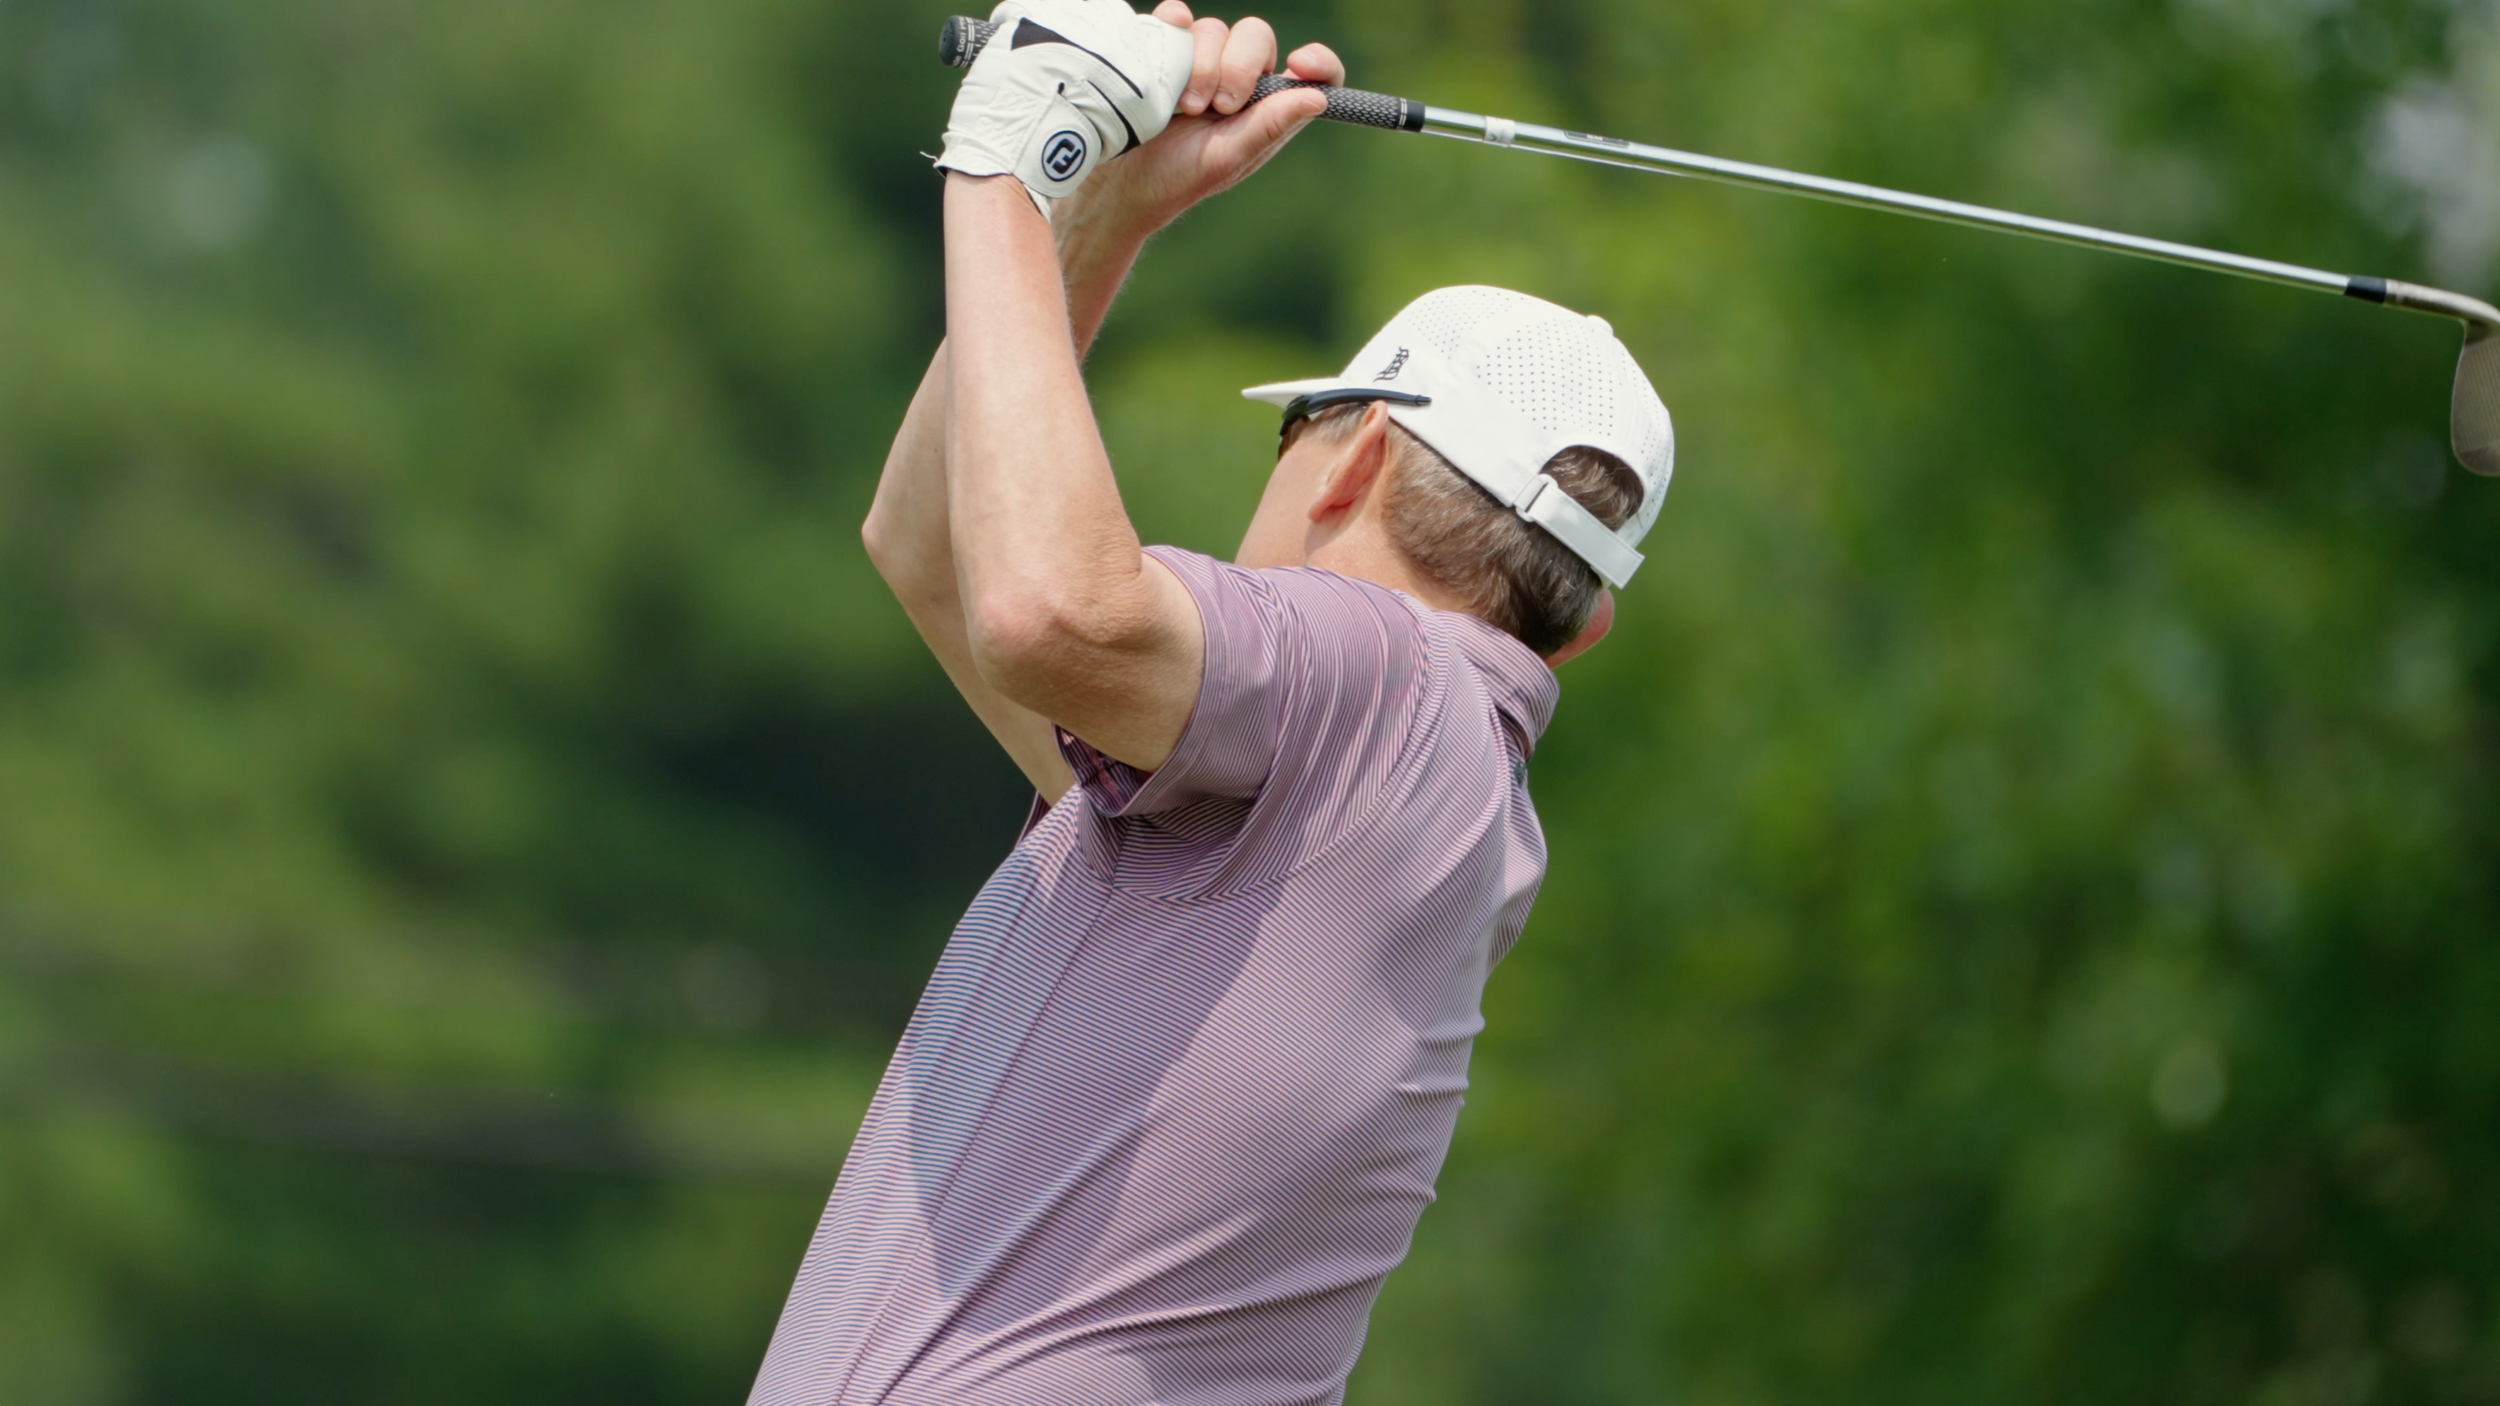
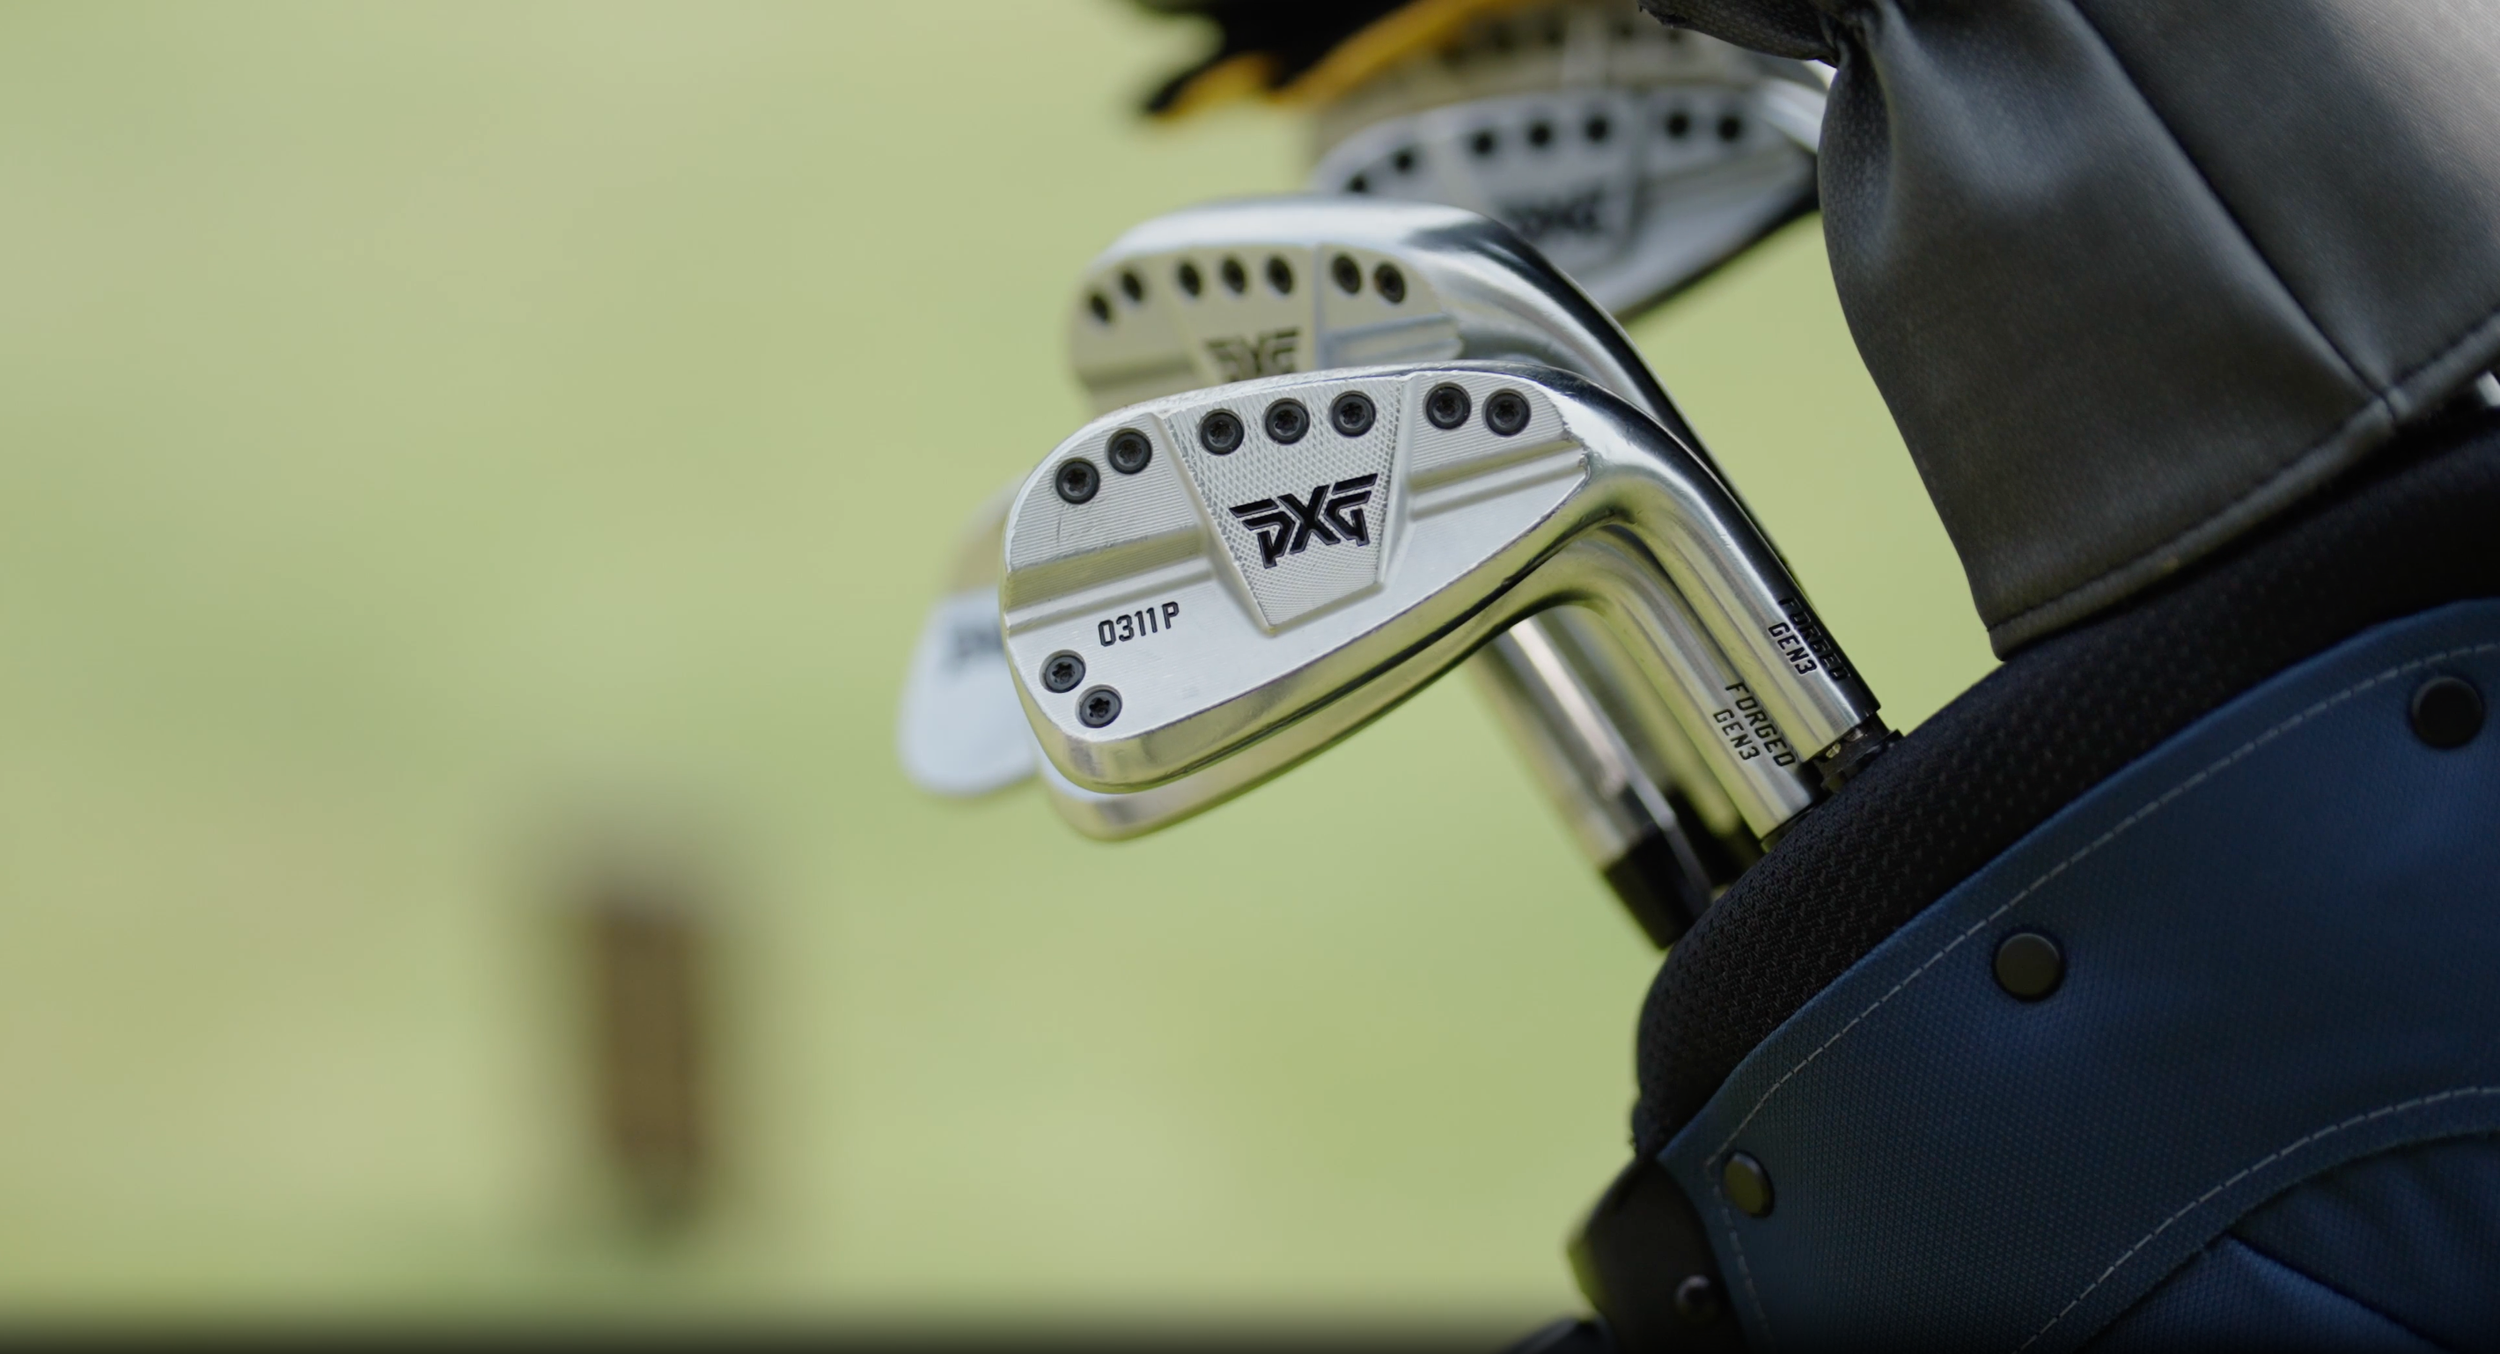
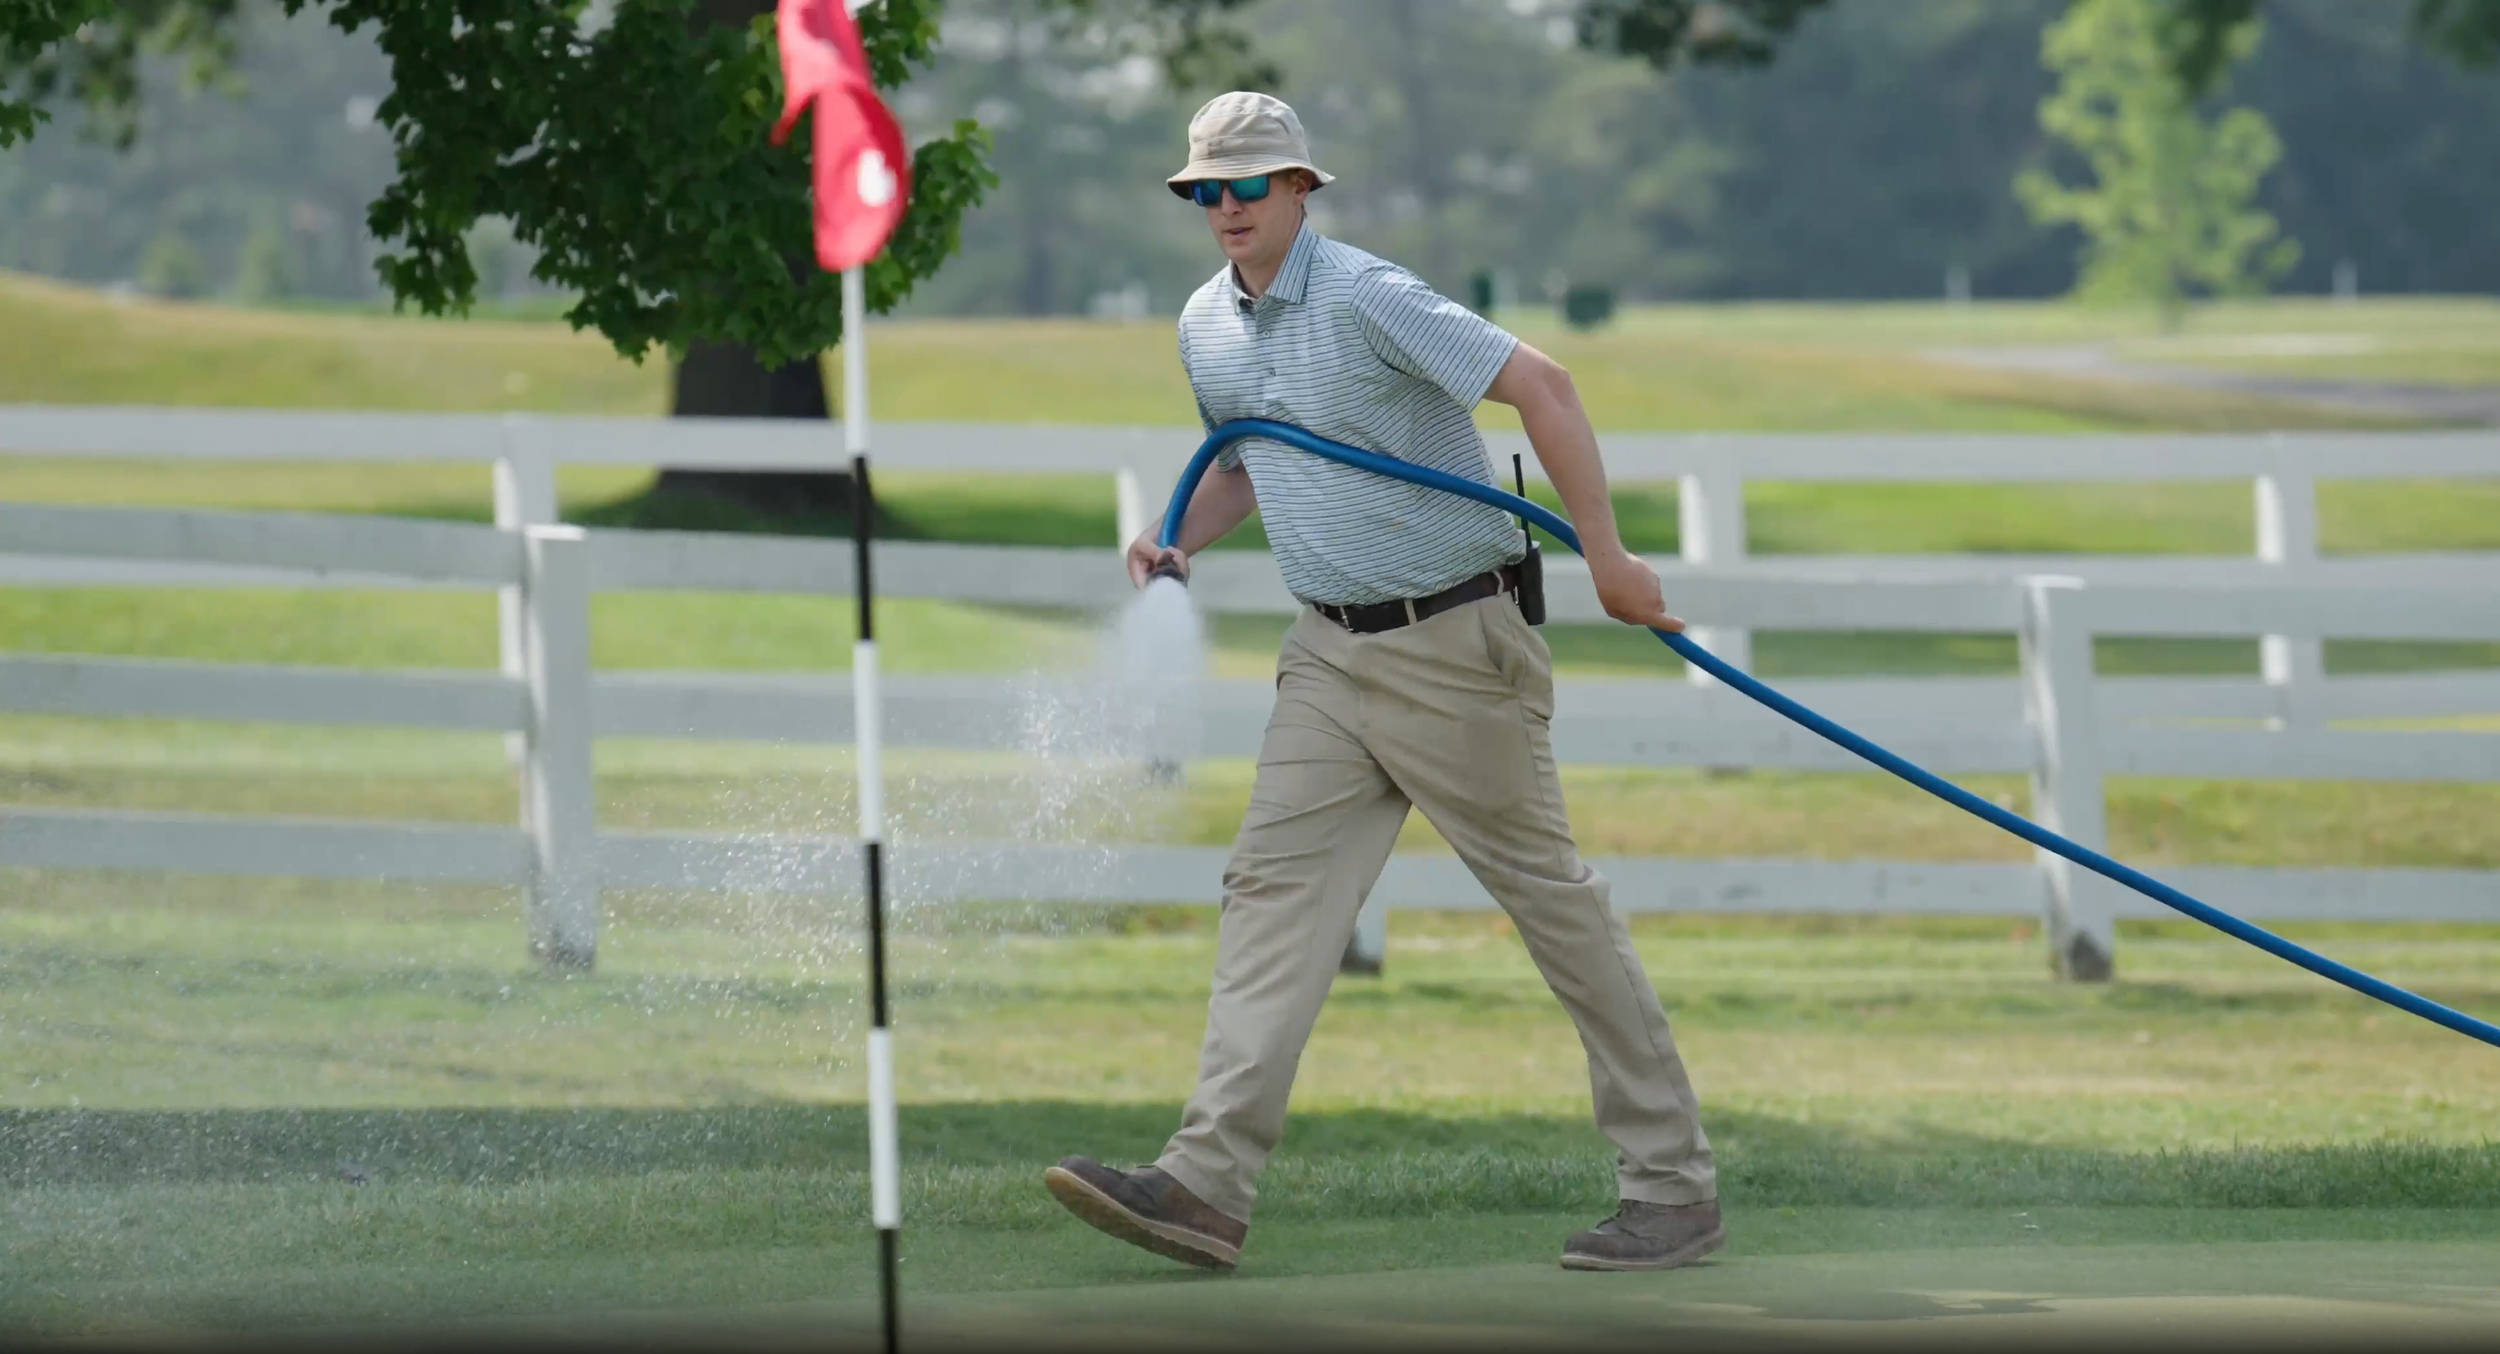
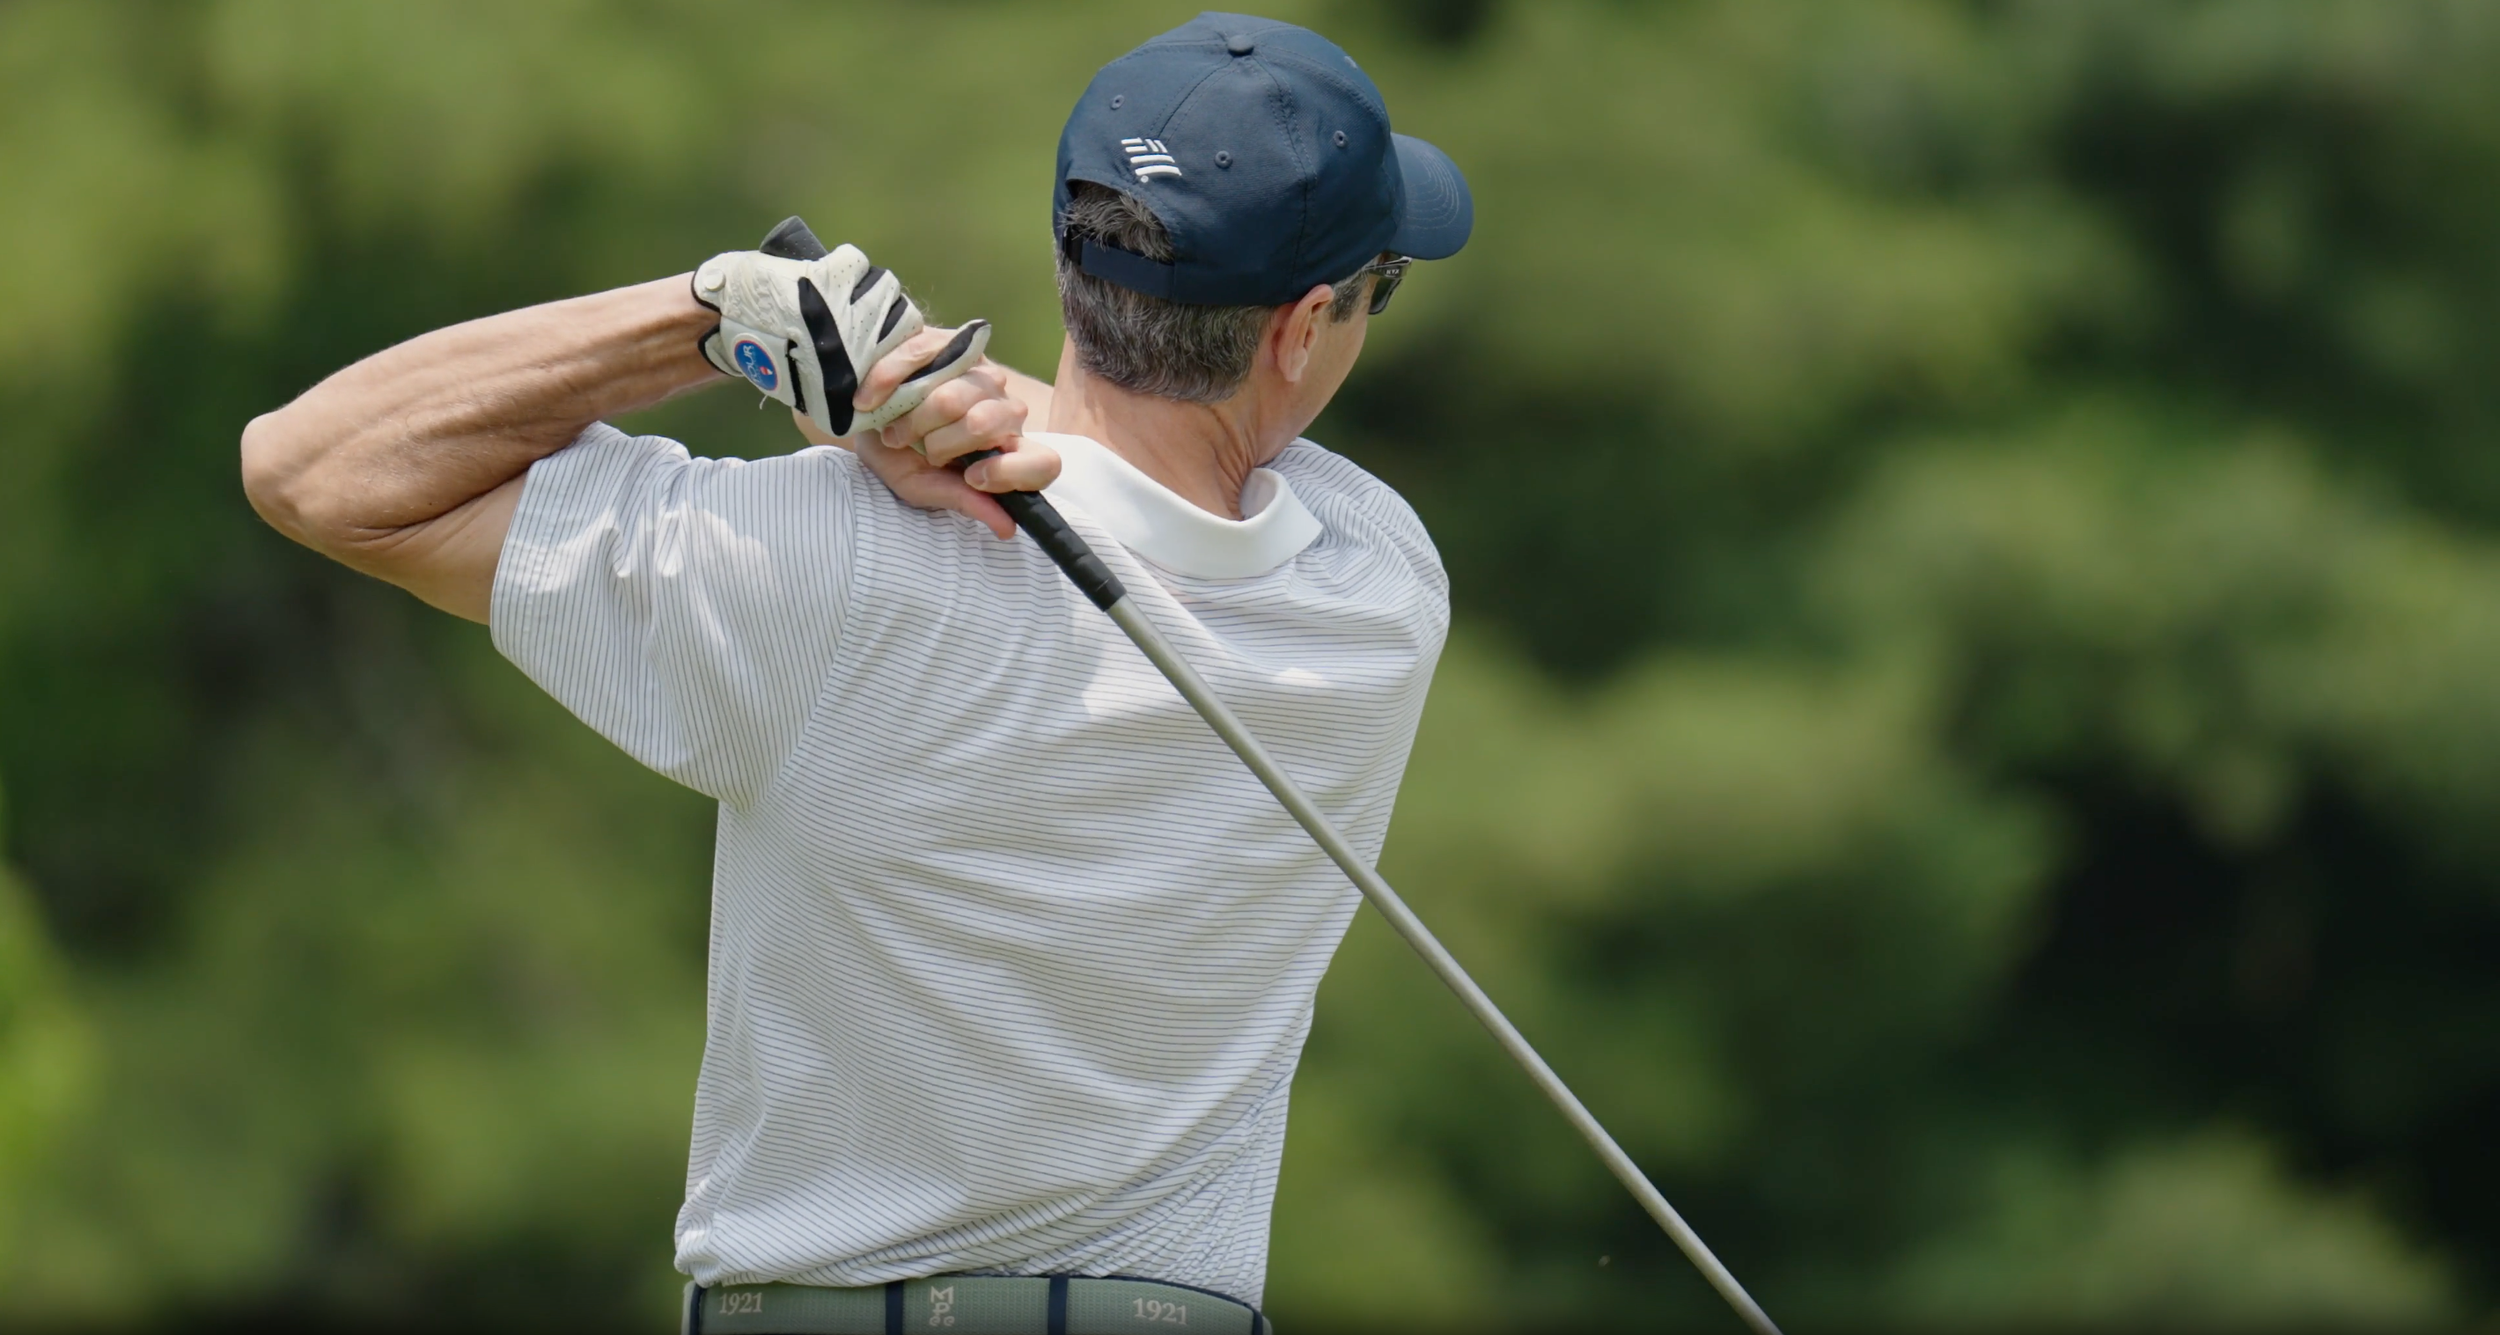
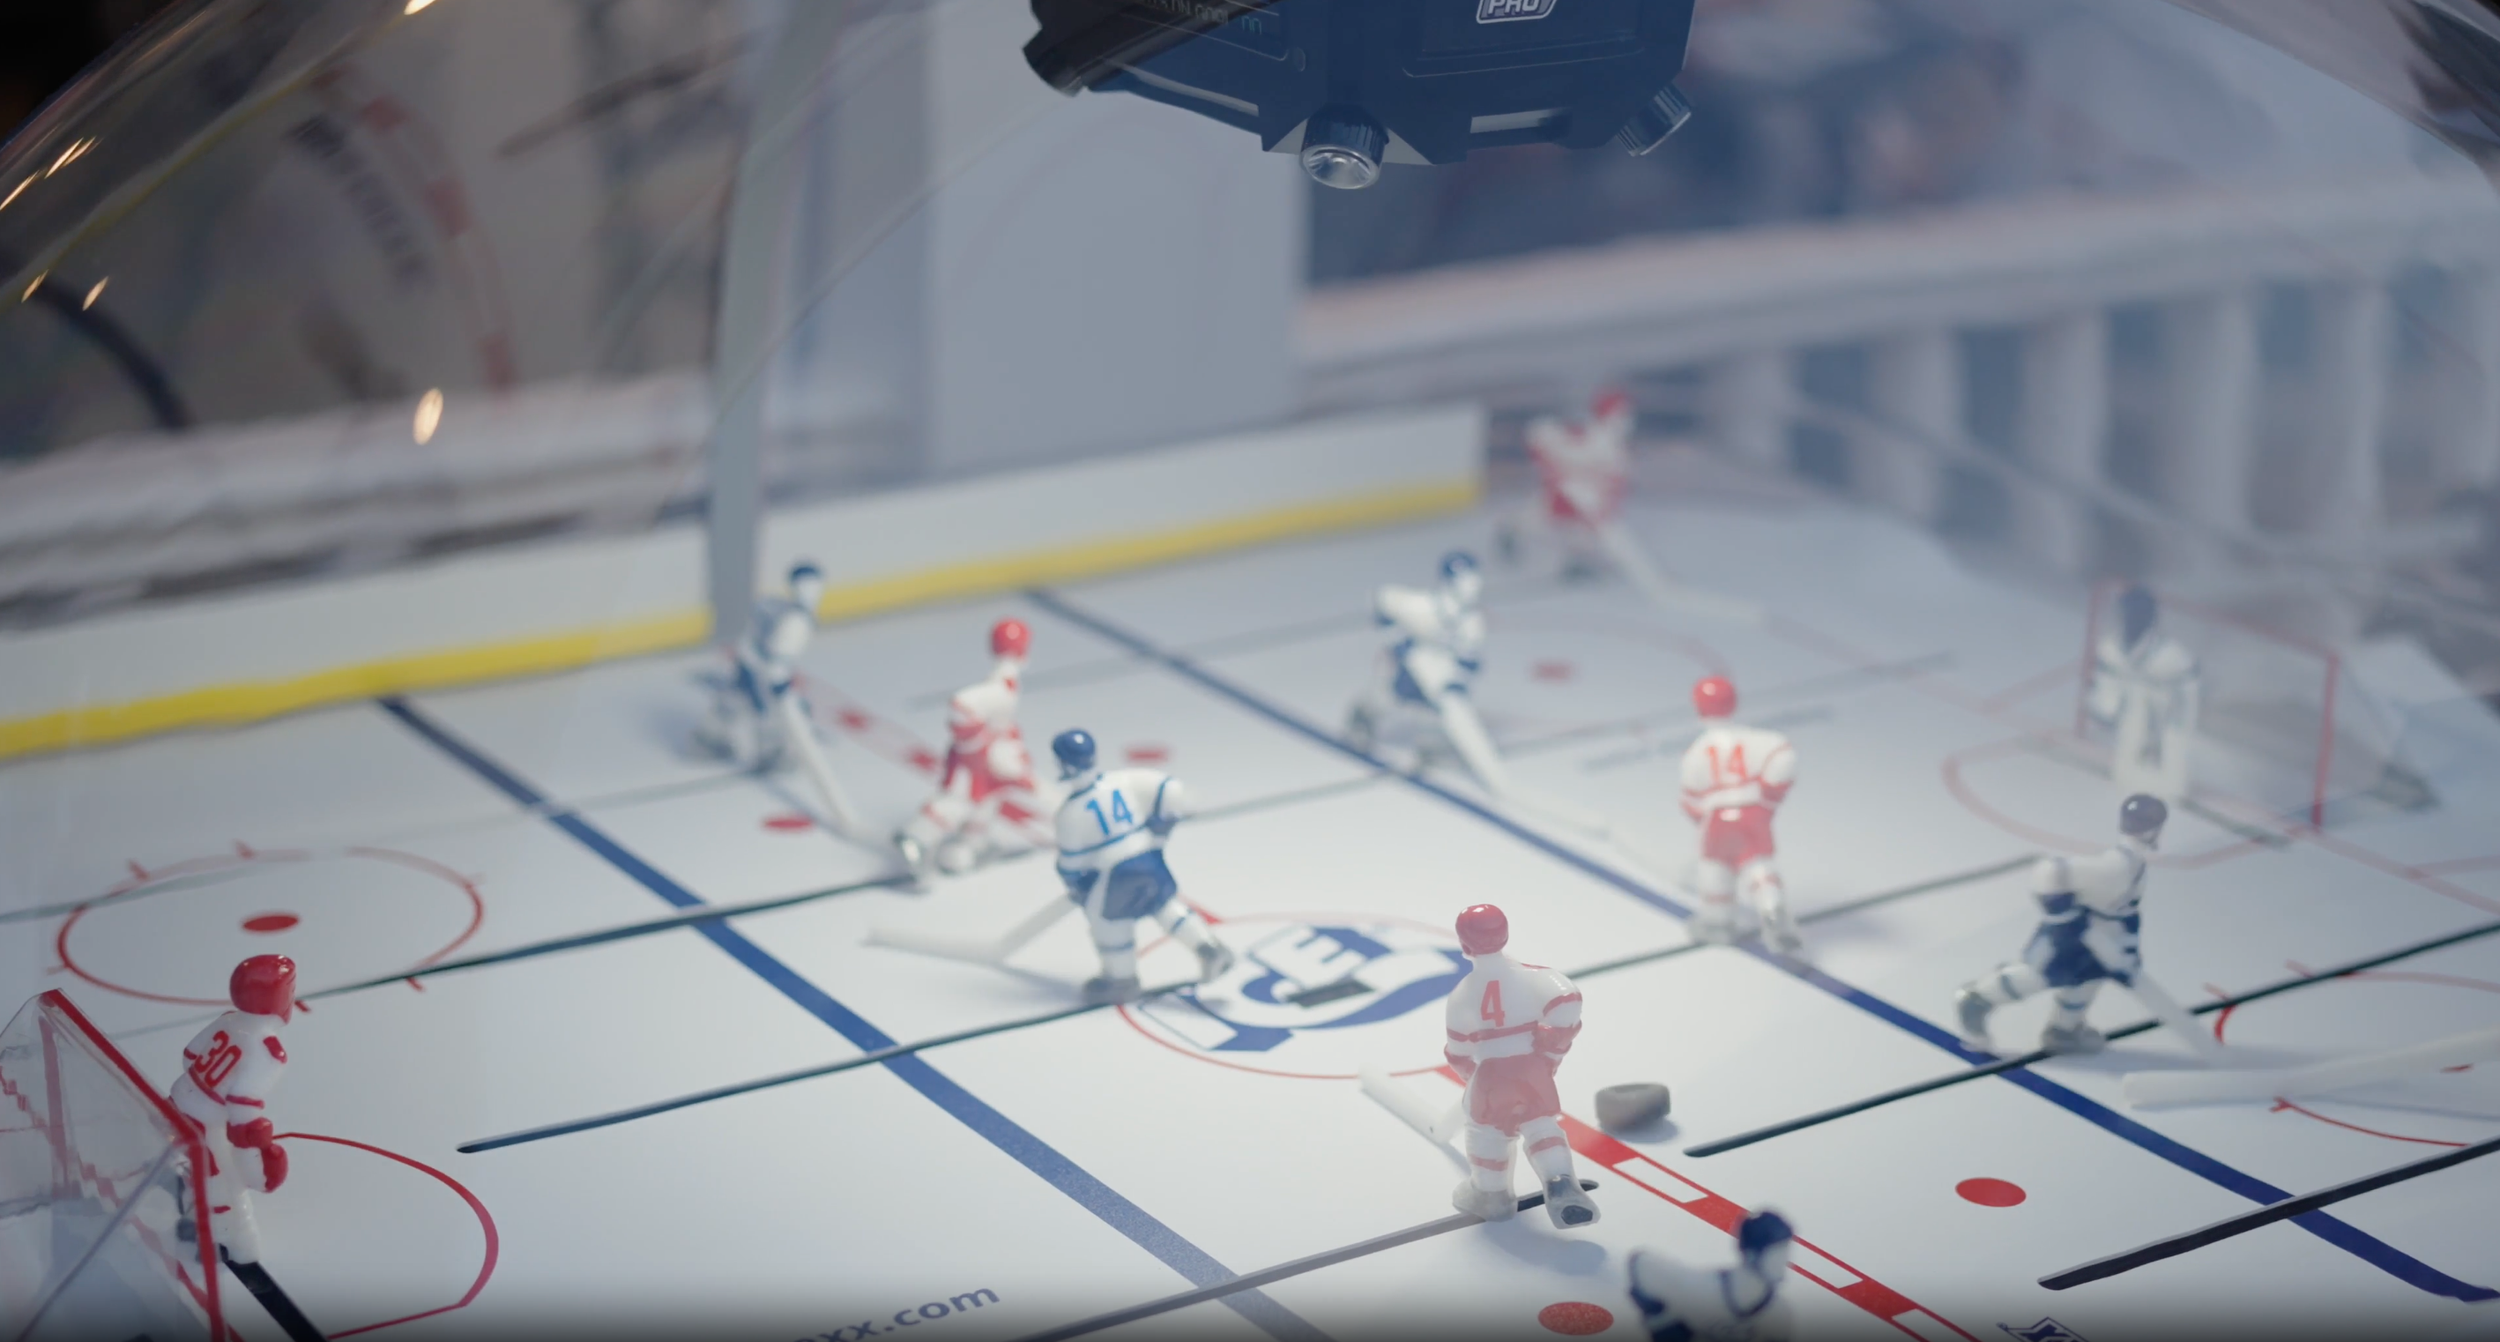
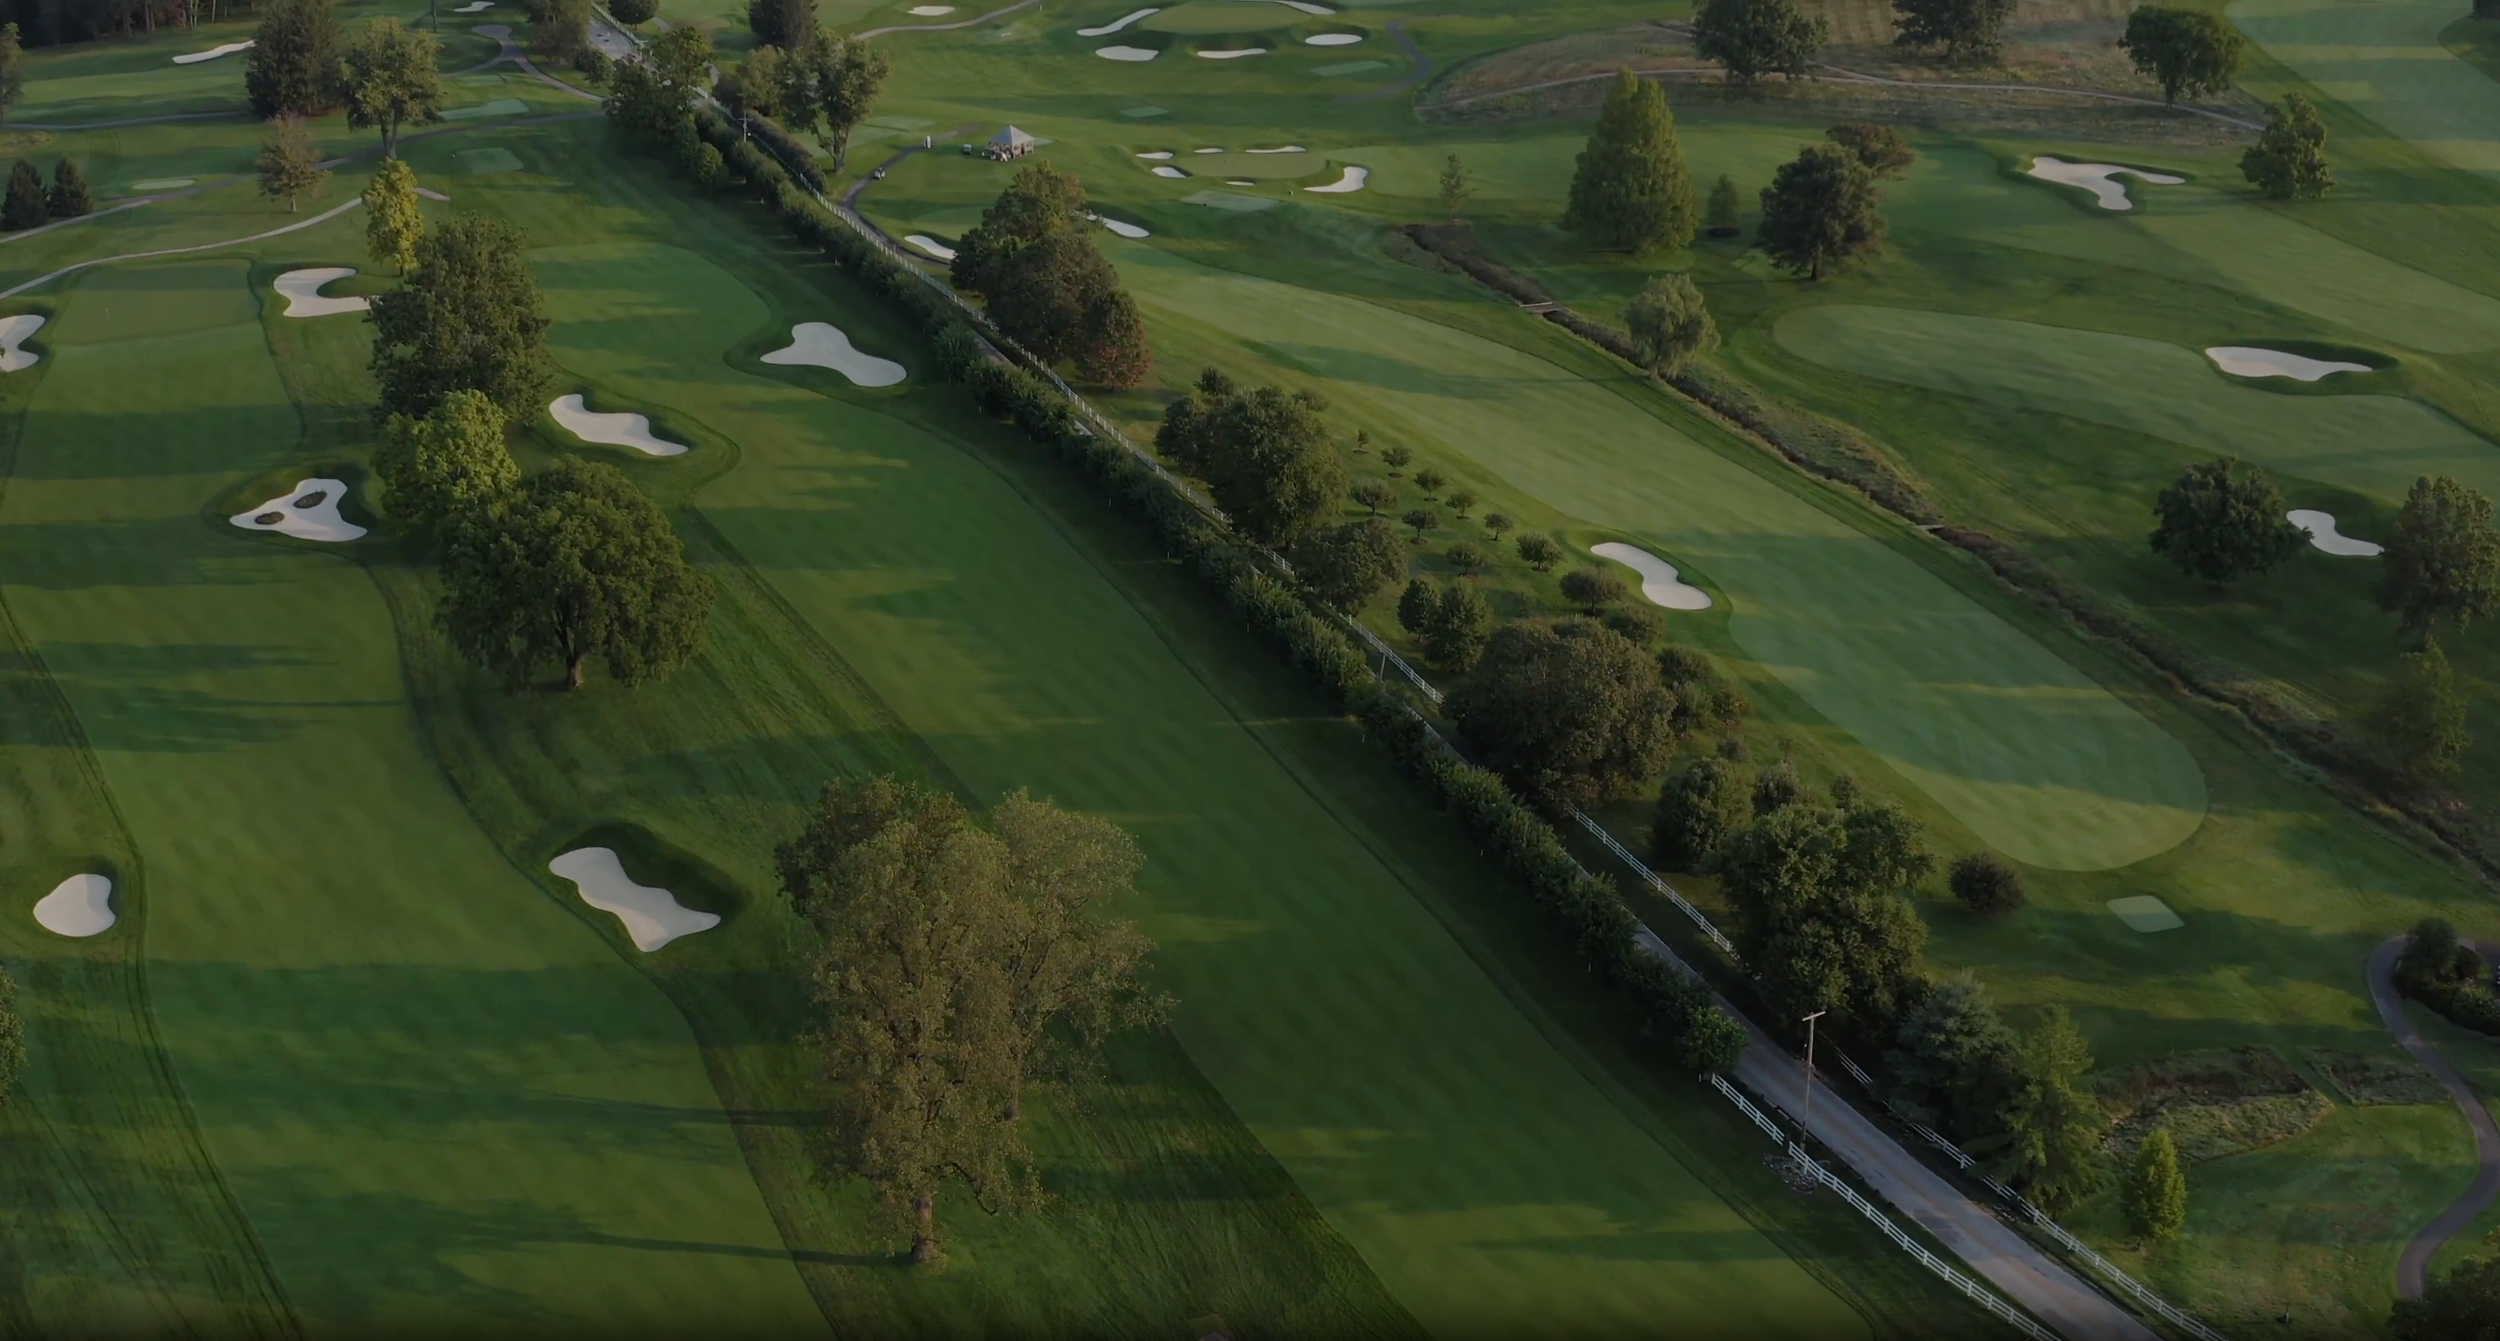
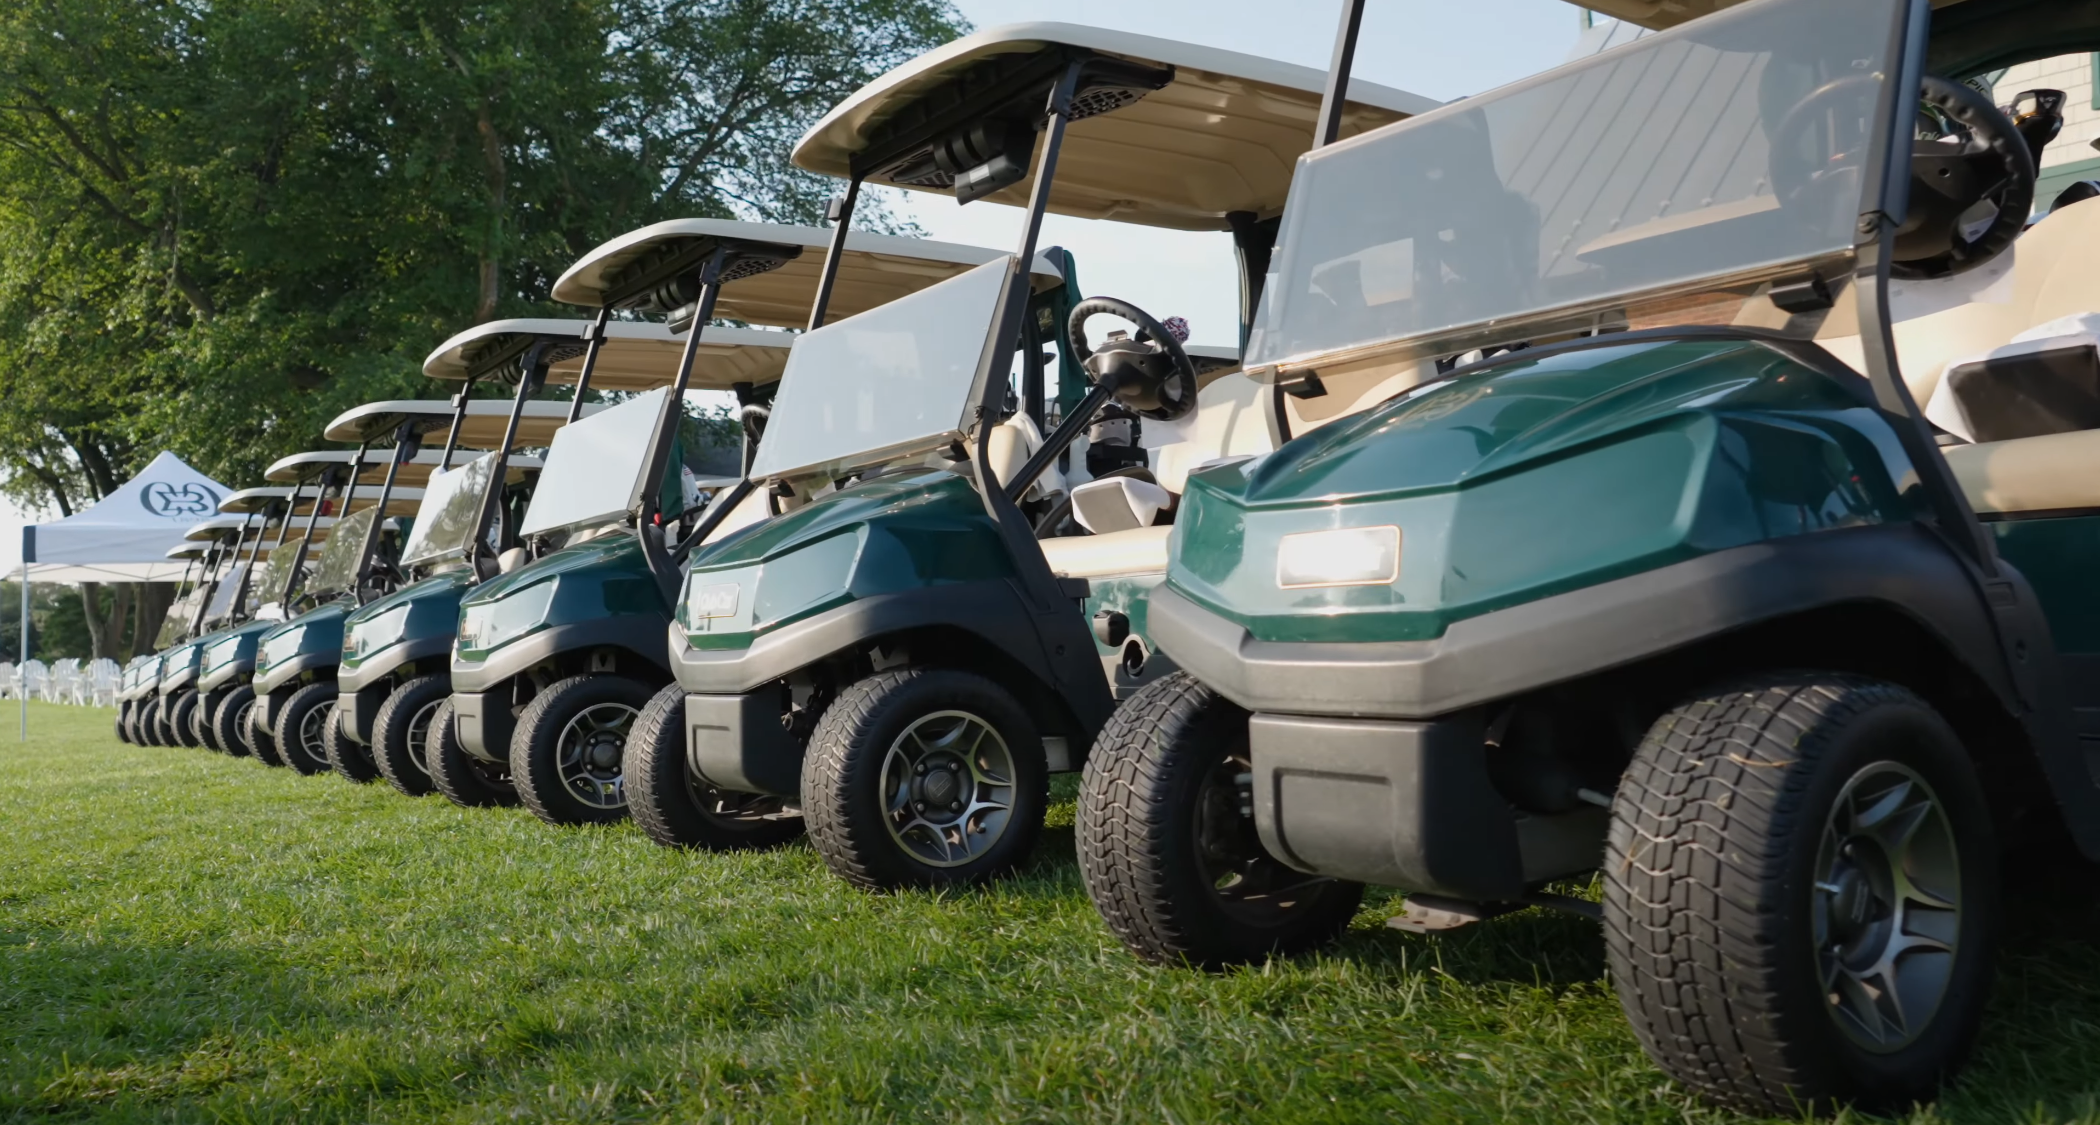
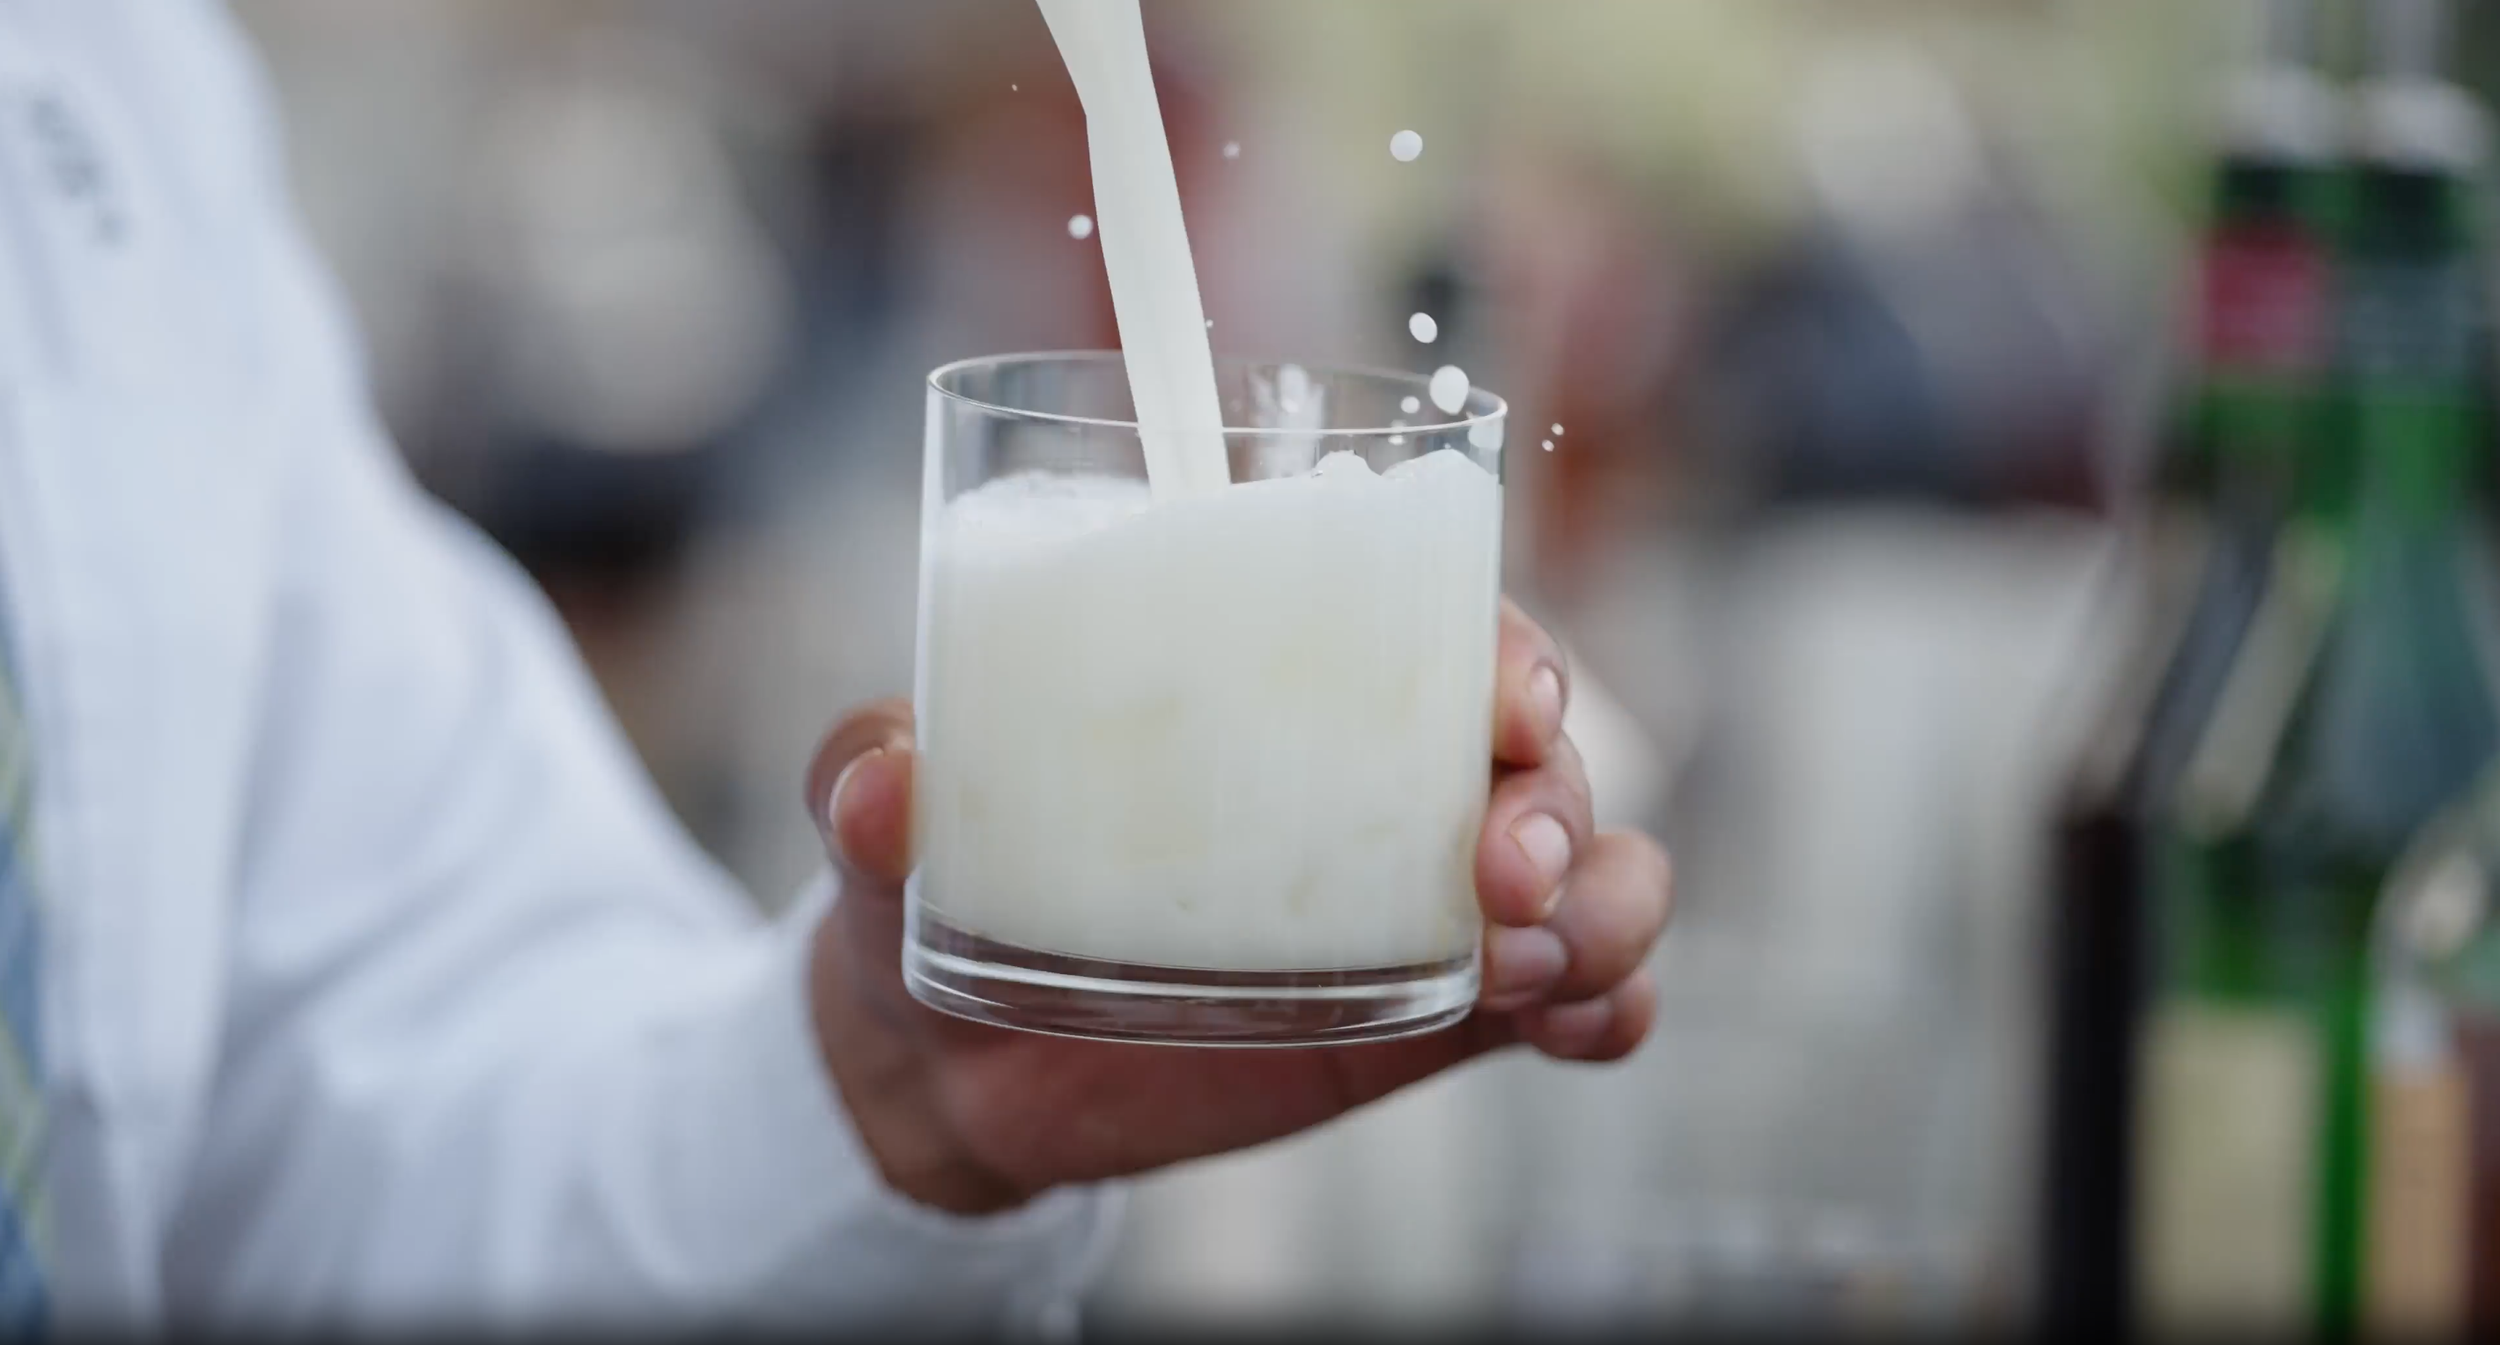
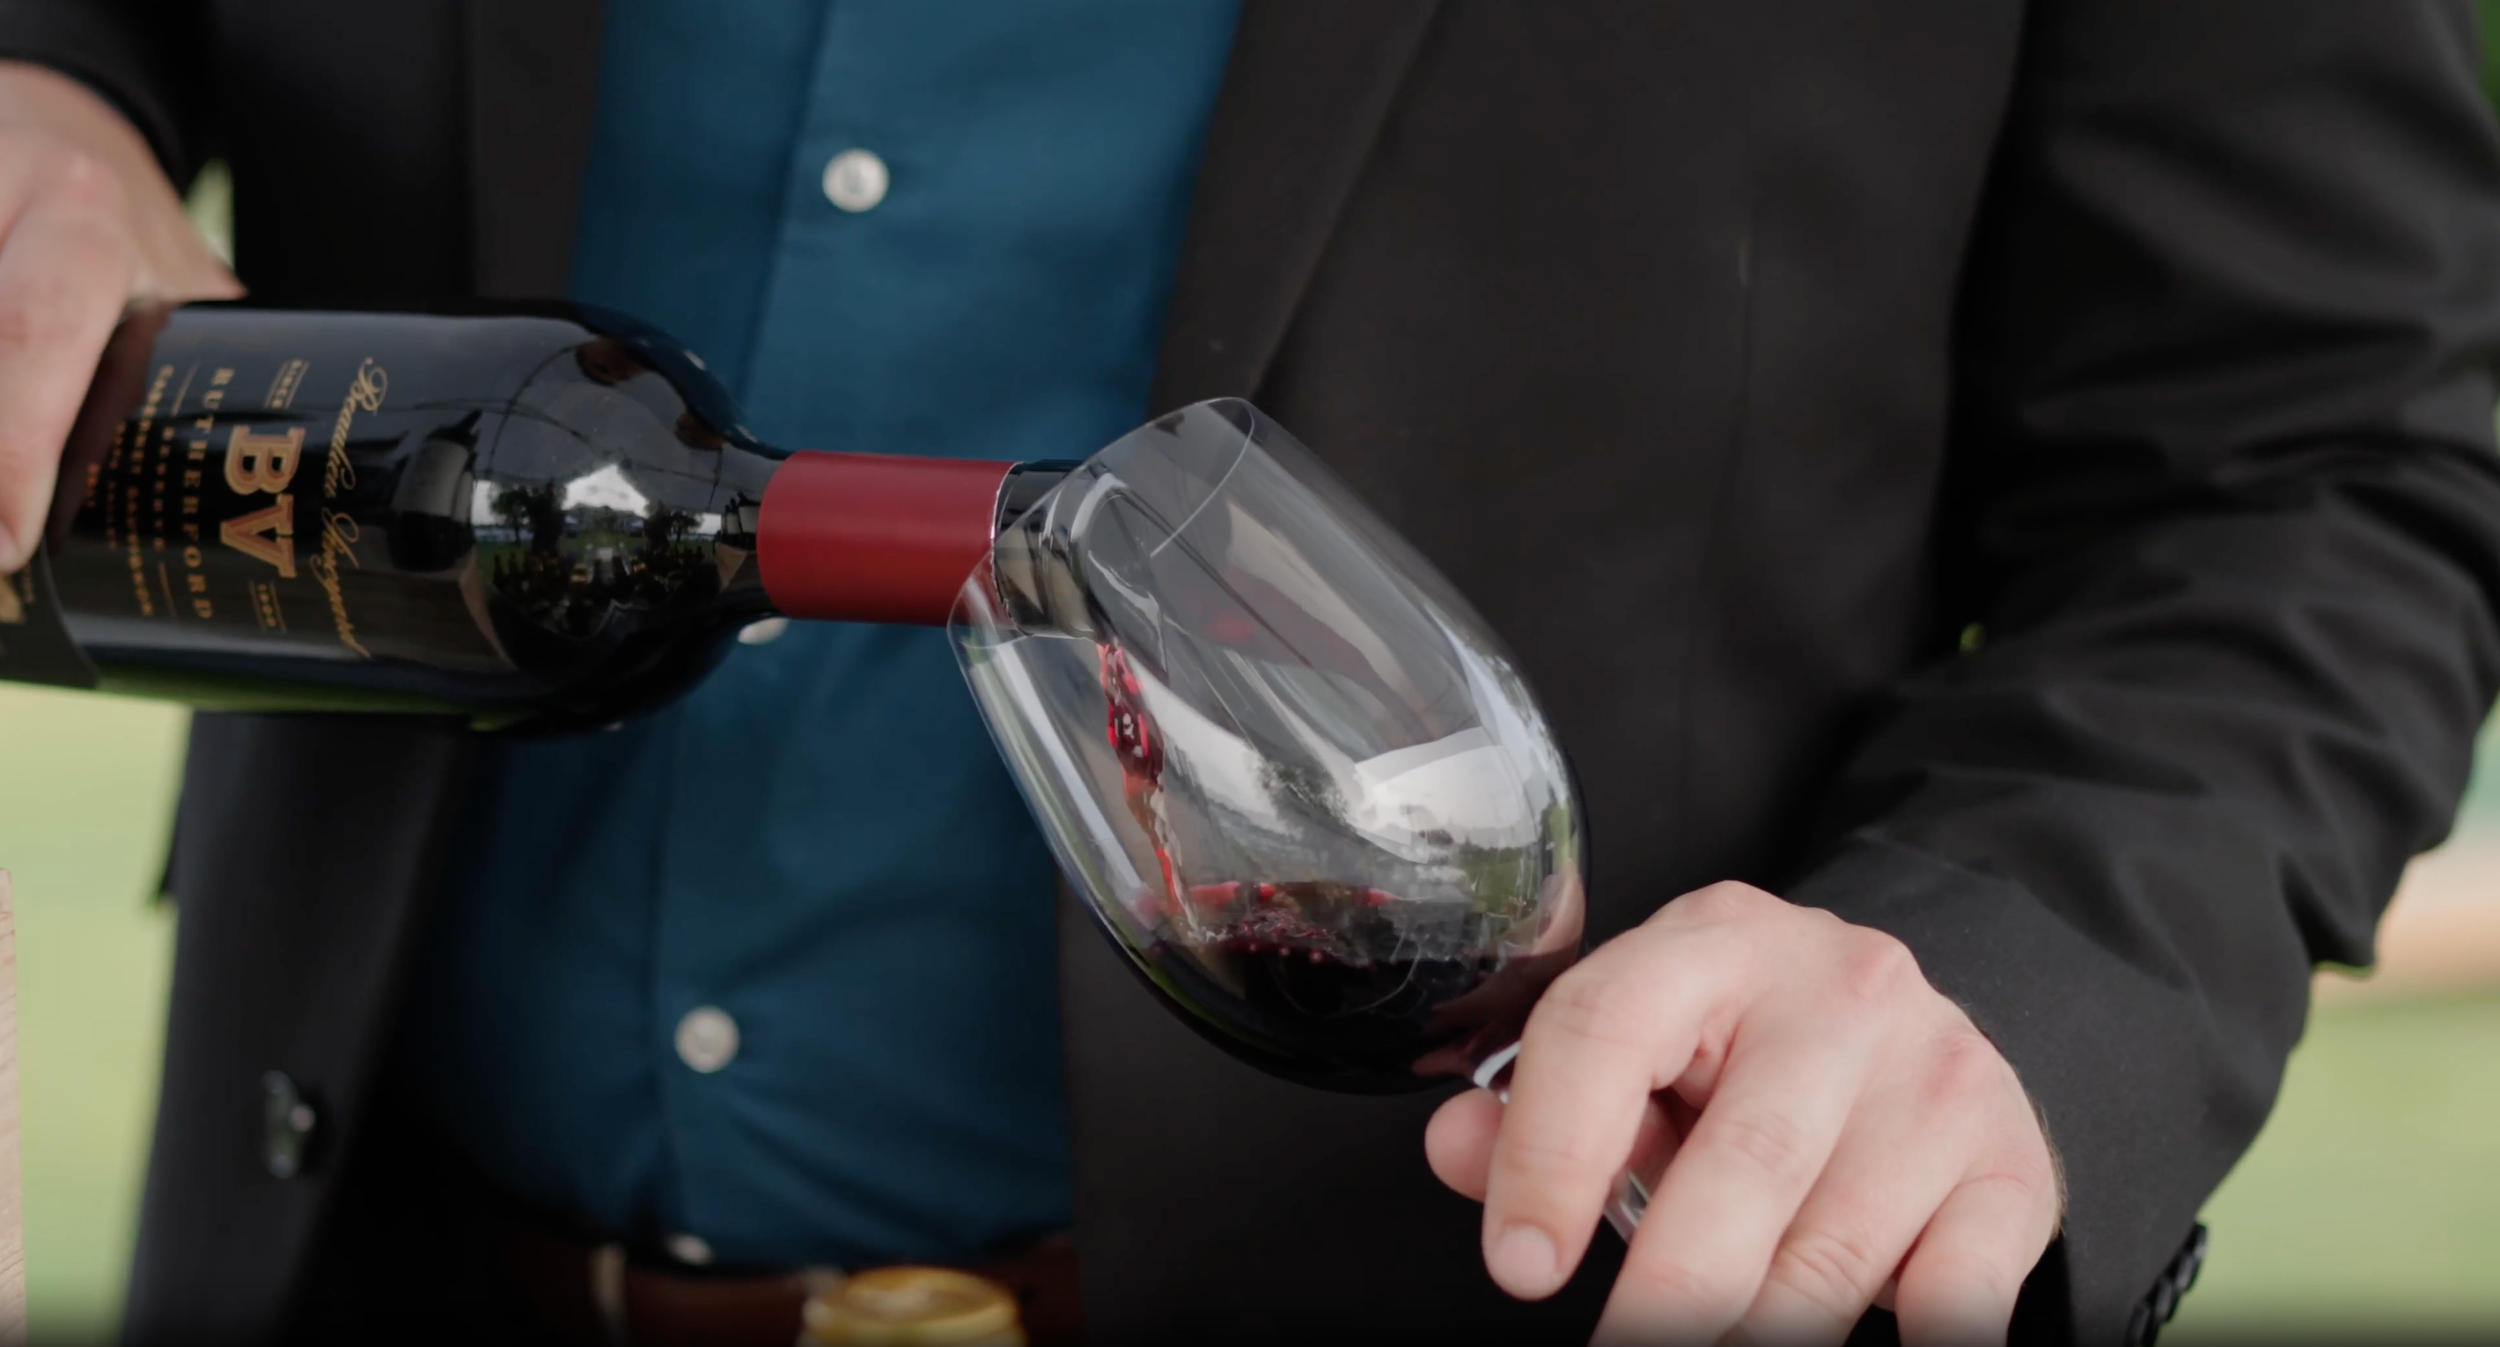
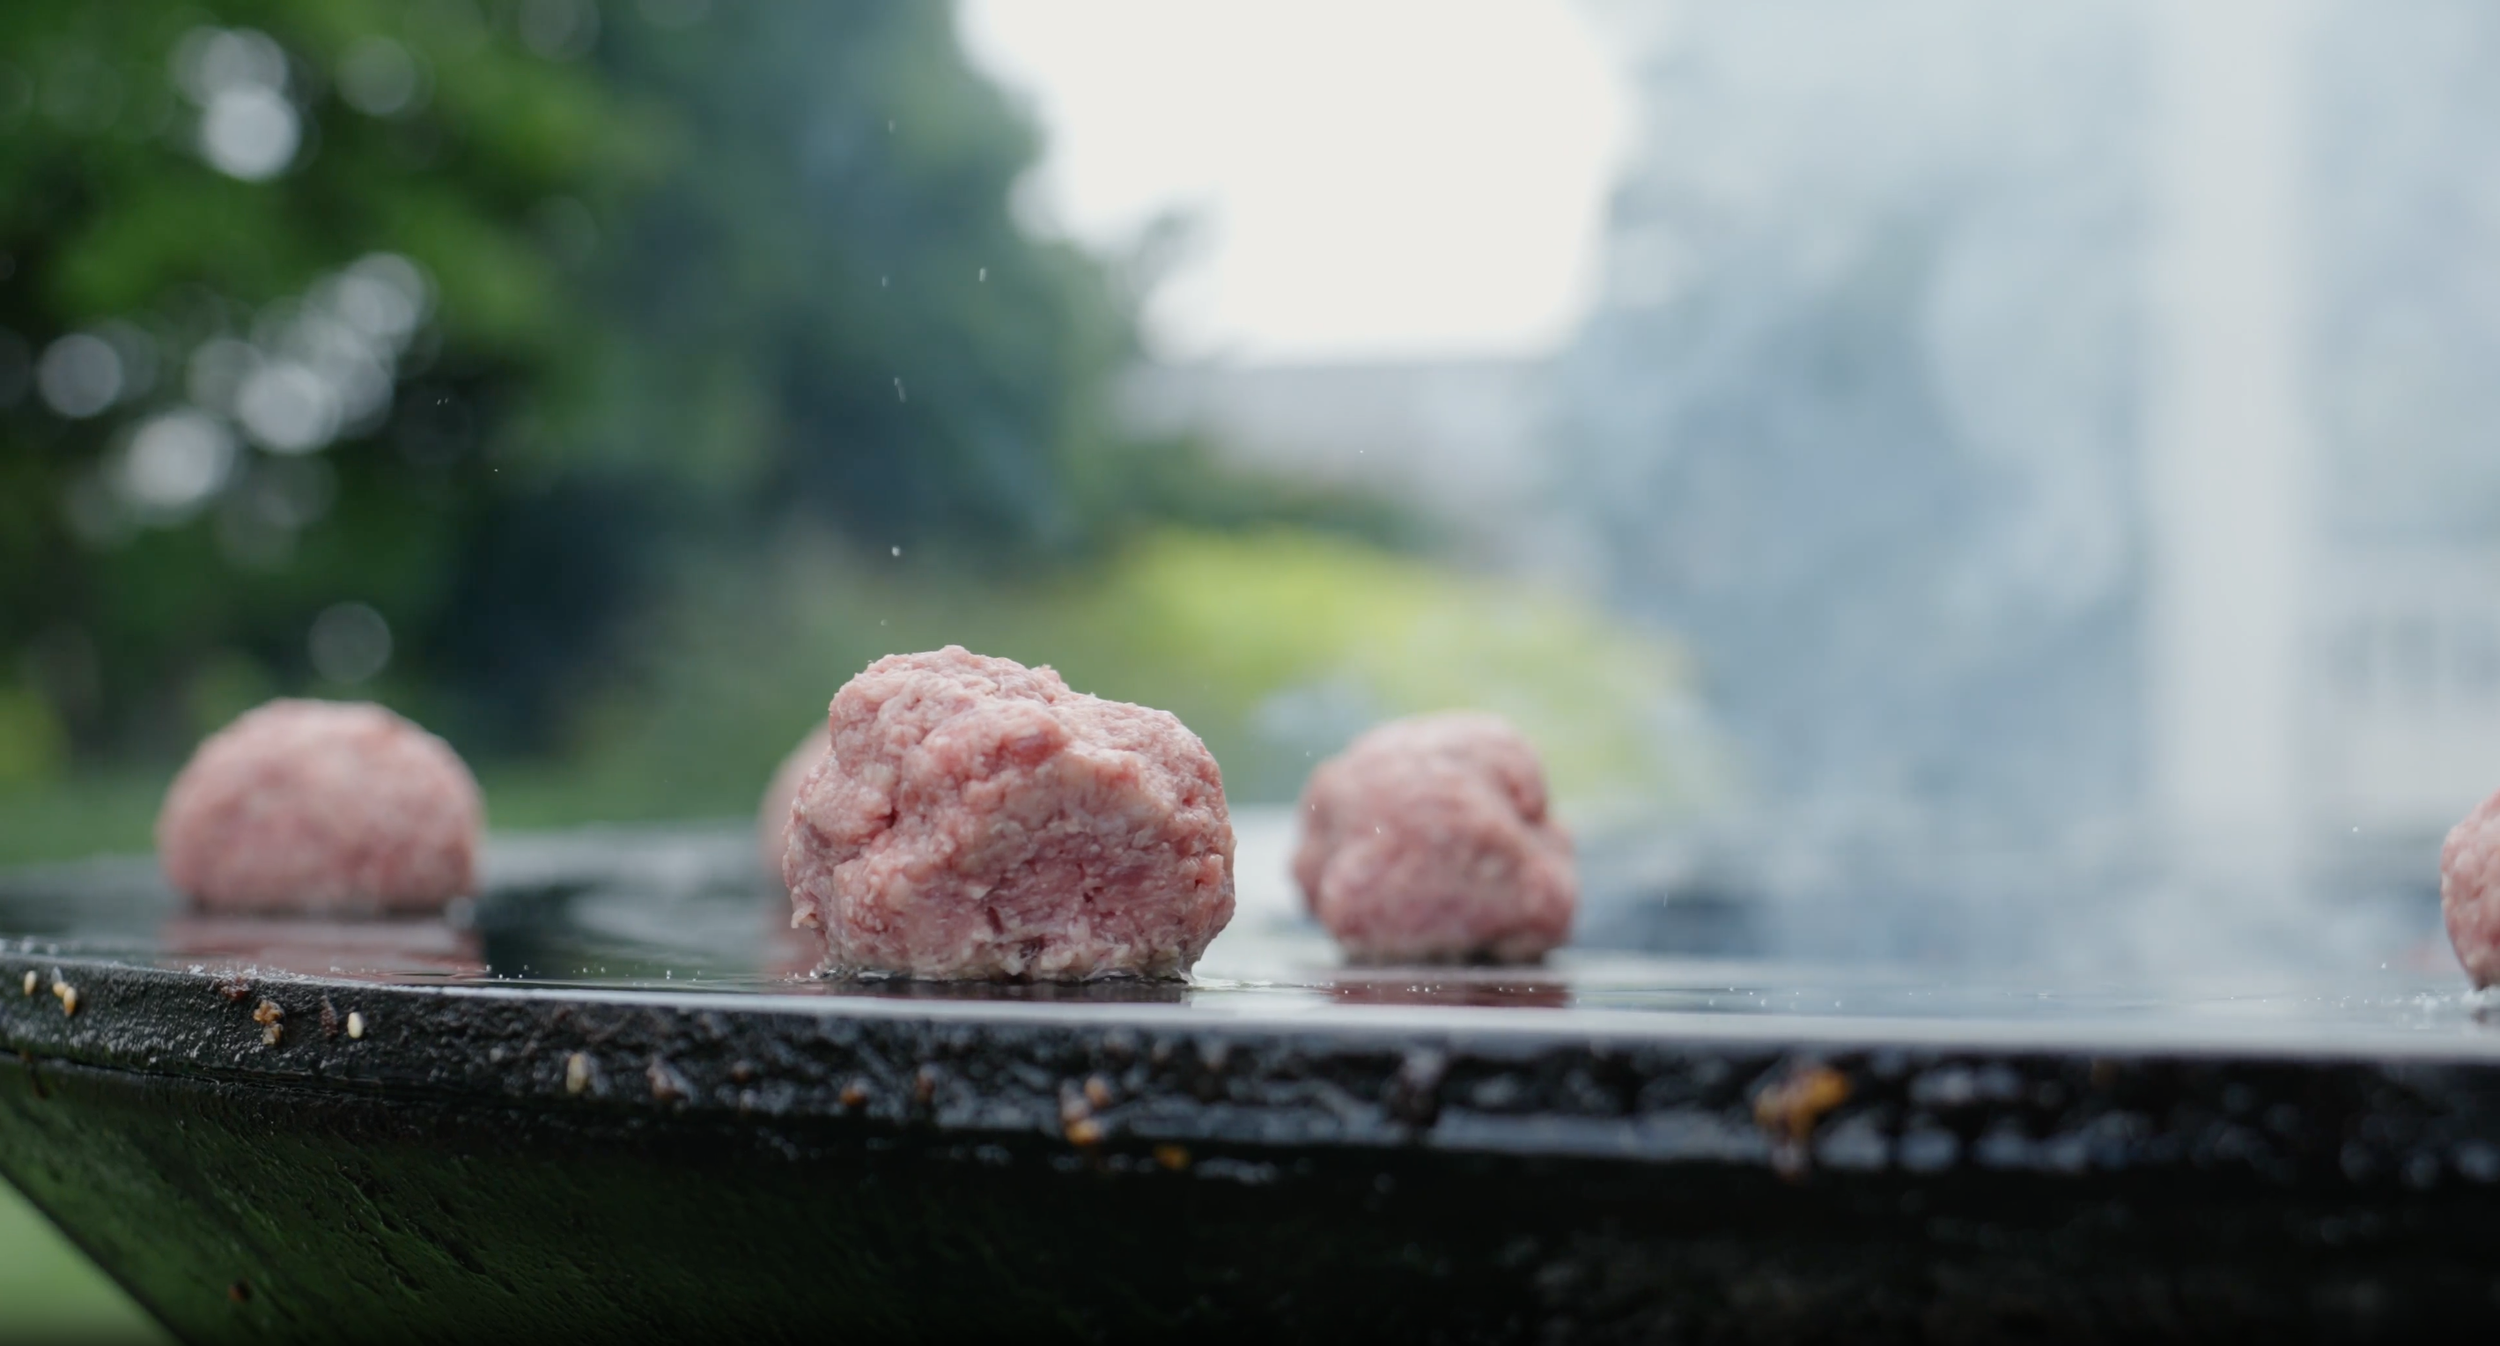
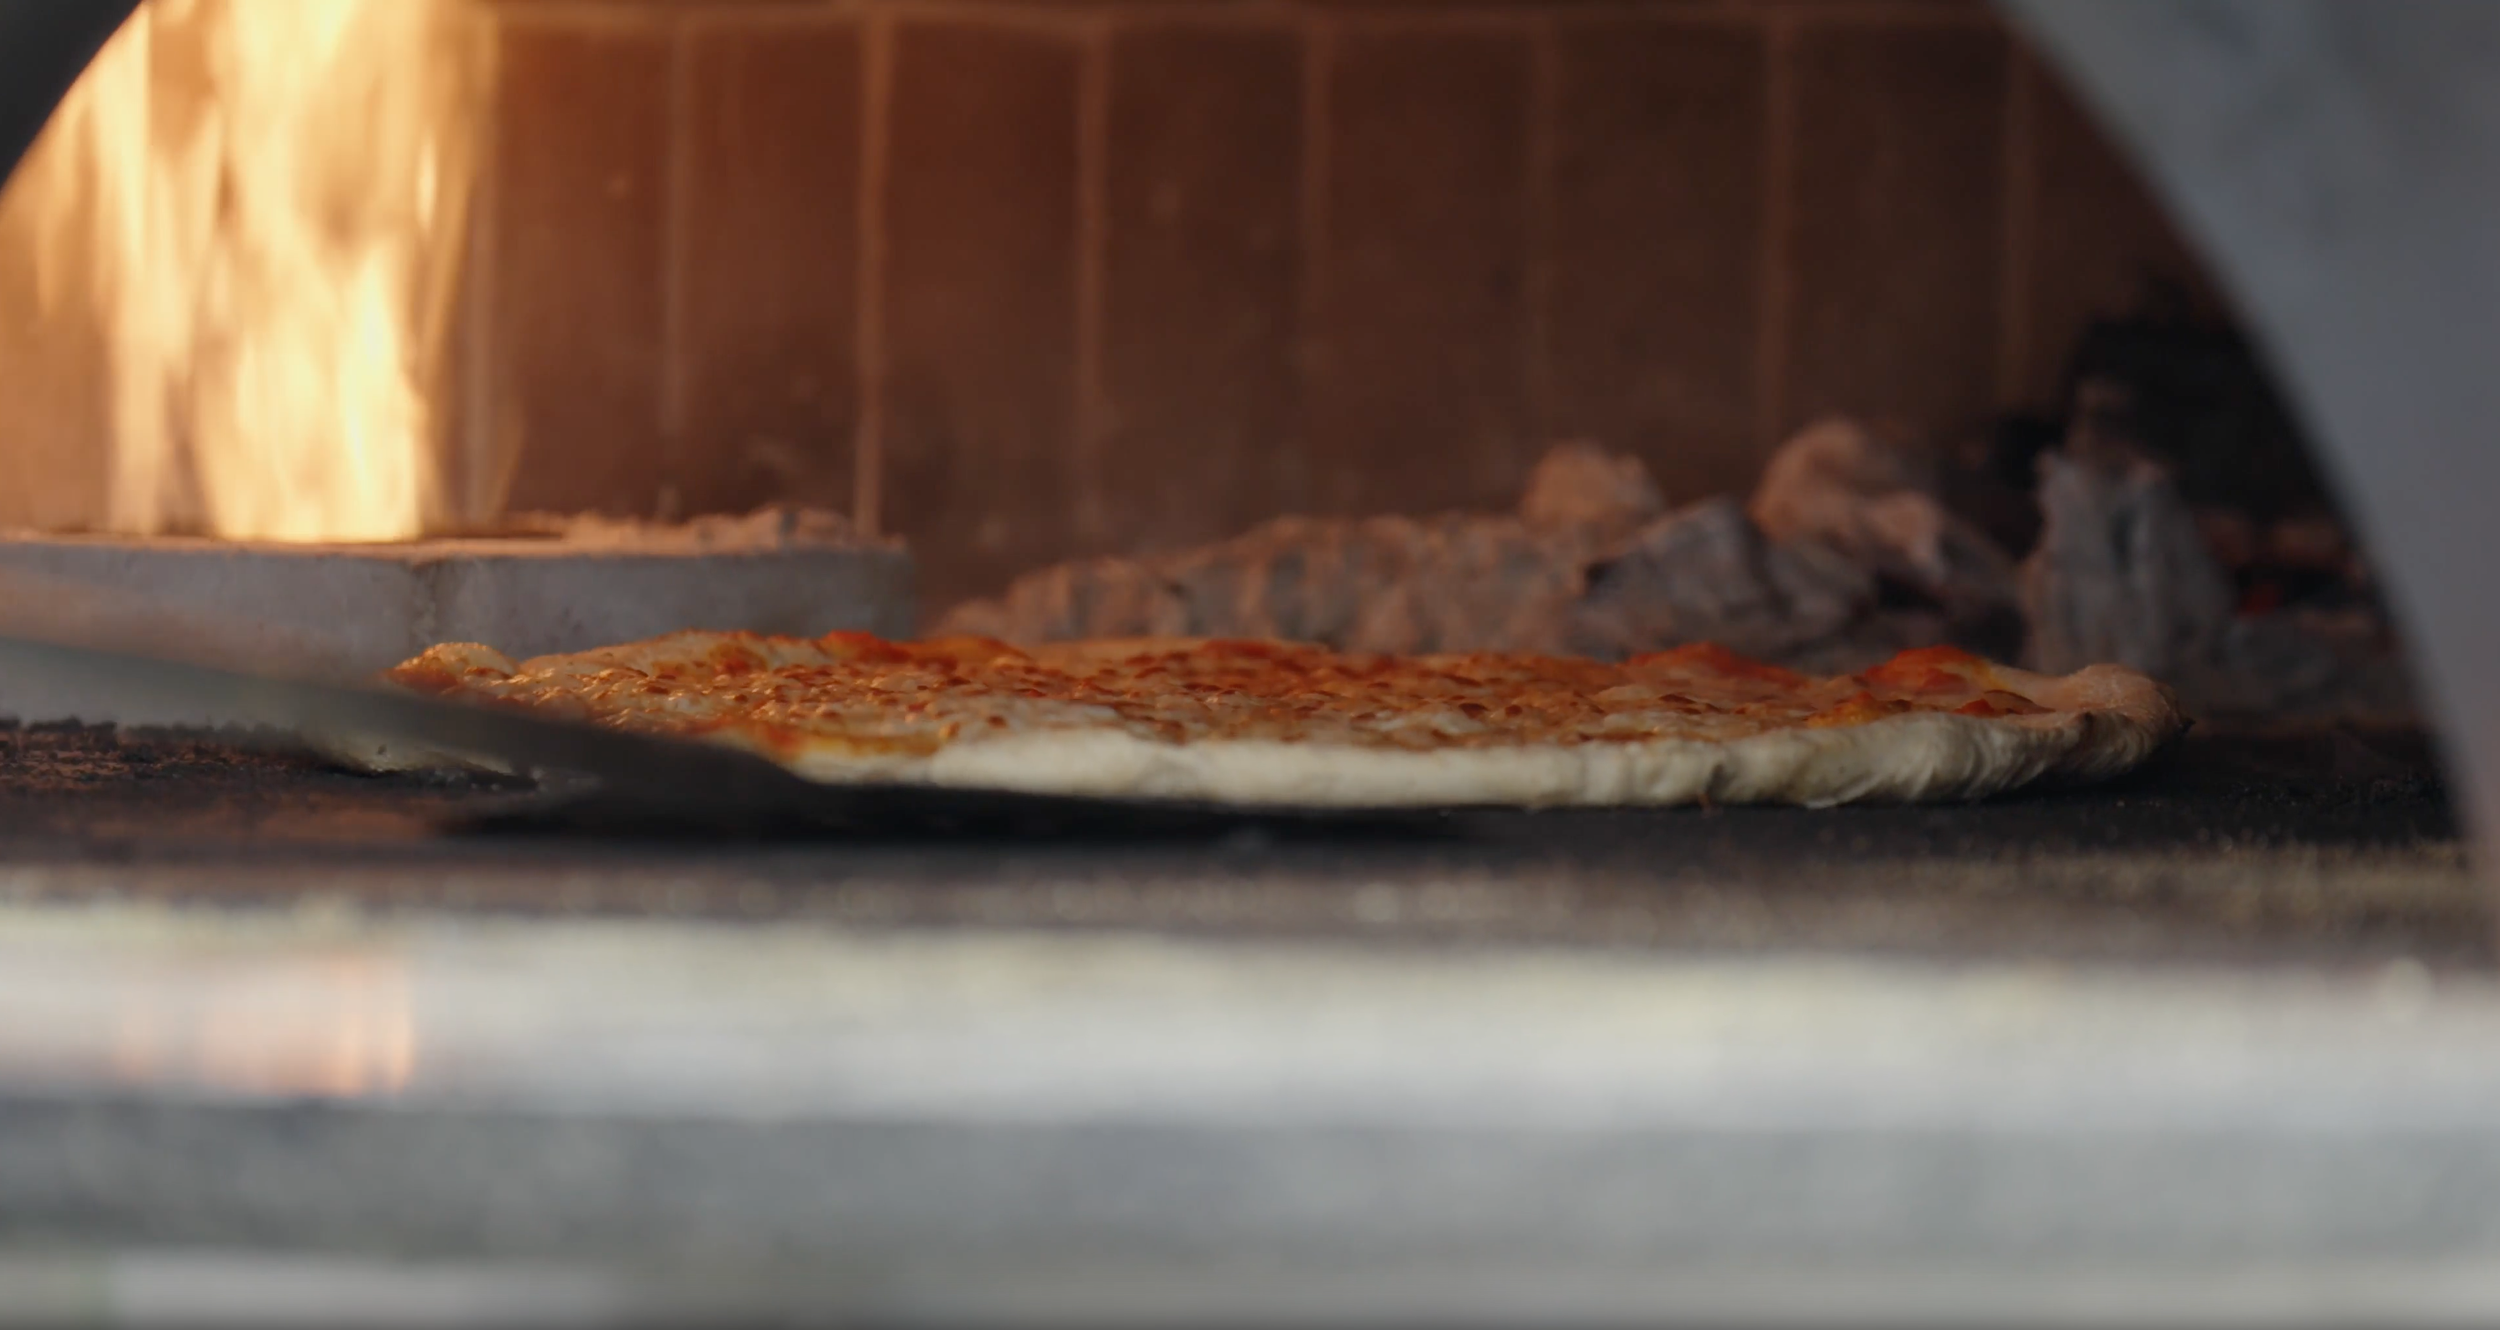
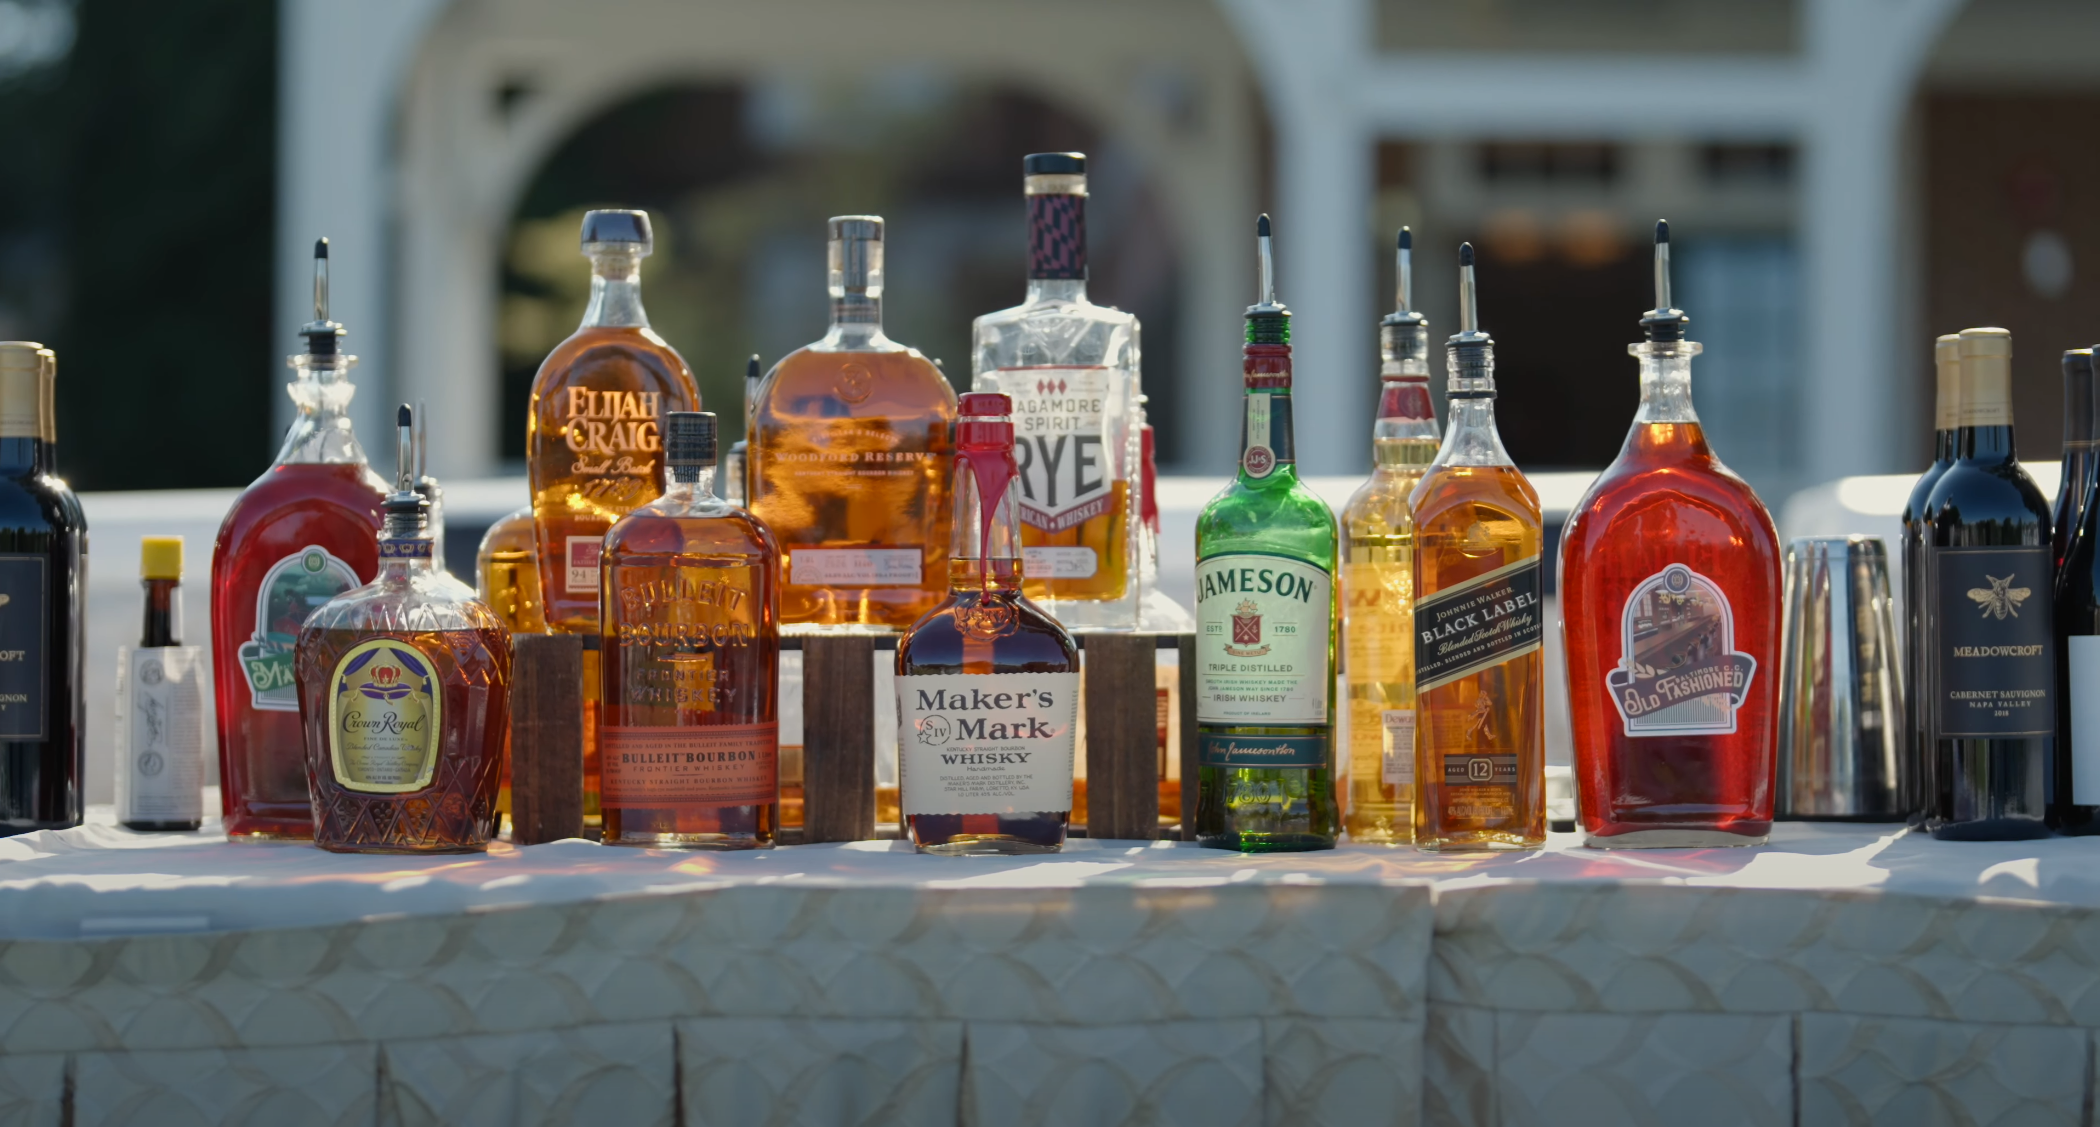
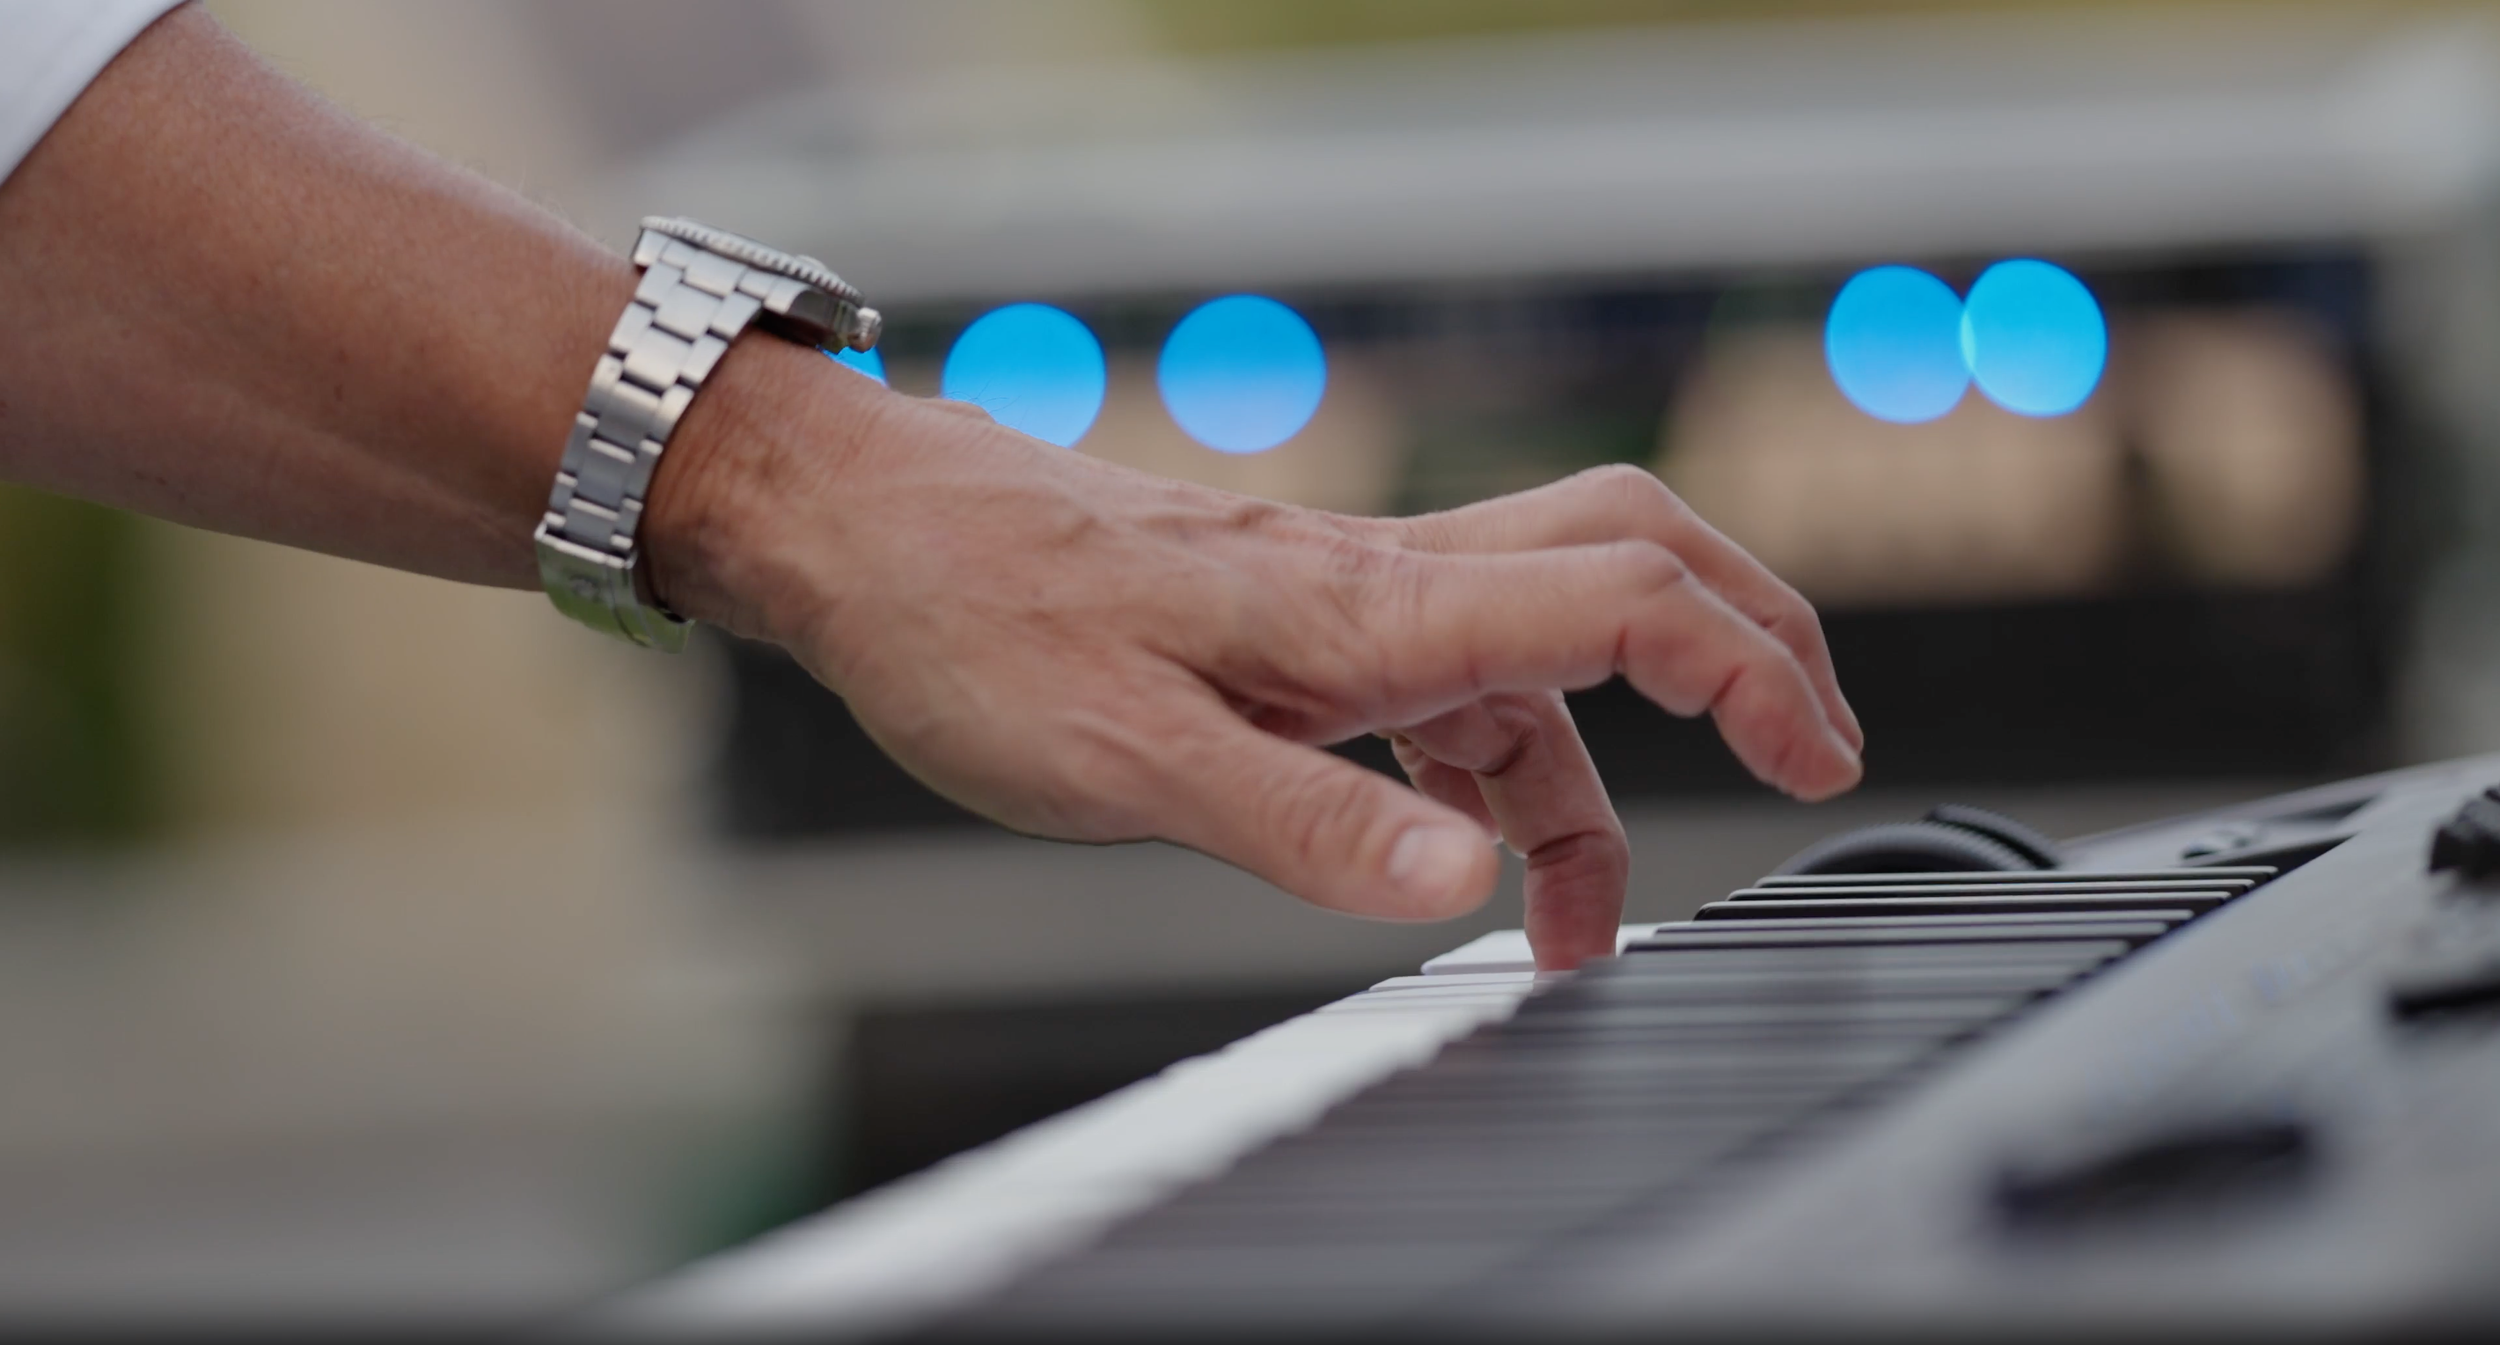
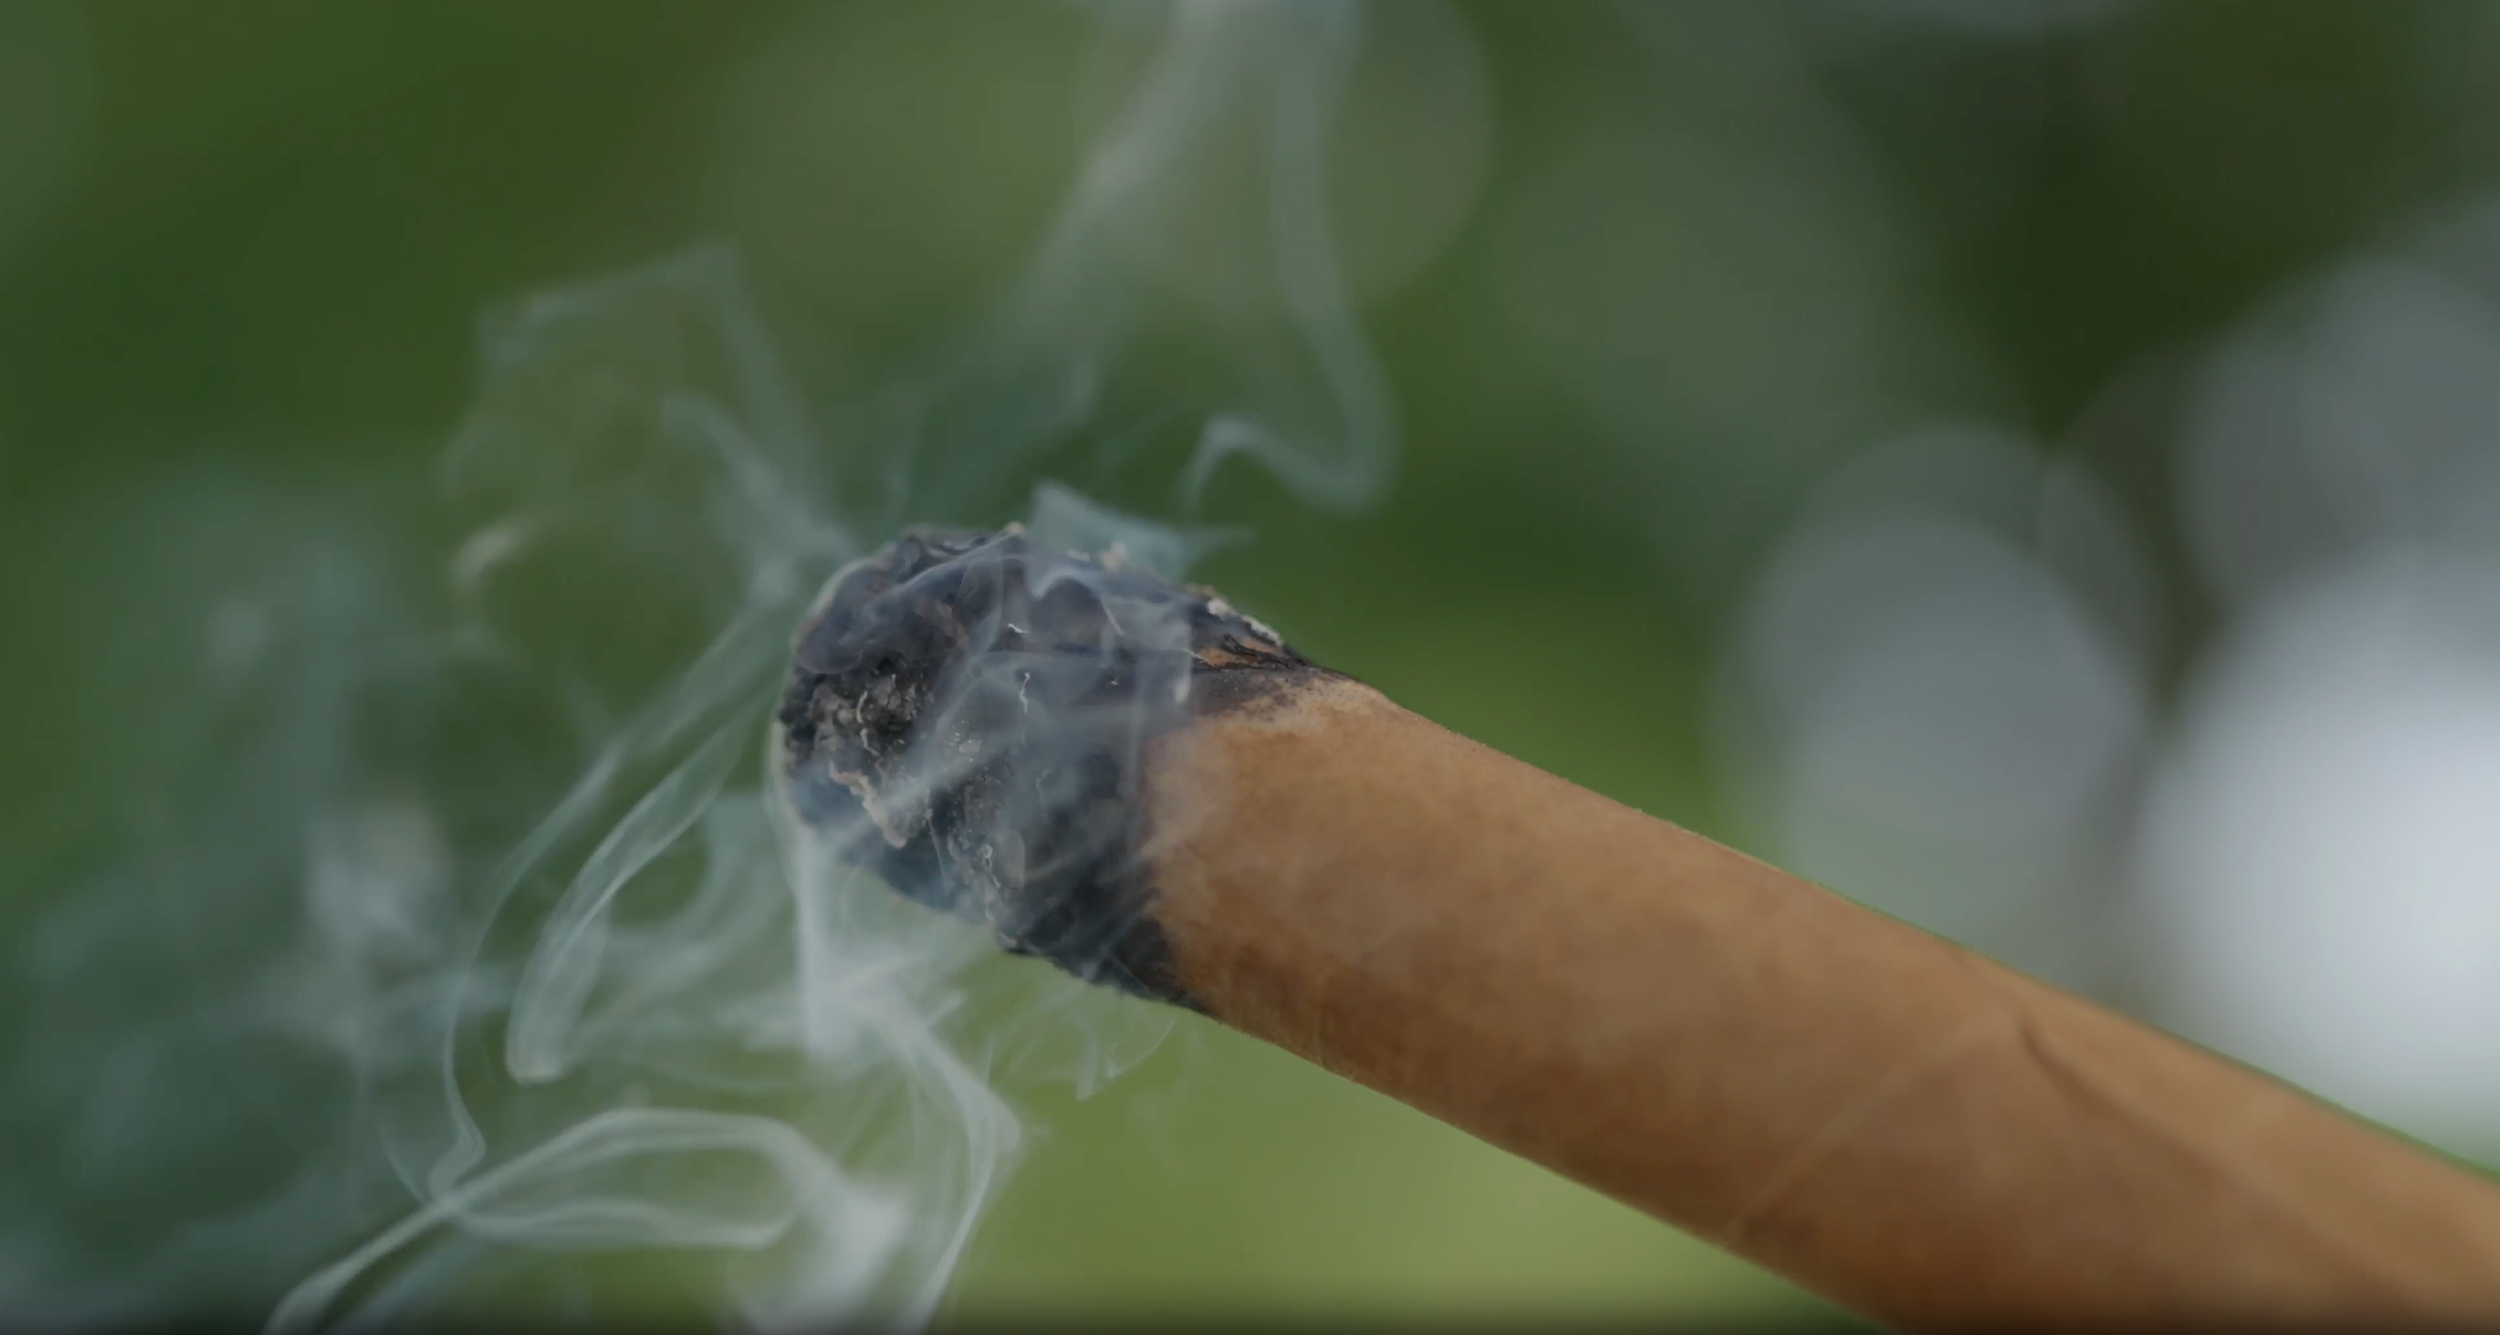
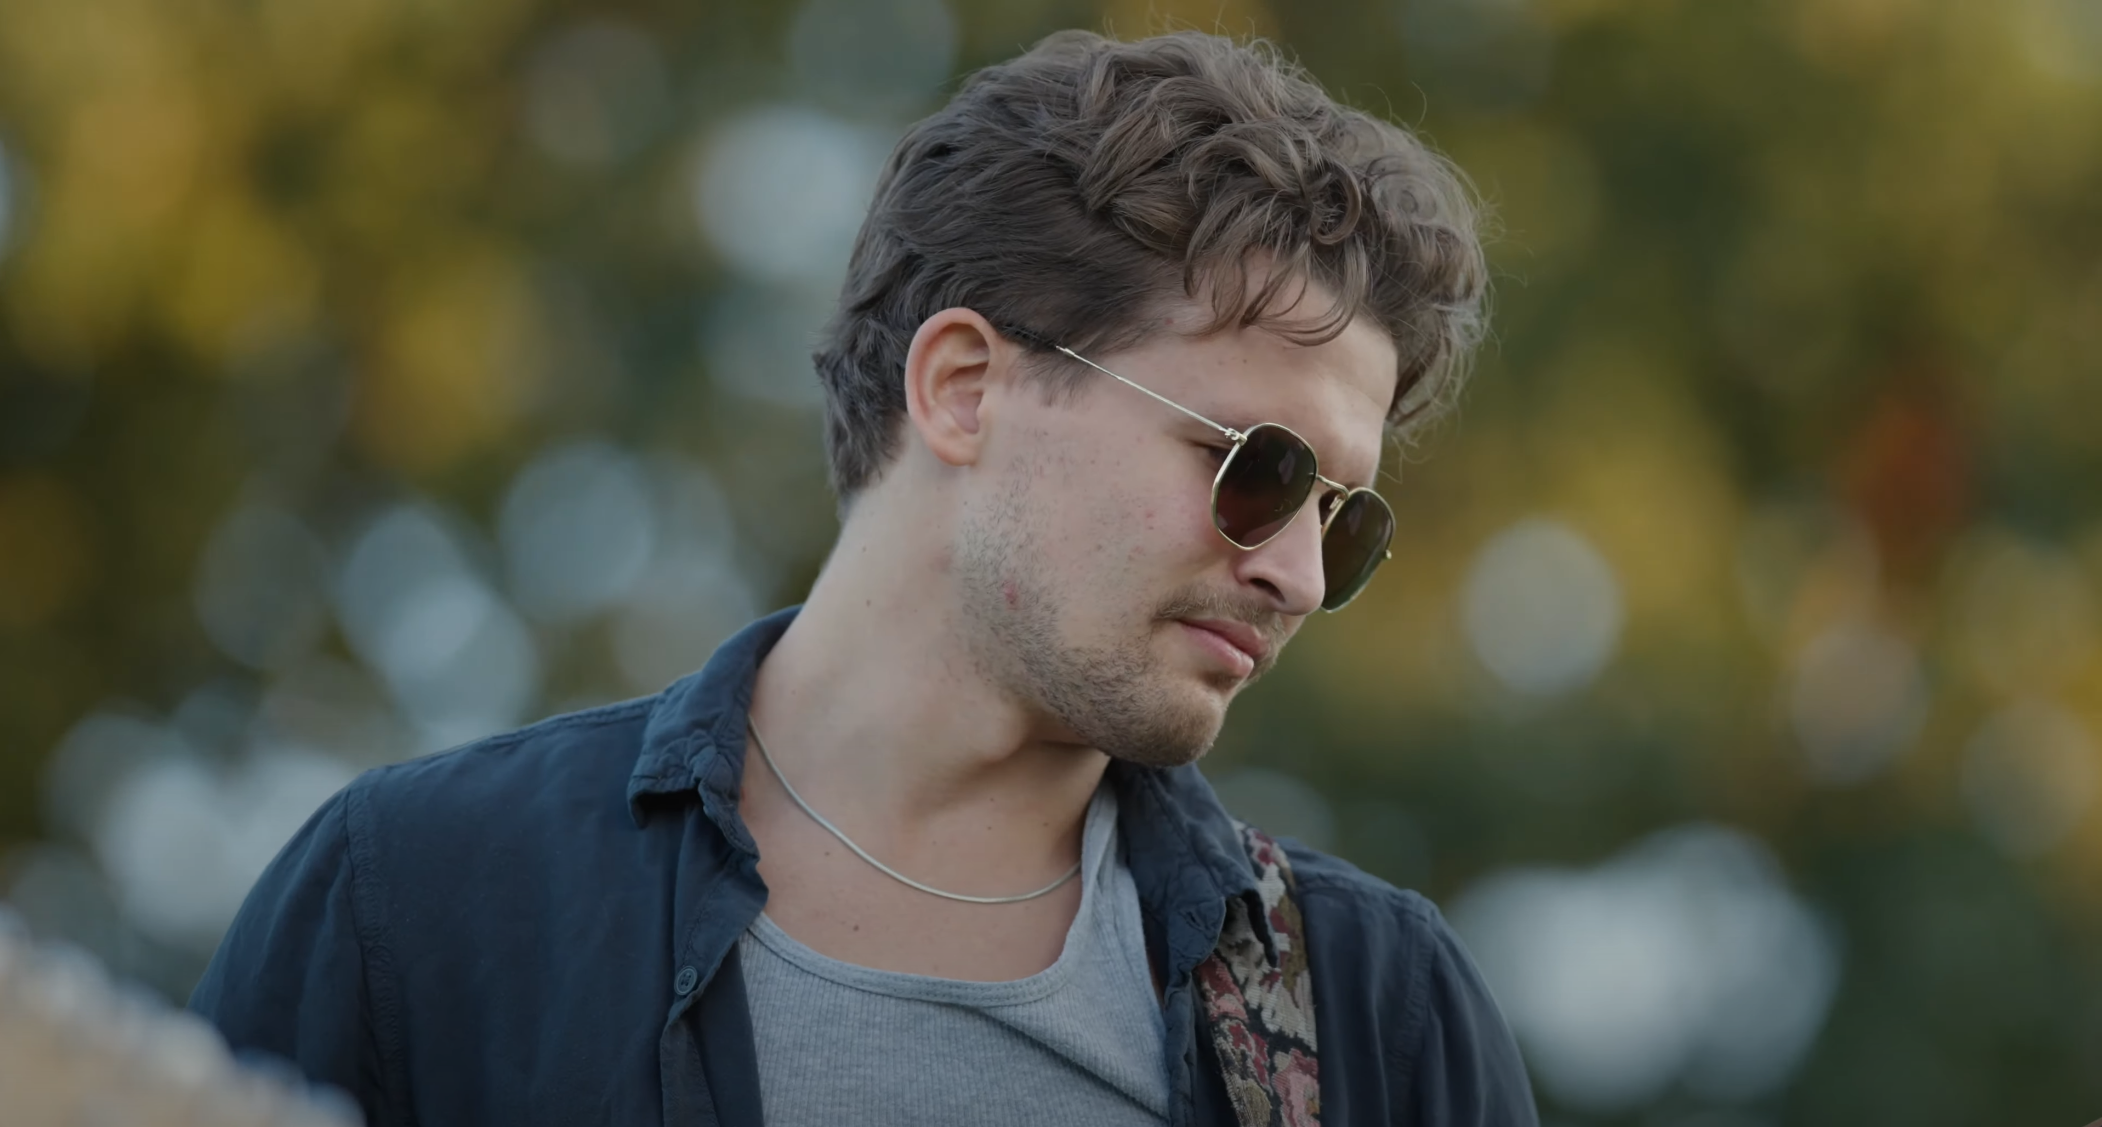
B-ROLL FRAMING SAMPLES
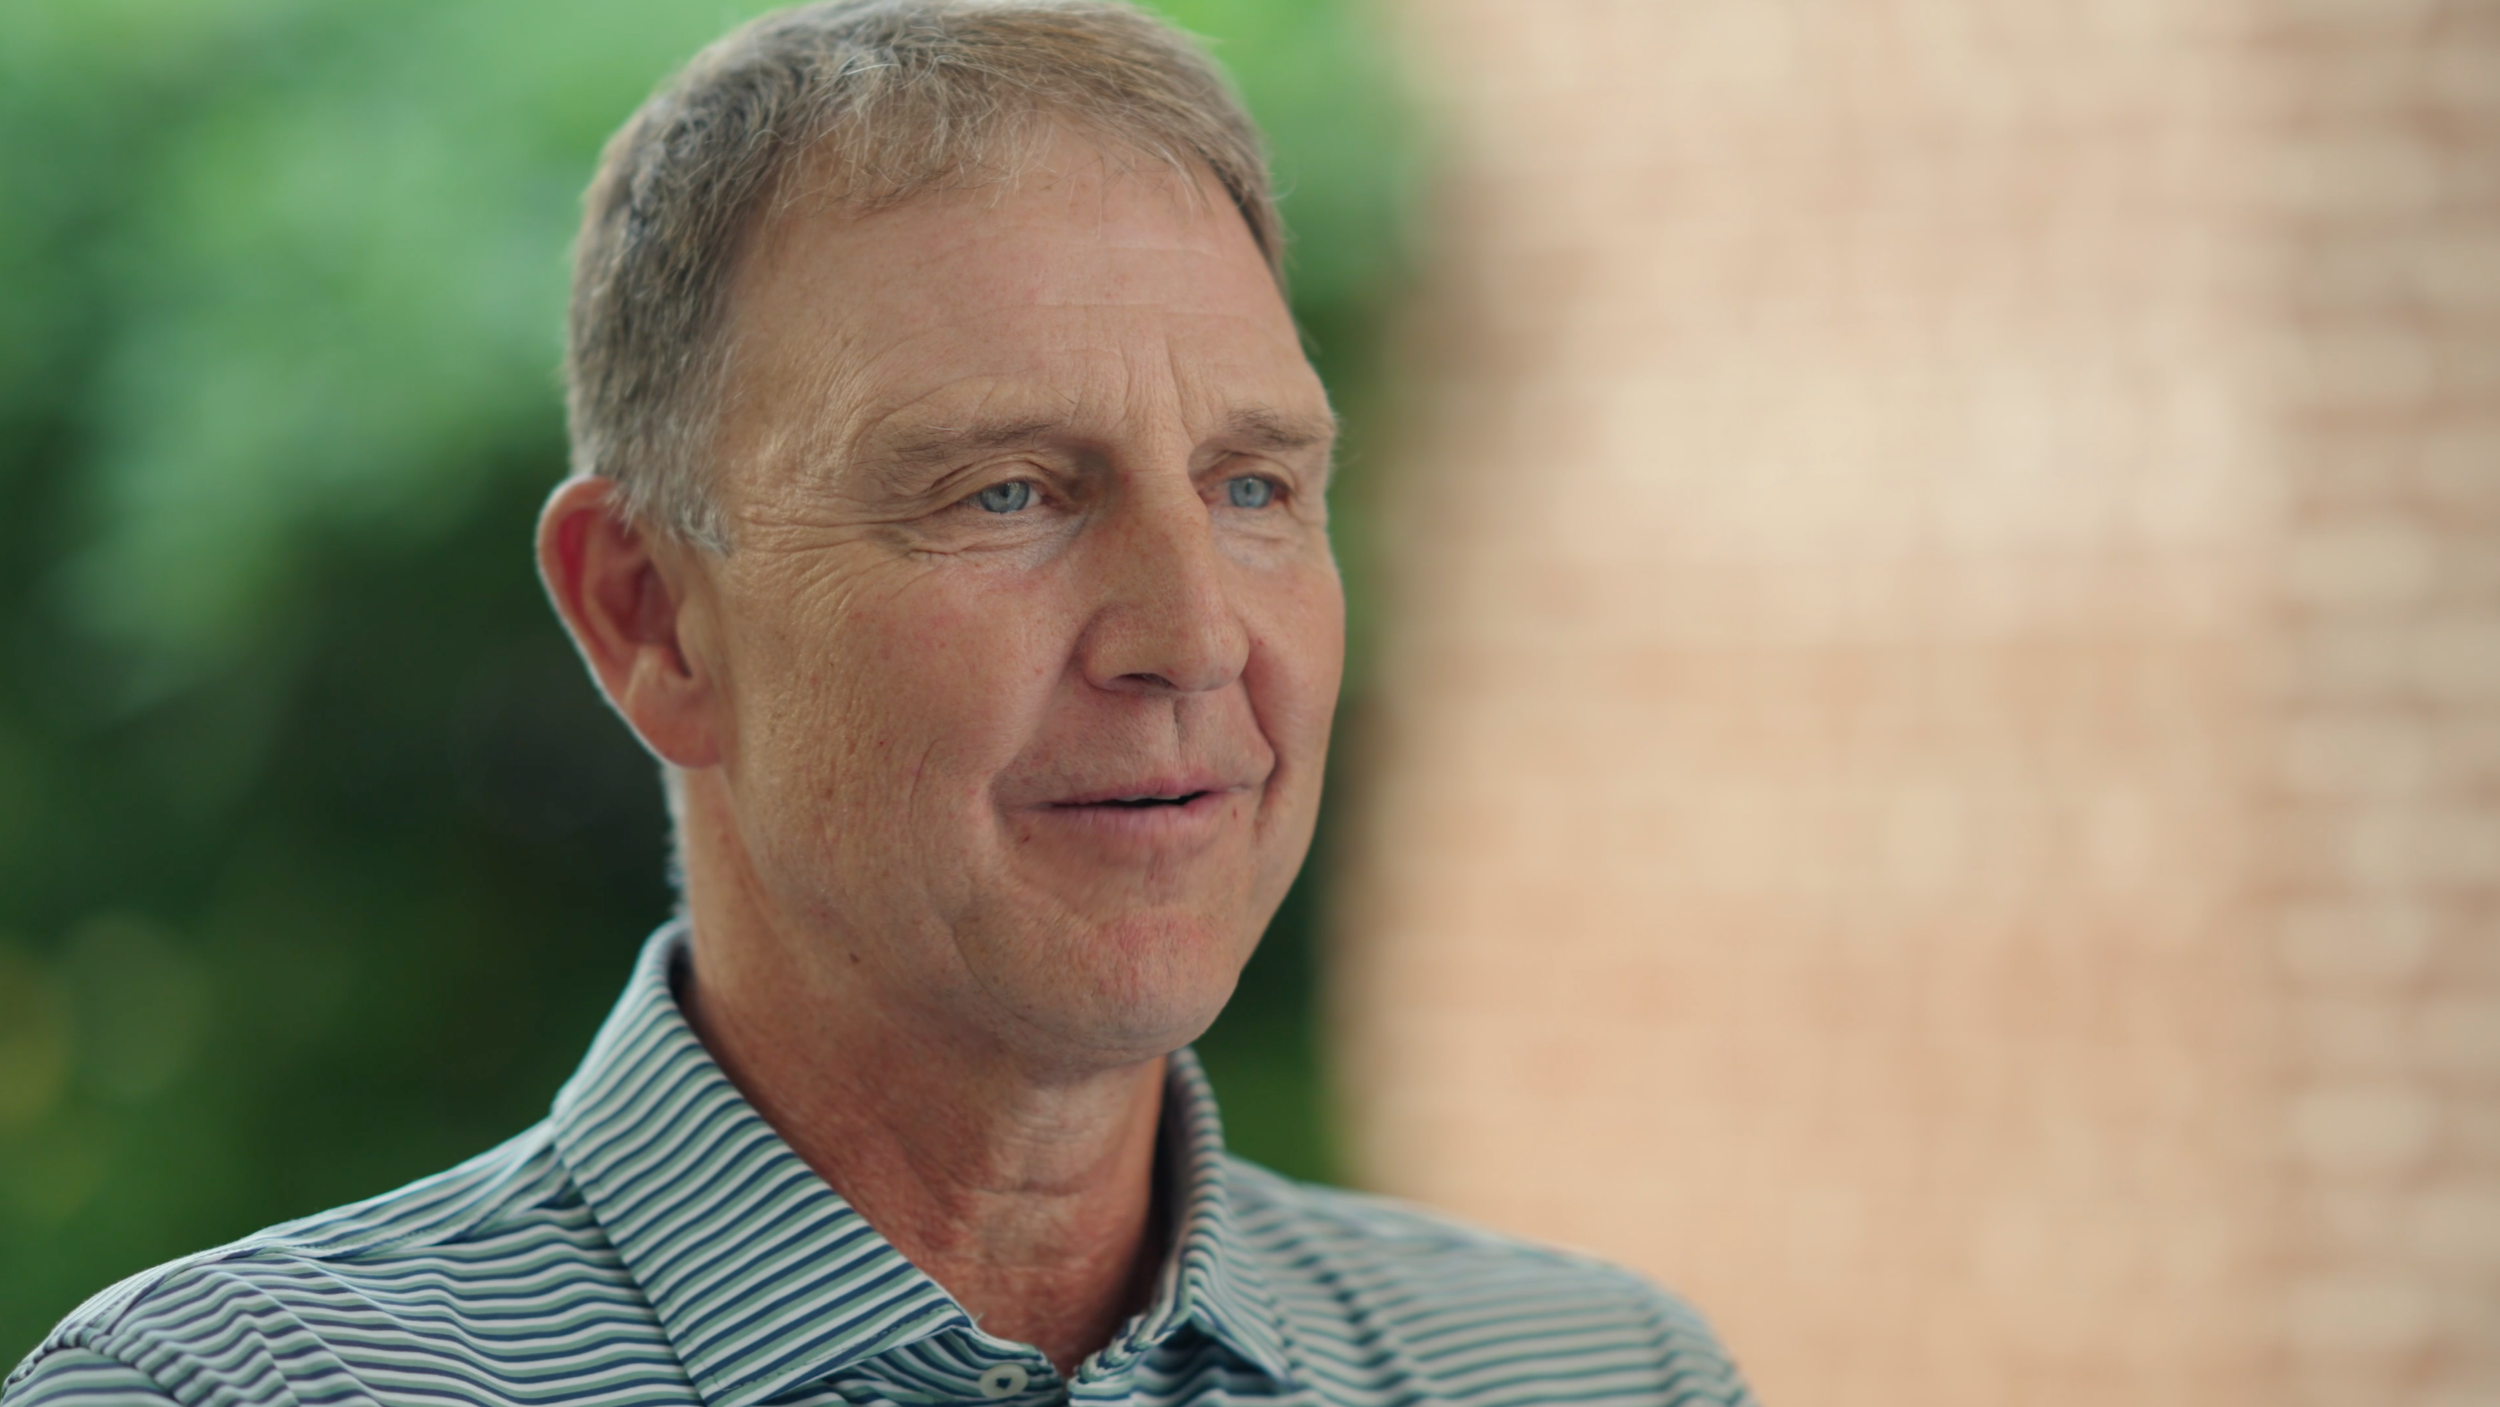
Framing should compliment the story your video is trying to tell. However, by conventional filming technique standards your subject / scene should be framed appropriately using the rule of third grid lines. The samples below demonstrate desired framing when collecting supplementary footage.
Some quick framing tips are:
Follow the rule of thirds
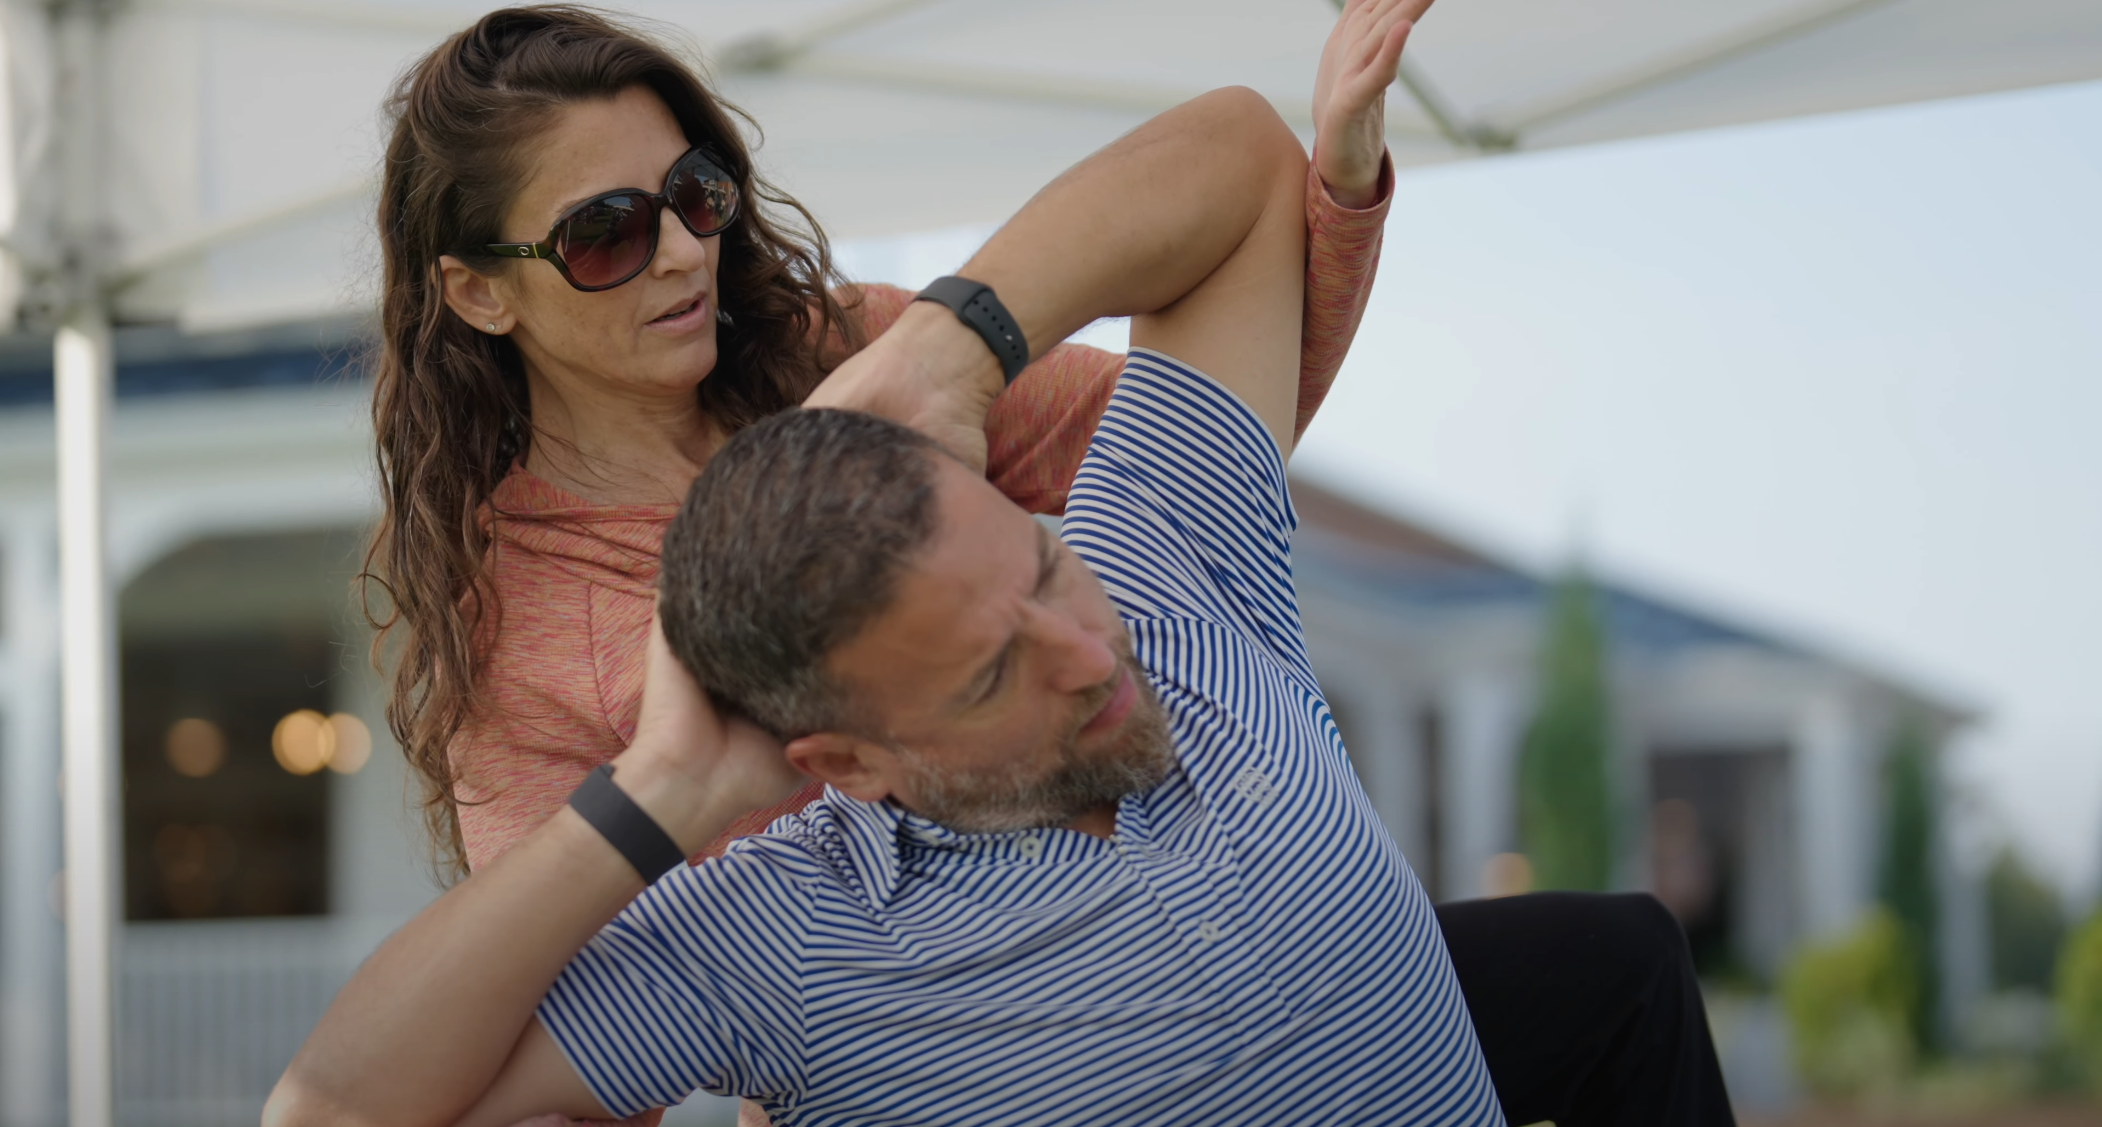
Look for shadow and light contrast to increase dynamic range within your scene.
Incorporate stabilized (project dependent) camera movements into your scene.
Shoot toward sunlight / light sources to give your subject backlight and create lens flares.
Use foreground and background to your advantage to create depth in the image.
Shoot at shallower f-stops when possible unless you’re setting a sene or filming relevant landscapes.
Capture a variety of angles. Wide, medium, closeup. This variety helps diversify your footage.


CAMERA SUPPORT
SUPPORT SYSTEMS
Determining how to support your camera systems is critical to the overall “feel and look” of your footage. This determination should be made early on in the planning process, but most conventional projects will use some or all of the following tools.
Commonly used support devices.
Camera tripods
Motorized sliders or dolly systems
Gimbals or steadicam-style systems
Easyrig, ergorig, or other hand-held support systems.
Raw handheld. (Recommended to use Easyrig, ergorig, or monopod to assist with back support)

LIGHTING THE SCENE
LIGHTING DECISIONS
Lighting is an entirely independent field with varying levels of intensity and difficulty. It can be very simple or extraordinarily complex depending on the project and allocated budget. While every scene will require a unique lighting approach some general rules will ensure your footage looks as good as possible.
Common lighting requirements:
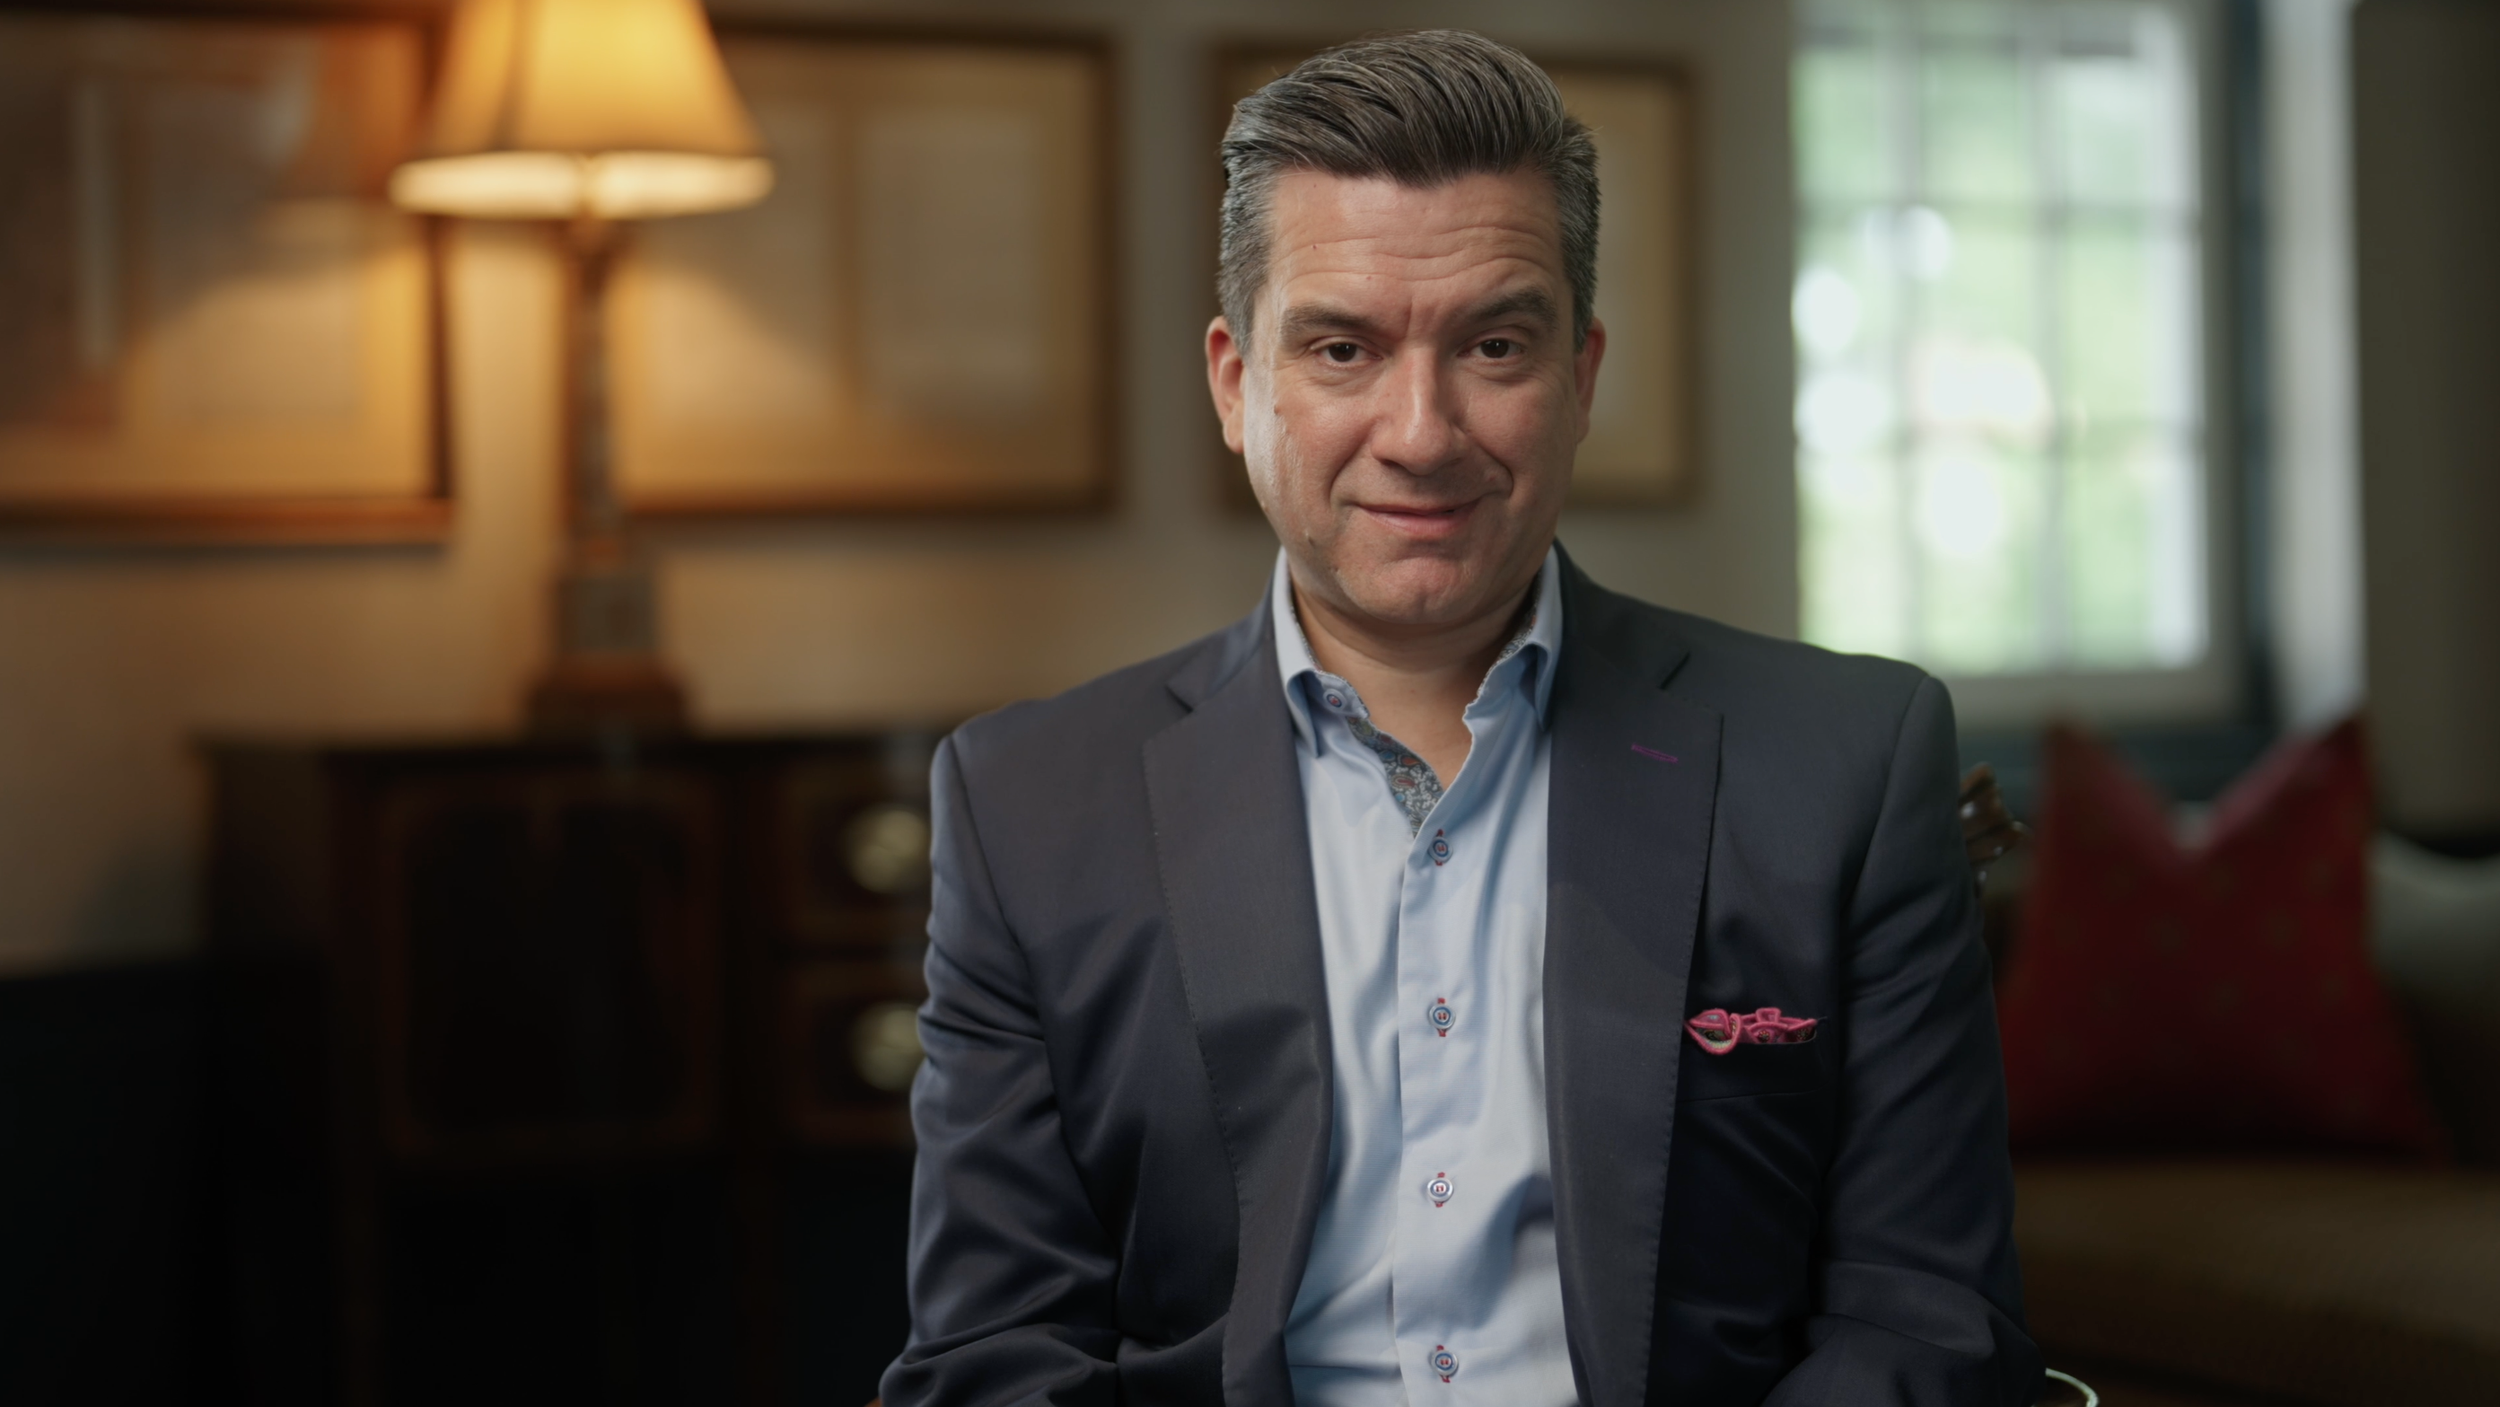
Key light: (The primary light source used to light your subject. If your scene has windows with natural light, key from the lit side of the frame to complement the light that already exists. Instead of fighting against the sunlight, try to control it with diffusion techniques and compliment it with your key light source to balance it and add consistency. DON’T FIGHT THE LIGHT!
Fill or Bounce: Sometimes the key light can create too much contrast in the scene with a very light and very dark side of the subjects face (this will also be determined by axis and feathering). A Fill light or bounce will help add some light back to these dark areas and balance your image. Some projects may require very dramatic lighting, but for most scenarios you’ll want to take a more balanced approach.
Hair Light: This is a light placed above your subject’s head (use safety cables or other mounting securities) that adds a touch of light to their hair and helps separate them from the background. Be cautious of subjects who are bald or those with very light hair as this hair light can be too intense and cause too much reflection or glow.
Back Light / Rim Light: The back / rim light is an easy way to help define the outline of your subject. Depending on your subject’s wardrobe they may sometimes blend in with the background. A back / rim light will help outline your subject subtly so they are defined and separated from the background.
Accent Lighting / Practicals: These are generally any additional lights in the scene that are not directly lighting your subject. Think of this as a lamp on the shelf / table or a kiss of sunlight from a nearby window. While these forms of light sometimes naturally appear in your scene, using special bulbs or LED fixtures will allow for you to control the color and intensity of how these lights appear in your scene.
Diffusion / Fill: Always attempt to soften your lighting as much as possible. Unless otherwise specified, soft, diffused light is more pleasing than a harsh / direct source. You may have to use a variety of diffusion, blocking, or fill techniques to achieve the look that’s required. Refer to the images above for examples of desired lighting for both interview subjects and b-roll.

AUDIO CAPTURE
AUDIO CAPTURE
Just like lighting, audio capture and recording is its own, independent field, but we are often tasked with cleanly recording audio during interview and event scenarios. The primary rule of thumb for Pinnacle productions is that we want redundant audio sources. That means where there is a boom, there should be a LAV. Where there cannot be a boom, there should be two LAVs or a LAV and another independent source. While it can be challenging to double up audio, it is critical in the event of interference or technical failure.
There are virtually endless methods for placing and hiding LAV mics and your scenario, timing, and subject wardrobe will all be determining factors in your decision regarding mounting and placement.
Common audio requirements:
Boom Placement: Generally speaking you should try to hide your boom mic just above the frame or your primary camera angle. Usually about 1 foot away from the subject allows for clean capture. Ideally this mic should be pointing toward the chest area of your subject.
Handheld Mic: If your method of audio capture requires a hand held mic, ensure that the subject doesn’t hold the mic too close or too far from the their mouth. Generally 3 inches away from the speakers mouth will ensure clean audio capture.
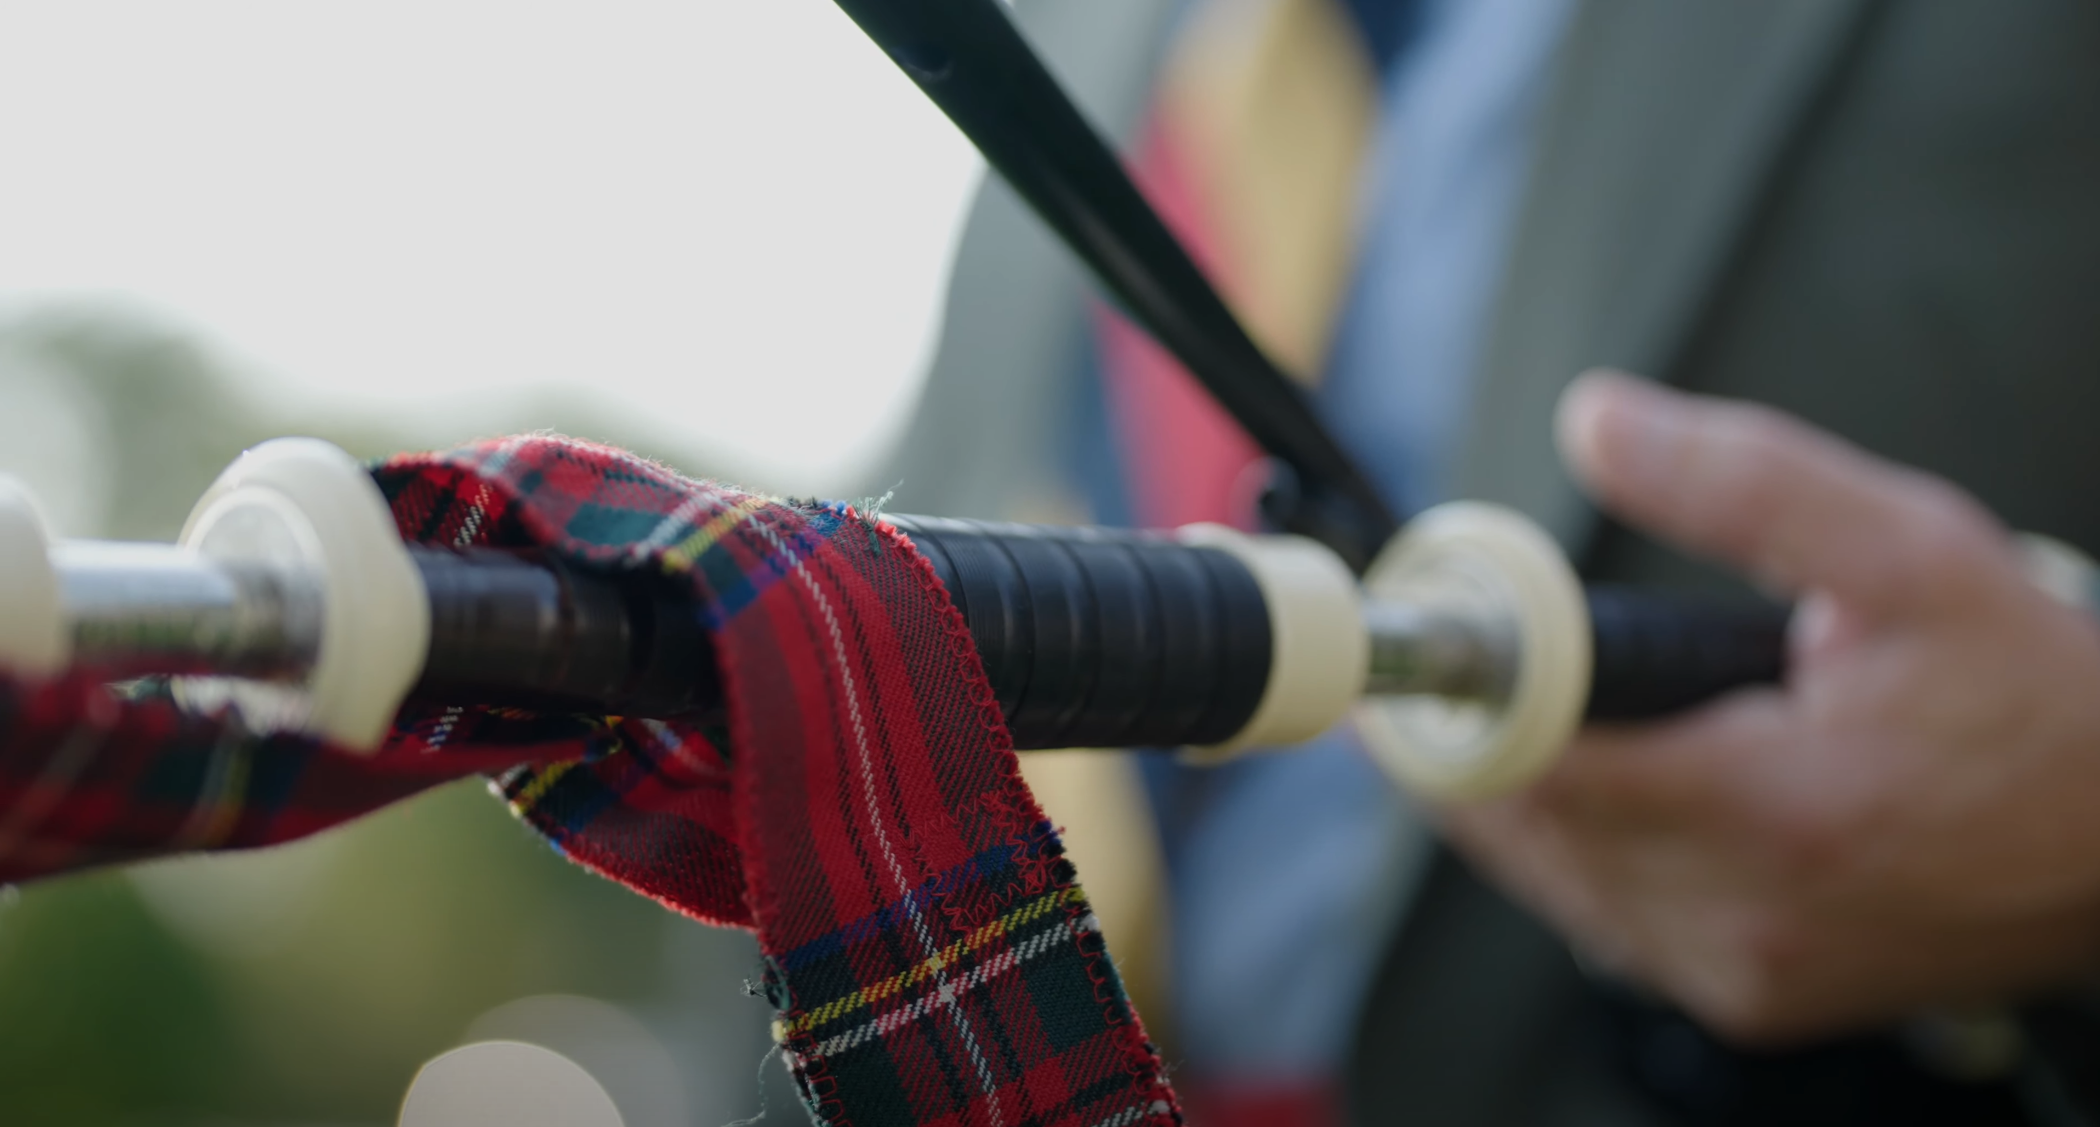
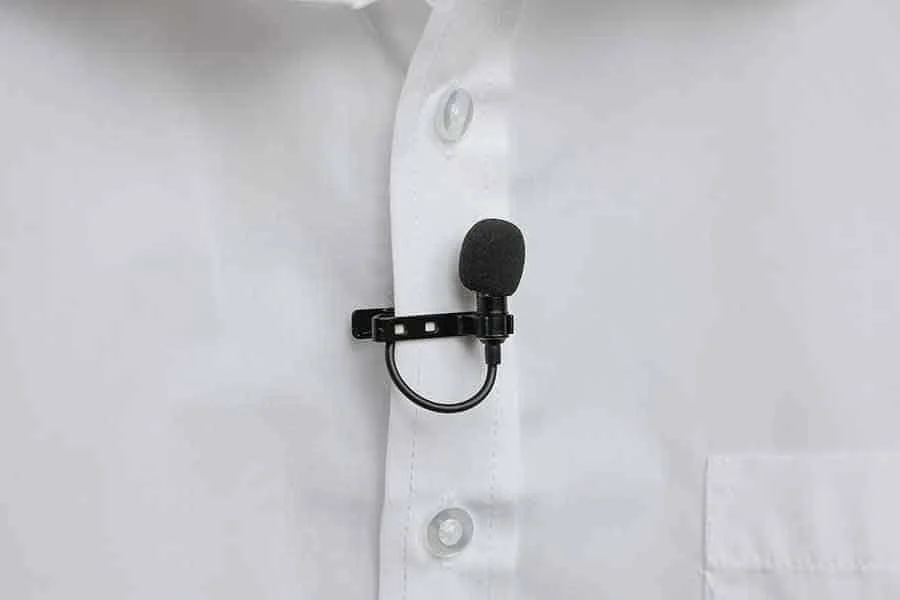
LAV Placement: Depending on your production you may need to hide the LAV. In other scenarios having the LAV exposed is recommended as you will not have to deal with fabric or skin rubbing. However, regardless of whether the LAV is hidden or exposed, you should attempt to neatly place / clip the LAV near the center of the sternum for your subject. This is where the vocal resonance is the richest and will result in the best sounding audio. At many formal events subject will be wearing buttoned shirts or suit coats. In these instances placing the LAV mic neatly on the lapel of the coat near center chest will offer great results.
Cable Management: DO NOT leave the LAV mic wire on the OUTSIDE of the subject’s clothing. Beyond looking messy and unprofessional this creates the potential for the subject to swipe or disturb the audio if they touch the wire. Cleanly tuck the wire inside the opening of the clip to ensure clean presentation of the cable and LAV. See the image below as it demonstrates a clean loop and curve through the clip.

NEED MORE INFORMATION
Reach out to Jon and the Pinnacle team for further clarification or technical information using the contact information at the bottom of the site.
START YOUR PROJECT BELOW
CONTACT US
202-505-3630
VIRTUAL CONSULTATION
CONTACT@PINNACLEPHOTO.COM
FOLLOW US ON SOCIAL